ADVERTISEMENT
Instructions for Making Beef Stock
Step 1: Roast the Beef Bones
- Preheat your oven to 400°F (200°C).
- Place the beef bones on a large roasting pan and drizzle with olive oil. Toss the bones to coat evenly.
- Roast the bones in the oven for about 30-40 minutes, turning halfway through, until they are deeply browned and caramelized. This step adds a rich, roasted flavor to the stock, which enhances its depth.
Step 2: Prepare the Vegetables
- While the bones are roasting, prepare your vegetables.
- Cut the onion, carrots, and celery into large chunks. There’s no need to be precise, as the vegetables will be strained out later.
- If you like, you can roast the vegetables alongside the bones for extra caramelization, or simply sauté them in a pot for a few minutes before adding them to the stockpot.
Step 3: Transfer the Ingredients to a Stockpot
- Once the bones are roasted, transfer them to a large stockpot.
- Add the roasted vegetables, garlic, bay leaves, thyme, peppercorns, and any tomato paste (if using).
- Pour in cold water until everything is just covered. You want the bones and vegetables to be submerged, but don’t worry if the water doesn’t cover everything completely—the bones will release their juices as they cook.
Step 4: Bring to a Simmer
- Over medium-high heat, bring the mixture to a gentle simmer.
- Once the stock reaches a simmer, reduce the heat to low, so the liquid barely bubbles. This is the key to making a clear stock—boiling too vigorously can cause impurities and fats to emulsify into the stock, making it cloudy.
Step 5: Skim the Stock
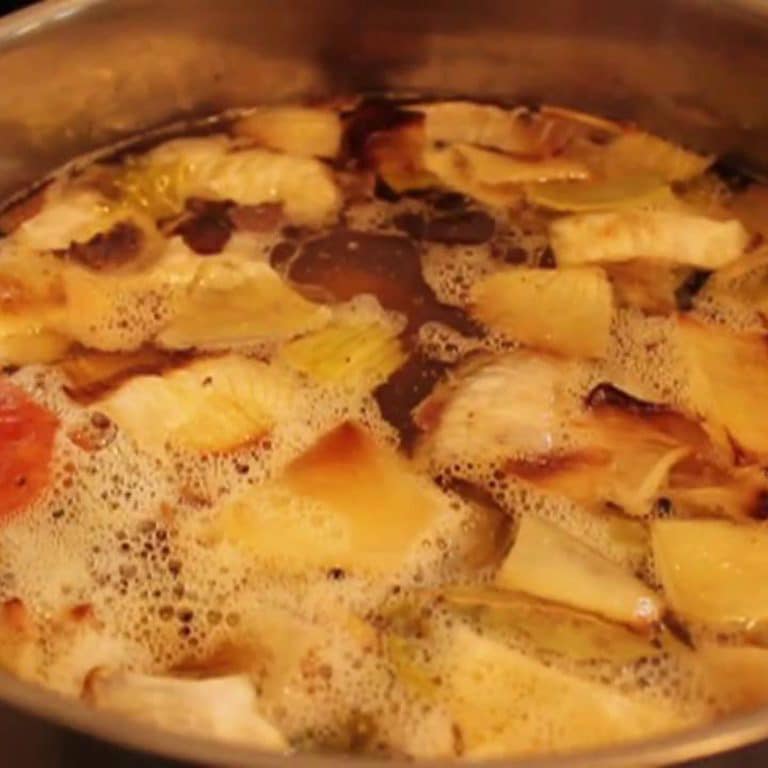
- As the stock simmers, you’ll notice foam or scum rising to the surface. Skim this off with a ladle or spoon every 15-20 minutes for the first hour of simmering. This helps to keep the stock clear and clean-tasting.
Step 6: Simmer Low and Slow
- Once you’ve skimmed the initial scum, cover the pot and allow the stock to simmer for at least 4-6 hours. For a deeper, more concentrated flavor, you can simmer for up to 12 hours.
- Occasionally check the stock to make sure it’s not reducing too quickly. If the level of liquid drops too much, add more water as needed.
- The longer the stock cooks, the more the flavors will develop, and the gelatin from the bones will dissolve into the liquid, giving it that rich, silky texture.
Step 7: Strain the Stock
- Once your stock has simmered to your liking, remove it from the heat.
- Use a fine mesh strainer or cheesecloth to strain out the bones, vegetables, and herbs. Discard the solids.
- If you prefer a clearer stock, you can strain it a second time through a finer mesh or cheesecloth to remove any remaining small particles.
Step 8: Cool and Store the Stock
- Allow the stock to cool to room temperature before refrigerating. This helps prevent bacterial growth and ensures the stock stores safely.
- Once cooled, you’ll notice a layer of fat floating on top of the stock. You can leave this on for added flavor, or skim it off for a leaner stock.
- Transfer the stock to airtight containers or jars and store in the refrigerator for up to 5 days, or freeze for up to 3 months for future use.
Why You’ll Love Homemade Beef Stock
1. Rich and Flavorful
Homemade beef stock is incredibly rich in flavor, with a deep, savory taste that can’t be replicated with store-bought options. The slow simmering process extracts every bit of flavor from the bones and vegetables, giving you a stock that’s packed with umami.
2. Versatile Base for Dishes
Beef stock is an incredibly versatile ingredient. It’s perfect for soups, stews, sauces, gravies, risottos, and even as a cooking liquid for grains like rice or barley. It enhances the flavor of any dish it’s added to.
3. Customizable
You can easily customize your beef stock by adding herbs and spices to match the flavor profile of the dish you’re preparing. Want a hint of rosemary or a touch of garlic? You can adjust the ingredients based on your preferences.
4. Health Benefits
Making stock from bones allows you to extract gelatin and collagen, which have benefits for your joints, skin, and digestive health. The long simmering process also extracts important nutrients and minerals from the bones, making homemade stock a nourishing addition to your meals.
Tips for the Best Beef Stock
1. Use a Variety of Bones
For the richest flavor, try using a mix of marrow bones, oxtails, and short ribs. Marrow bones add richness, while oxtails provide gelatin, making for a more luxurious stock.
2. Don’t Rush the Simmer
While you can technically make stock in a shorter time, the best results come from long, slow simmering. Low and slow is the key to rich, flavorful stock.
3. Add Salt at the End
It’s best to wait until the end of the cooking process to add salt, as it can concentrate during the simmering. Taste and adjust the seasoning once the stock is finished cooking.
4. Freeze for Later Use
If you make a large batch of beef stock, freeze it in smaller portions. This way, you’ll have homemade stock on hand whenever you need it for your favorite recipes.
Final Thoughts
Making beef stock at home is a rewarding and cost-effective way to enhance your cooking. With just a few simple ingredients and a little patience, you can create a rich, flavorful base for countless dishes. Whether you use it in sauces, soups, or stews, your homemade beef stock will elevate your meals and leave everyone asking for the recipe.
So, gather your ingredients, fire up the stove, and enjoy the process of making this classic kitchen staple from scratch. 🍲✨
ADVERTISEMENT
