ADVERTISEMENT
Directions:
- Preheat the Oven: Start by preheating your oven to 375°F (190°C). Line three baking sheets with parchment paper or lightly grease them with olive oil spray to ensure the cheesy balls won’t stick.
- Mix the Ingredients: In a large mixing bowl, combine the shredded cheddar cheese, flour, softened butter, Parmesan cheese, egg, garlic powder, Italian seasoning, salt, and pepper. Mix everything together until it forms a dough-like consistency. The cheese should be well incorporated, and the dough should be a bit sticky but firm enough to hold its shape when rolled into balls.
- Shape the Balls: Using your hands or a small cookie scoop, scoop out portions of the dough and roll them into bite-sized balls—about 1 inch in diameter. The mixture should make around 24 to 30 balls, depending on the size you make them. Place the balls on the prepared baking sheets, spacing them about 1 inch apart to allow for even baking.
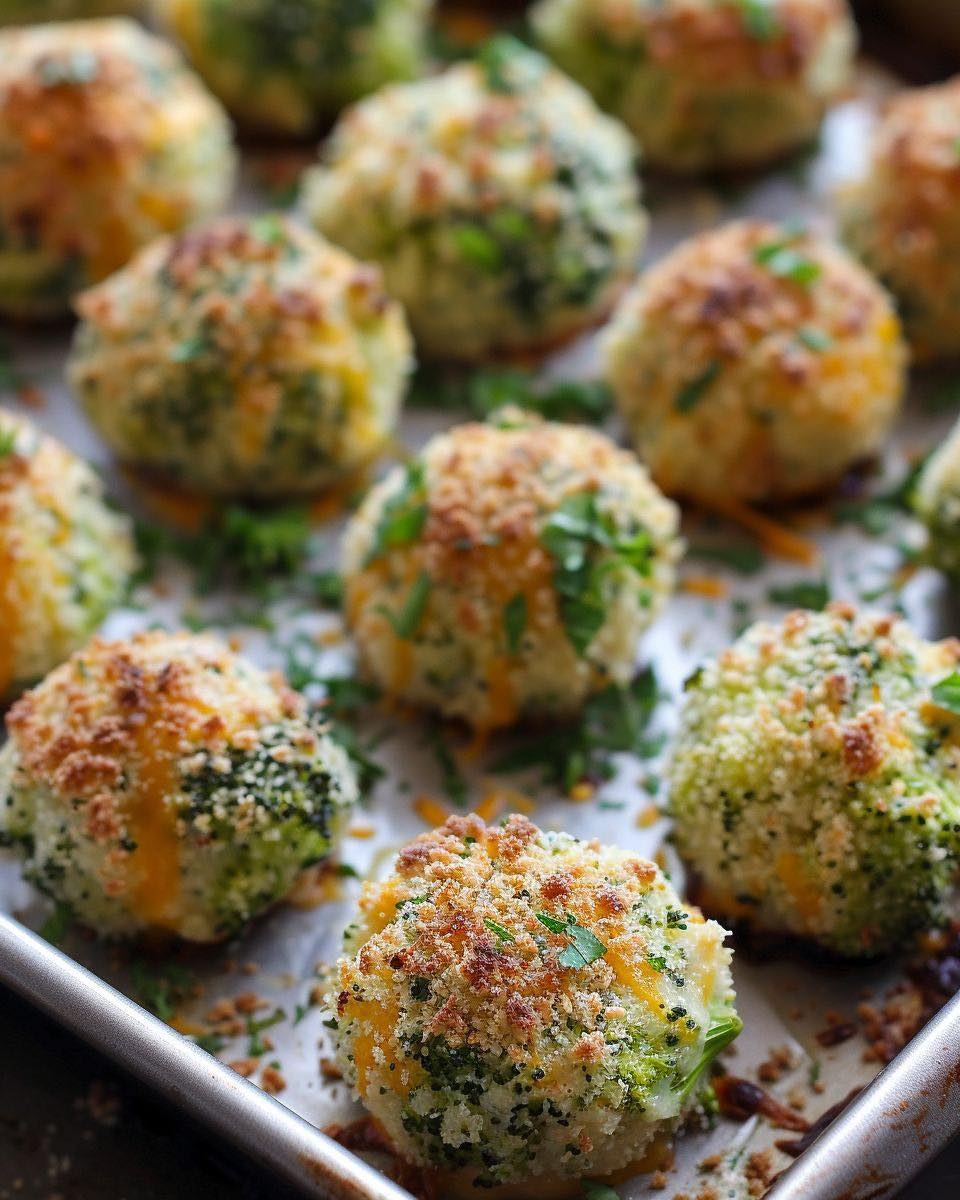
- Bake the Balls: Place the trays in the oven and bake for 12-15 minutes, or until the balls are golden brown and slightly puffed up. You’ll start to smell the cheesy goodness wafting through the kitchen about halfway through the baking time, so don’t be surprised if your family starts to gather around the oven!
- Serve and Enjoy: Once the balls are baked to golden perfection, remove them from the oven and let them cool for a few minutes. If desired, sprinkle with fresh parsley for a pop of color and added flavor. Serve them warm, and get ready for a taste explosion that’s sure to have everyone reaching for seconds—if not thirds!
Why These Cheese & Herb Baked Balls Are a Hit:
- Cheesy and Savory: The combination of sharp cheddar and Parmesan gives these balls a rich, creamy, and slightly tangy flavor that’s balanced out by the Italian herbs and garlic. Every bite is bursting with cheesy goodness.
- Perfectly Snackable: These baked cheese balls are perfectly sized for snacking, making them ideal for game day, parties, or simply as a fun family snack. They’re easy to grab and pop in your mouth, making them a crowd-pleaser for all ages.
- No Mess, No Fuss: The recipe requires minimal prep work, and the dough is easy to handle. Plus, baking these balls in the oven means you don’t have to worry about frying or making a mess on the stovetop. They bake evenly and turn golden brown with minimal effort.
- Quick and Easy: You can make these cheesy bites in about 30 minutes, from mixing the ingredients to pulling them out of the oven. This makes them an excellent last-minute appetizer or snack for unexpected guests.
Pro Tips for Perfect Cheese & Herb Balls:
- Customize the Flavors: Feel free to swap out the herbs based on your preference. Try adding some dried basil, rosemary, or thyme for a different flavor profile. If you want a spicy kick, throw in some red pepper flakes or jalapeños for an extra bite.
- Make-Ahead Option: These cheese balls are great for preparing ahead of time. Simply shape them into balls, freeze them on a baking sheet for about an hour, and then transfer them to a zip-top bag or airtight container. When you’re ready to bake them, just pop them straight from the freezer into the oven. You may need to add a few extra minutes to the baking time.
- Dipping Sauces: While these cheese balls are delicious on their own, you can also serve them with a variety of dipping sauces, such as marinara, ranch dressing, or even a spicy sriracha mayo for an added flavor boost.
Final Thoughts:
These Cheese & Herb Baked Balls are hands down one of the best comfort foods you’ll ever make. They’re cheesy, flavorful, and utterly addictive, making them perfect for family gatherings, casual dinners, or even as a snack during movie night. The best part? They’re so delicious that you’ll likely find yourself making three trays next time—just to keep up with your family’s appetite!
So, grab your ingredients, preheat the oven, and get ready for a treat that will have everyone going back for more. With this recipe in your back pocket, you’ll never run out of ideas for a crowd-pleasing dish!
ADVERTISEMENT
ADVERTISEMENT
