ADVERTISEMENT
Step 2: Sauté the Vegetables
- Add the chopped onion, green bell pepper, and celery to the pot with the beef.
- Cook for 5-7 minutes until the vegetables soften. Stir occasionally to ensure they don’t stick to the bottom of the pot.
Step 3: Add Tomatoes, Beans, and Broth
- Stir in the diced tomatoes, tomato sauce, and tomato paste. Mix well to combine.
- Add the kidney beans, pinto beans, and beef broth. Stir everything together to ensure even distribution.
Step 4: Season the Chili
- Sprinkle in the cumin, chili powder, garlic powder, salt, black pepper, oregano, and sugar.
- Stir thoroughly to ensure the seasonings blend evenly into the chili. Add a pinch of cayenne pepper if you want a bit of extra heat.
Step 5: Simmer the Chili
- Bring the chili to a gentle boil, then reduce the heat to low. Cover the pot partially with a lid.
- Let the chili simmer for 30-45 minutes, stirring occasionally to prevent sticking. The longer it simmers, the more the flavors meld together.
Step 6: Taste and Adjust
- Taste the chili and adjust the seasonings as needed. Add a little more salt, chili powder, or spices to suit your preference.
Serving Suggestions
Serve this hearty Wendy’s-style chili with:
- Freshly baked cornbread or crusty bread for dipping.
- A dollop of sour cream and shredded cheddar cheese on top.
- A sprinkle of fresh chopped green onions for extra flavor.
- Crispy tortilla chips on the side for a satisfying crunch.
For a lighter option, pair the chili with a side salad or steamed vegetables.
Tips for the Best Homemade Chili
- Let it Simmer: The longer chili cooks, the better the flavor develops. Allow at least 30 minutes for simmering, but an hour is even better.
- Use Fresh Vegetables: Fresh onions, bell peppers, and celery add texture and flavor to the chili.
- Make it Spicy: If you like heat, add a pinch of red pepper flakes or extra cayenne pepper.
- Thicker Chili: To thicken, let the chili simmer uncovered for the last 10 minutes, or add a tablespoon of masa harina (corn flour).
- Custom Beans: Feel free to swap or mix different beans like black beans or cannellini beans.
Make Ahead & Freezing Instructions
- Refrigerate: Store leftover chili in an airtight container for up to 4 days in the fridge. Reheat on the stovetop or in the microwave.
- Freeze: Chili freezes beautifully! Let it cool completely, transfer to freezer-safe containers, and freeze for up to 3 months. Thaw overnight in the fridge and reheat before serving.
Why This Recipe Stands Out
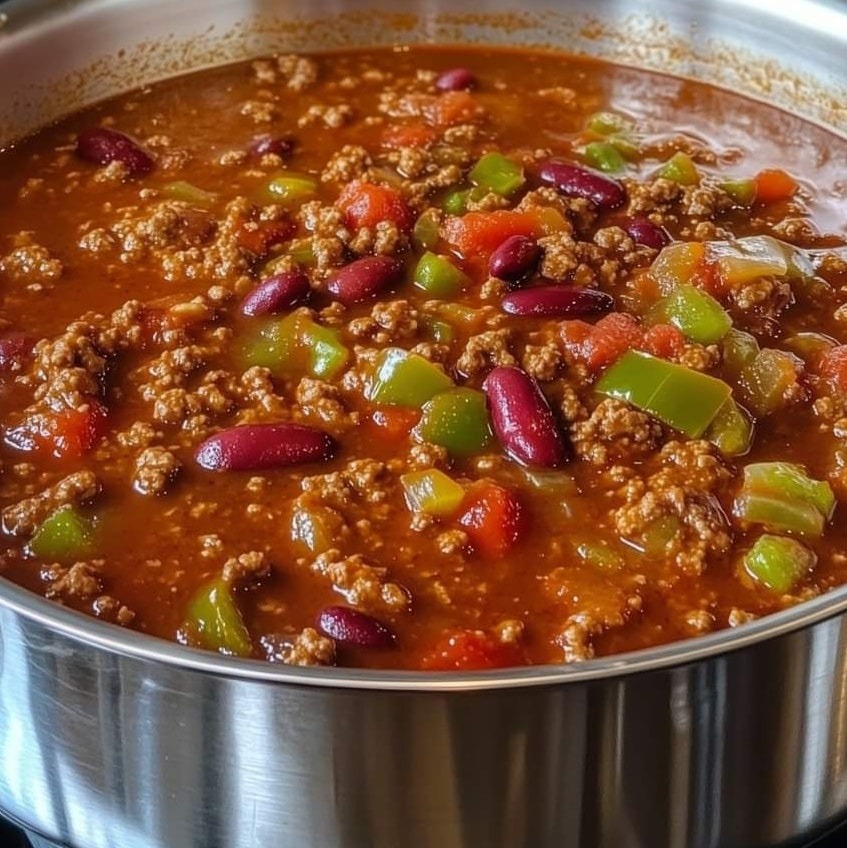
This homemade Wendy’s chili recipe brings the same rich, hearty flavors of the fast-food favorite to your kitchen. It’s made with simple, wholesome ingredients, perfect for feeding a crowd or meal prepping for the week. Plus, it’s incredibly versatile—you can tweak the spice level, use your favorite beans, or even swap beef for turkey for a leaner version.
Final Thoughts
Recreate the magic of Wendy’s chili in the comfort of your own kitchen with this easy recipe. It’s a perfect balance of savory beef, tender beans, tangy tomatoes, and warming spices that will make your home smell amazing. Whether enjoyed as a weeknight dinner, a game-day snack, or a freezer-friendly meal prep option, this chili is guaranteed to become a family favorite.
So grab your favorite pot and give this copycat Wendy’s chili a try—it’s hearty, comforting, and absolutely delicious! 🍲
ADVERTISEMENT
