ADVERTISEMENT
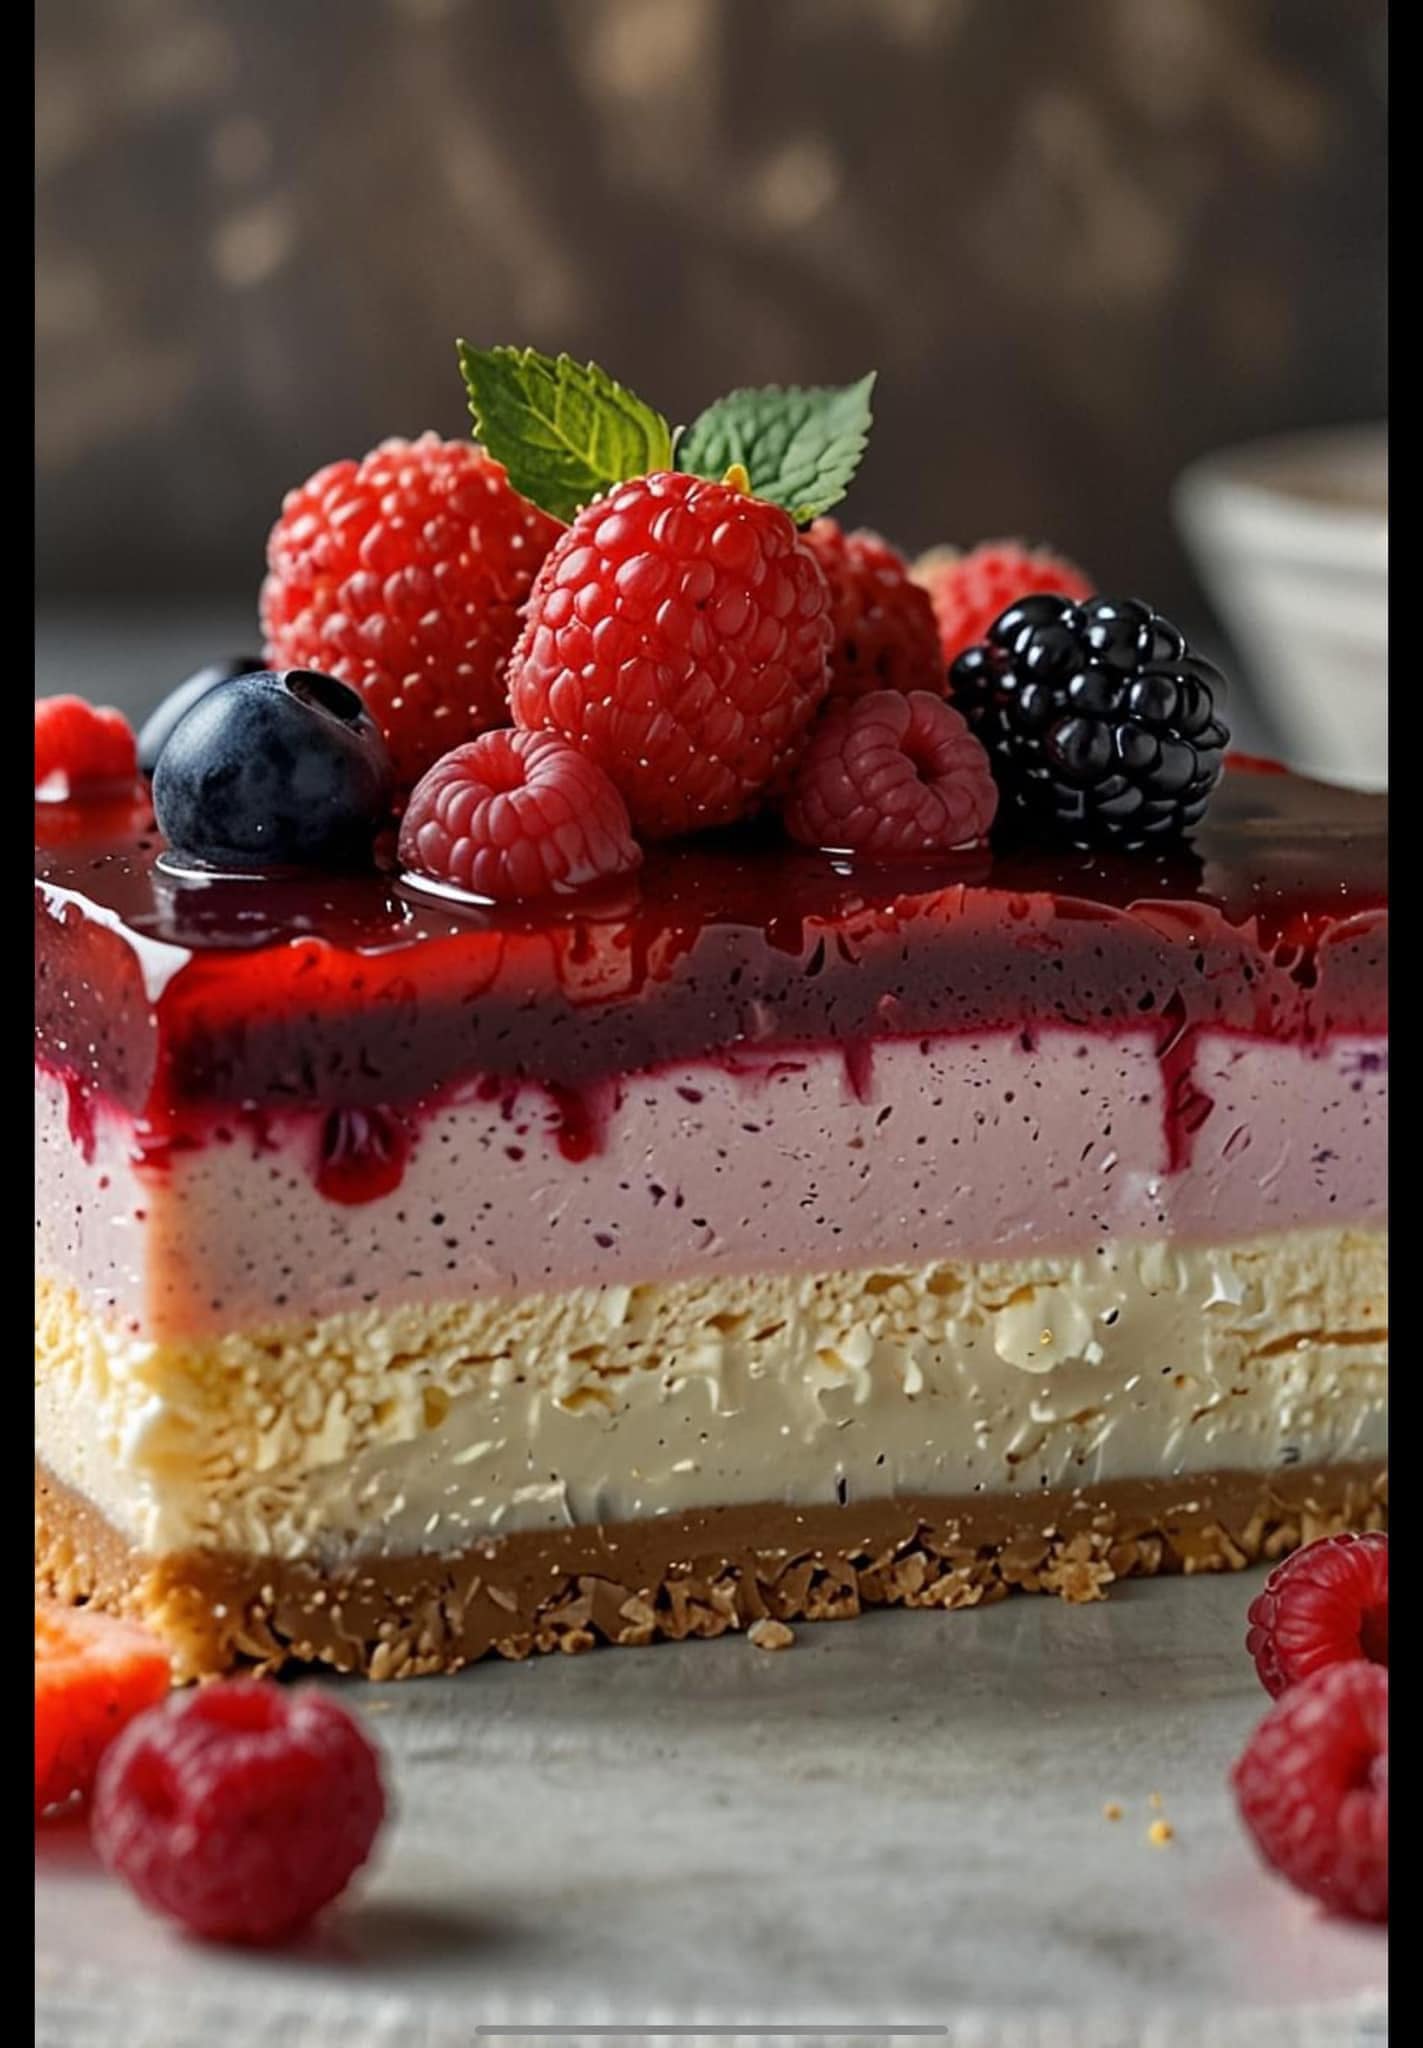
Instructions for Making Very Berry Ombre No-Bake Cheesecake
Step 1: Prepare the Crust
- Make the crust: In a medium bowl, combine the graham cracker crumbs, granulated sugar, and melted butter. Mix well until the crumbs are evenly coated with butter and the mixture sticks together when pressed.
- Form the crust: Press the graham cracker mixture into the base of a springform pan (or pie dish). Use the back of a spoon to compact it tightly. Place the pan in the refrigerator to chill while you prepare the cheesecake filling.
Step 2: Make the Cheesecake Filling
- Whip the cream: In a large mixing bowl, whip the heavy whipping cream with a hand mixer or stand mixer until stiff peaks form. Set aside.
- Mix the cream cheese: In a separate bowl, beat the softened cream cheese with the powdered sugar and vanilla extract until smooth and creamy. This will help create a rich and silky base for the cheesecake filling.
- Combine the cream cheese and whipped cream: Gently fold the whipped cream into the cream cheese mixture, being careful not to deflate the whipped cream. The result should be a light, fluffy mixture.
Step 3: Prepare the Berry Layers
- Blend the berries: Take the fresh mixed berries (strawberries, raspberries, or blueberries) and blend them in a blender or food processor until smooth. You may choose to strain the berry puree to remove the seeds, especially for raspberries.
- Optional – Use gelatin: To help the berry layer set firmly, dissolve the gelatin in a little bit of warm water and add it to the berry puree. Stir well to incorporate.
- Divide the cheesecake filling: Separate the cheesecake mixture into two or three portions, depending on how many ombre layers you want. Keep the largest portion uncolored for the base layer.
- Add berry puree to portions: Mix a small amount of the berry puree into each portion of the cheesecake filling. For the deepest pink layer, use more berry puree, and for the lighter layers, use less. This creates the ombre effect as the layers transition from deep pink to light pink.
Step 4: Assemble the Cheesecake
- Layer the cheesecake: Start by spooning the lightest pink layer of cheesecake into the crust, spreading it evenly with a spatula. Smooth the surface and chill the pan for about 15-20 minutes to allow the layer to firm up slightly.
- Add the next layer: Once the first layer has set, add the next layer with a deeper pink hue. Spread it gently on top of the first layer, and smooth it out. Repeat this process with the darkest pink layer, if you have three layers, or with just two layers if you prefer a more subtle gradient.
- Chill: After assembling all the layers, cover the cheesecake and refrigerate for at least 4-6 hours, or overnight for best results. This will allow the cheesecake to fully set and develop its creamy texture.
Step 5: Serve and Enjoy
Once your cheesecake has set, remove it from the fridge and gently release the sides of the springform pan. Slice into wedges, and enjoy the beautiful ombre effect along with the creamy texture and berry flavor. Serve chilled, and garnish with fresh berries on top for an extra burst of color and freshness.
Tips for the Perfect Very Berry Ombre No-Bake Cheesecake
- Berry Combinations: Experiment with different berries to achieve various flavor profiles. Strawberries, raspberries, and blueberries make for a classic combination, but you could also try blackberries, black currants, or even mixed tropical fruits for a unique twist.
- Gelatin Option: If you want a firmer cheesecake, use gelatin in the filling. It helps the cheesecake hold its shape when sliced, making it look more polished when served.
- Toppings: For added texture, consider topping your cheesecake with a drizzle of berry sauce, whipped cream, or a few more fresh berries.
- Presentation: For an even more impressive presentation, serve individual portions in glass jars or dessert cups to show off the ombre layers.
Why You’ll Love This Dessert
The Very Berry Ombre No-Bake Cheesecake is the perfect dessert for any occasion, from birthdays and baby showers to casual family gatherings or even a special treat for yourself. The layers of creamy cheesecake and fresh, fruity berry flavor are irresistible, and the ombre effect makes it as much a feast for the eyes as it is for the taste buds. It’s light, refreshing, and just the right amount of indulgent.
Conclusion
This no-bake cheesecake is a must-try for anyone looking to enjoy a delicious and visually striking dessert without the fuss of traditional baking. The Very Berry Ombre No-Bake Cheesecake will not only impress your guests with its stunning ombre effect but also delight them with its rich, creamy texture and vibrant berry flavor. Perfect for spring and summer, or any time you want to treat yourself and your loved ones to something special. Give this recipe a try, and you’ll find that it’s as easy as it is delicious!
ADVERTISEMENT
ADVERTISEMENT
