ADVERTISEMENT
Instructions:
1. Heat the Milk:
Pour the milk into a large saucepan and heat it over medium heat. Stir the milk occasionally to prevent it from scorching at the bottom. You want the milk to reach a temperature of about 180°F (82°C). If you don’t have a thermometer, you’ll know it’s ready when the milk begins to steam and small bubbles form around the edges, but it hasn’t yet come to a full boil.
2. Add the Vinegar:
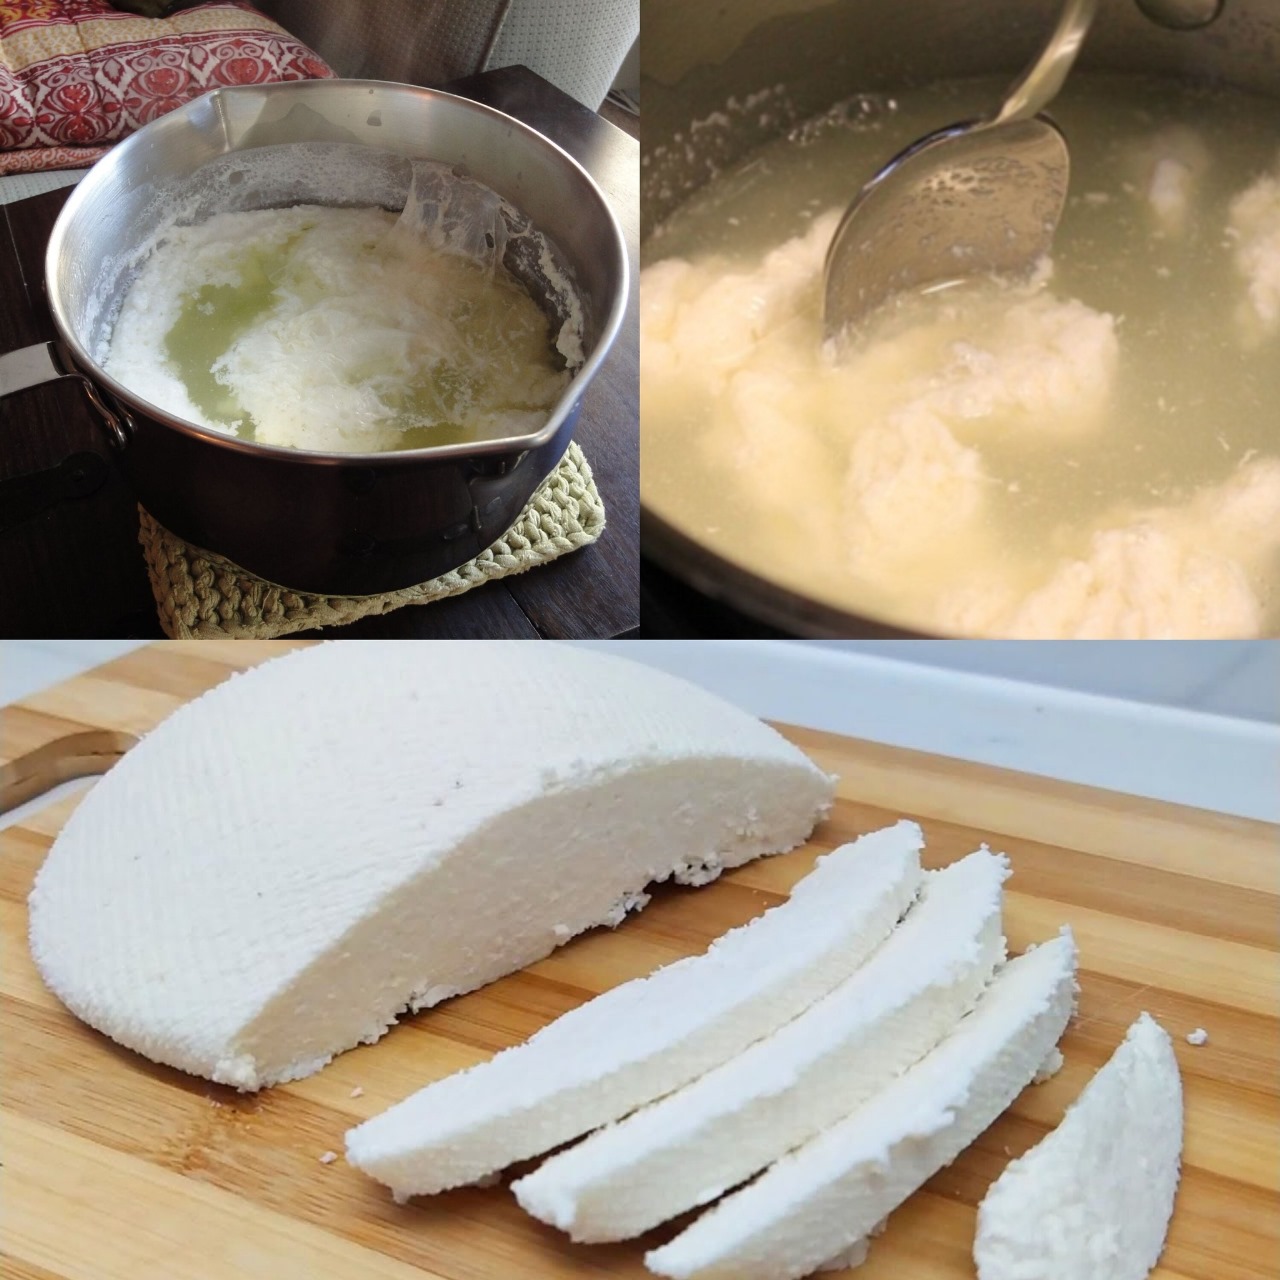
Once the milk has reached the right temperature, remove the saucepan from the heat. Slowly pour in the vinegar while gently stirring. The acid in the vinegar will cause the milk to curdle, separating into curds (solid) and whey (liquid). You’ll notice the curds forming almost immediately after adding the vinegar.
3. Let it Sit:
Allow the milk to sit for about 10 minutes. During this time, the curds will fully separate from the whey. The whey should be clear, and the curds will resemble soft, white chunks.
4. Strain the Curds:
Using a fine mesh strainer or cheesecloth, strain the curds from the whey. You can use a spoon to gently press down on the curds to extract as much whey as possible. If you’d like to keep the whey for other uses (such as for smoothies or baking), you can save it in a separate container.
5. Shape and Season the Cheese:
Once the curds are strained, you can gently shape them into a ball or a block, depending on your preference. At this point, you can add salt for seasoning to taste, or incorporate herbs like rosemary, thyme, or garlic to give your cheese extra flavor. Mix thoroughly, and then place the cheese in a mold or wrap it in cheesecloth for a firmer consistency.
6. Chill and Serve:
Place your homemade cheese in the fridge for at least 1-2 hours to firm up and develop its flavors. Once chilled, it’s ready to enjoy!
Uses for Your Homemade Cheese:
- Spreadable Delight: Enjoy it as a spread on crackers or toast.
- Topping for Salads: Crumble it over fresh salads for added flavor and texture.
- In Pasta Dishes: Use it as a filling for ravioli or as a topping for baked pasta dishes like lasagna.
- Sandwiches and Wraps: Add slices of your homemade cheese to sandwiches or wraps for extra creaminess.
- Savory Snacks: Pair your cheese with olives, fruits, or vegetables as a savory appetizer.
Optional Variations:
- Herbed Cheese: Add finely chopped herbs like basil, parsley, or dill to your curds before shaping them into a block.
- Spicy Cheese: Stir in some chili flakes, black pepper, or even a dash of hot sauce for a spicy kick.
- Cheese with Garlic: If you love garlic, add roasted or finely minced garlic to the cheese mixture for a savory twist.
Why This Recipe Works:
Making cheese with milk and vinegar is a straightforward and accessible method to create fresh cheese at home. The vinegar serves as the acid that helps separate the curds from the whey, while the milk provides the base for your cheese. By controlling the amount of vinegar you add, you can adjust the firmness and flavor of the cheese to your liking. The result is a soft, creamy cheese that is perfect for a variety of uses.
Final Thoughts:
Making your own cheese doesn’t have to be a complicated, time-consuming process. With just a few basic ingredients and steps, you can create fresh, homemade cheese right in your kitchen. Whether you’re using it for snacking, cooking, or as a unique gift for someone special, this homemade cheese is sure to impress. Next time you’re in need of cheese, skip the store and make your own—it’s fun, rewarding, and delicious!
ADVERTISEMENT
ADVERTISEMENT
