ADVERTISEMENT
Instructions:
1. Preheat the Oven
Start by preheating your oven to 350°F (175°C). Line a baking sheet with parchment paper to prevent the cookies from sticking and ensure easy cleanup.
2. Cream the Butter and Sugar
In a large mixing bowl, beat the softened butter and granulated sugar together until the mixture is light and fluffy. This process will take about 2-3 minutes with an electric mixer on medium speed. The key is to ensure that the butter and sugar are fully incorporated, creating a smooth, creamy base for the cookies.
3. Add the Vanilla Extract
Once the butter and sugar are well creamed, add the vanilla extract and mix it in until fully incorporated. The vanilla adds a subtle sweetness that complements the buttery flavor of the cookie.
4. Incorporate the Dry Ingredients
In a separate bowl, whisk together the all-purpose flour, salt, and finely chopped nuts. Gradually add the dry ingredients to the wet mixture, mixing until the dough just comes together. The dough will be soft and slightly crumbly, but that’s what makes the cookies so delicate once baked.
5. Shape the Cookies
Once the dough is ready, use your hands to form small, walnut-sized balls of dough. Roll the dough between your palms to create smooth balls. Place each ball onto the prepared baking sheet, spacing them about 1 inch apart to allow for slight spreading during baking.
6. Bake the Snowball Cookies
Bake the cookies in the preheated oven for about 12-15 minutes, or until the edges are lightly golden. These cookies don’t spread much, so the shape you create before baking is the shape they will keep.
7. Roll in Powdered Sugar
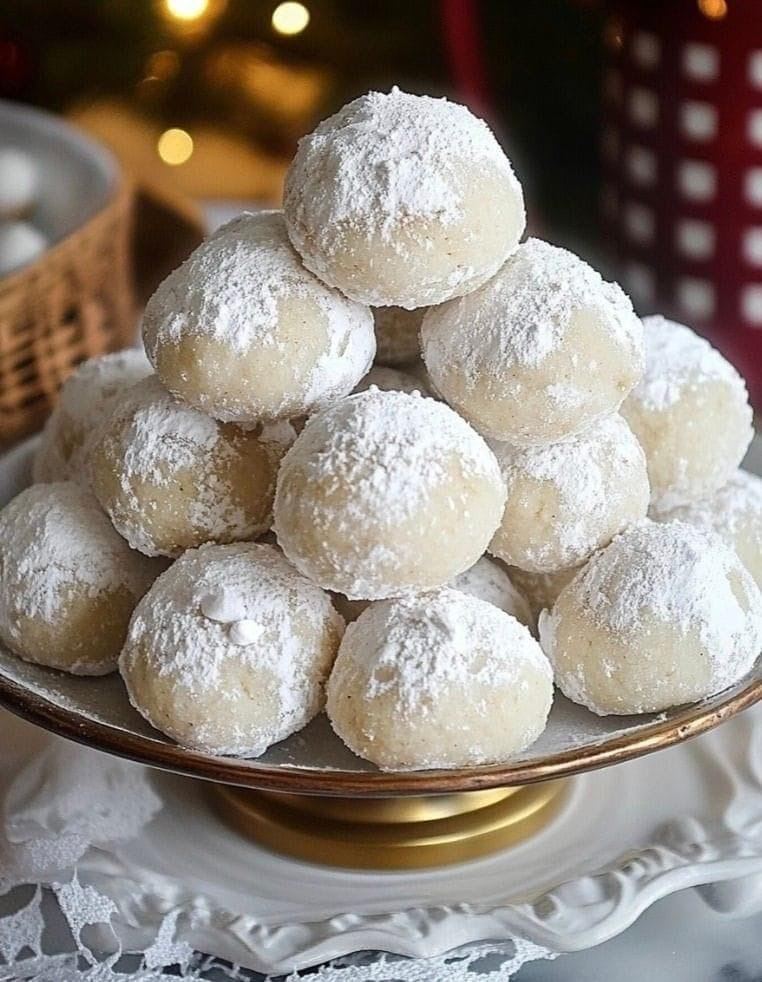
As soon as the cookies are out of the oven, allow them to cool for about 5 minutes on the baking sheet. While they are still warm, carefully roll each cookie in powdered sugar, ensuring they are well coated. Once cooled completely, you can roll them in powdered sugar again for an extra snowy finish. The two layers of sugar give the cookies their signature snowy appearance.
8. Cool and Enjoy
Allow the snowball cookies to cool completely on a wire rack. Once cooled, they will have a delicate, crumbly texture that melts in your mouth with every bite. Enjoy the sweet, buttery flavor paired with the nutty crunch in every snowy bite!
Tips for Perfect Snowball Cookies:
- Butter Temperature: Ensure the butter is softened, but not melted, before mixing. This will help the dough come together smoothly and give the cookies their light texture.
- Nut Options: You can customize the flavor of your snowball cookies by using different nuts. Pecans, walnuts, or almonds all work beautifully, but feel free to experiment with your favorite variety.
- Dough Consistency: If the dough feels too soft or sticky, chill it in the fridge for 15-20 minutes before rolling into balls. This helps the dough firm up and makes it easier to handle.
- Double Coating: For an extra snowy effect, roll the cookies in powdered sugar twice—once when they’re warm and once after they’ve cooled. This gives them a beautifully snowy appearance and an extra touch of sweetness.
Why You’ll Love Snowball Cookies:
Snowball cookies are the epitome of holiday baking. Their melt-in-your-mouth texture, buttery flavor, and delicate sweetness make them a crowd-pleasing treat. They’re perfect for gift-giving, holiday cookie trays, or a cozy family dessert. Despite their simple ingredients, snowball cookies have a luxurious, meltaway quality that makes each bite feel like a special occasion.
The nutty crunch adds depth to the soft, crumbly cookie, while the powdered sugar coating creates the illusion of snowflakes, making them as beautiful as they are delicious. Whether you’re baking them for Christmas, a winter celebration, or simply because you crave something sweet, snowball cookies are sure to delight everyone who tastes them.
So this holiday season, or anytime you need a delightful cookie, try baking a batch of Snowball Cookies—they’ll quickly become your go-to treat for any occasion.
ADVERTISEMENT
ADVERTISEMENT
