ADVERTISEMENT
Instructions:
1. Activate the Yeast:
In a small bowl, combine the warm water, sugar, and yeast. Stir gently and let it sit for about 5-10 minutes, or until it becomes frothy. This step ensures that the yeast is active and ready to help the dough rise.
2. Mix Dry Ingredients:
In a large mixing bowl, whisk together the flour and salt. This ensures that the salt is evenly distributed throughout the flour, which helps the dough rise properly.
3. Combine Wet and Dry Ingredients:
Make a well in the center of the flour mixture and pour in the activated yeast mixture, olive oil (or butter), and honey (if using). Stir everything together until the dough starts to come together. You can use a wooden spoon or your hands for this part.
4. Knead the Dough:
Once the dough begins to form, transfer it to a lightly floured surface and knead it for about 8-10 minutes. The goal is to develop the gluten so that the bread will be soft and chewy. If the dough feels too sticky, you can sprinkle a little more flour, but be careful not to add too much. The dough should be smooth and elastic when finished.
5. Let the Dough Rise:
Place the kneaded dough into a greased bowl, cover it with a clean kitchen towel or plastic wrap, and let it rise in a warm spot for about 1 hour or until it has doubled in size. This is when the yeast does its magic, creating the air bubbles that give the bread its light texture.
6. Shape the Dough:
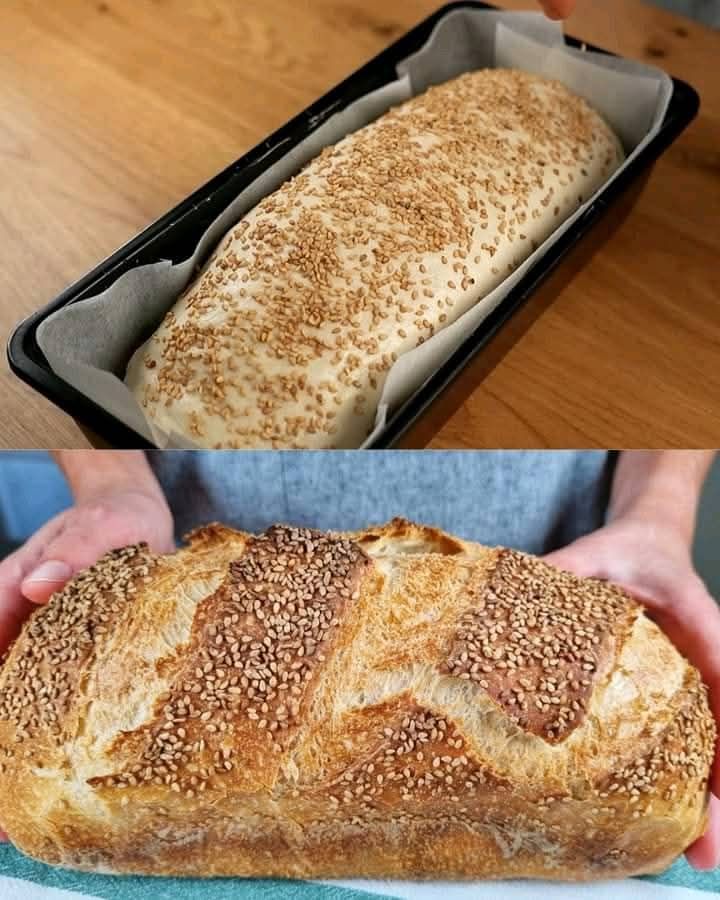
After the dough has risen, punch it down to release the air. Transfer it to a clean surface and gently shape it into a rectangle that will fit into your loaf pan. Fold the edges of the dough over to form a tight seam. Place the shaped dough seam-side down in a greased 9×5-inch loaf pan.
7. Second Rise:
Cover the loaf pan with a towel and let the dough rise again for about 30 minutes, or until it has risen just above the top of the pan. This second rise helps to create a softer loaf with a nice rise.
8. Bake the Bread:
Preheat the oven to 375°F (190°C). Once the dough has risen, place the loaf pan in the oven and bake for 25-30 minutes. The bread should be golden brown on top, and when you tap it, it should sound hollow.
9. Cool the Bread:
After baking, remove the bread from the oven and let it cool in the pan for about 5 minutes. Then, turn it out onto a wire rack to cool completely. This helps the bread set, so it slices neatly.
Tips for Perfect Sandwich Bread:
- Ensure the water is the right temperature: Too hot, and it will kill the yeast; too cold, and it won’t activate the yeast properly. 110°F (45°C) is just right.
- Use high-quality flour: If you want your bread to have that soft texture, use all-purpose flour or bread flour for the best results.
- Don’t skip the second rise: This step ensures the dough has enough time to develop its texture and flavor.
- Store properly: To keep the bread fresh for several days, store it in a breadbox or wrap it tightly in plastic wrap. It can also be frozen for longer storage.
Variations to Try:
- Whole Wheat Sandwich Bread: Replace half of the all-purpose flour with whole wheat flour for a healthier, nutty flavor.
- Herb-infused Bread: Add fresh or dried herbs like rosemary, thyme, or basil into the dough to create a savory twist.
- Honey Wheat Sandwich Bread: Add a tablespoon of honey to the dough along with the sugar for a sweeter, slightly denser loaf.
Conclusion:
Homemade sandwich bread is an easy and rewarding recipe to try, especially when you want fresh, warm bread that you can use for sandwiches, toast, or simply enjoy on its own. This recipe is simple, yet it results in a beautifully soft and fluffy loaf. Once you’ve tasted it, you’ll never want to go back to store-bought bread again. So, roll up your sleeves and start baking—you’ll have delicious, homemade sandwich bread in no time!
ADVERTISEMENT
ADVERTISEMENT
