ADVERTISEMENT
Step-by-Step Instructions for Quick and Easy Homemade Bread
1. Activate the Yeast:
- In a small bowl, combine warm water and sugar. Stir to dissolve the sugar, then sprinkle in the instant yeast. Stir gently, and let the mixture sit for 5-10 minutes. The yeast should bubble up and foam, indicating it’s activated and ready to use. If it doesn’t foam, the yeast may be old, so it’s best to try again with fresh yeast.
2. Mix the Dry Ingredients:
- In a large bowl, whisk together the flour and salt. The salt helps to control the fermentation process and enhances the flavor of the bread.
3. Add Wet Ingredients:
- Pour the yeast mixture into the dry ingredients along with the olive oil (and melted butter, if using). Stir with a wooden spoon or spatula until the dough begins to come together. You may need to add a little more flour if the dough feels too sticky, but be careful not to overdo it. The dough should be slightly tacky but not overly sticky.
4. Mix into Dough:
- Once the dough has come together, transfer it to a lightly floured surface and gently shape it into a rough ball. It doesn’t require much kneading—just about 1-2 minutes of gentle folding to bring everything together.
5. Let the Dough Rise:
- Place the dough into a lightly oiled bowl and cover it with a clean towel or plastic wrap. Let the dough rise in a warm place for about 45 minutes to 1 hour, or until it has doubled in size. If you’re in a rush, you can preheat your oven to 200°F (93°C) for a minute, turn it off, and place the dough inside to rise.
6. Shape the Dough:
- Once the dough has risen, gently punch it down to release any air bubbles. Transfer it to a floured surface and shape it into a loaf by folding the dough over itself a few times. Place the shaped dough into a lightly greased loaf pan (8×4-inch or 9×5-inch).
7. Second Rise:
- Cover the loaf with a towel and let it rise for an additional 20-30 minutes. This final rise allows the dough to puff up and develop a lighter, airier texture as it bakes.
8. Bake the Bread:
- Preheat your oven to 375°F (190°C). Once the dough has risen, place the loaf pan in the center of the oven. Bake for 25-30 minutes, or until the bread is golden brown on top and sounds hollow when tapped on the bottom.
9. Cool and Slice:
- Remove the bread from the oven and allow it to cool in the pan for about 5 minutes. Then, turn the loaf out onto a wire rack to cool completely. If you can resist the temptation, let the bread cool for about 30 minutes before slicing—this helps the crumb set and makes for cleaner slices.
Tips for Perfect Quick and Easy Homemade Bread
- Use Warm Water: The water should be warm to the touch, but not hot. Hot water can kill the yeast, preventing the dough from rising properly. Aim for 110°F (43°C), which is comfortably warm but not scalding.
- Don’t Overknead: Unlike traditional bread, this recipe doesn’t require long kneading. Simply mix and shape the dough, and you’ll get a great result.
- Let the Dough Rise Properly: Don’t rush the rising time. Proper rising helps develop the texture and flavor of the bread. If you’re short on time, you can speed up the process by using a warm oven or placing the dough in a sunny spot.
- Flavor Variations: Add extras to the dough before baking for a fun twist! Try mixing in herbs (such as rosemary or thyme), garlic, cheese, or even a handful of dried fruit like raisins for a unique loaf.
- Test for Doneness: If you’re unsure whether the bread is done, you can use a thermometer to check the internal temperature. It should reach 190°F (88°C) when fully baked. Alternatively, tap the bottom of the loaf—if it sounds hollow, it’s ready.
Why This Quick and Easy Homemade Bread is a Must-Try
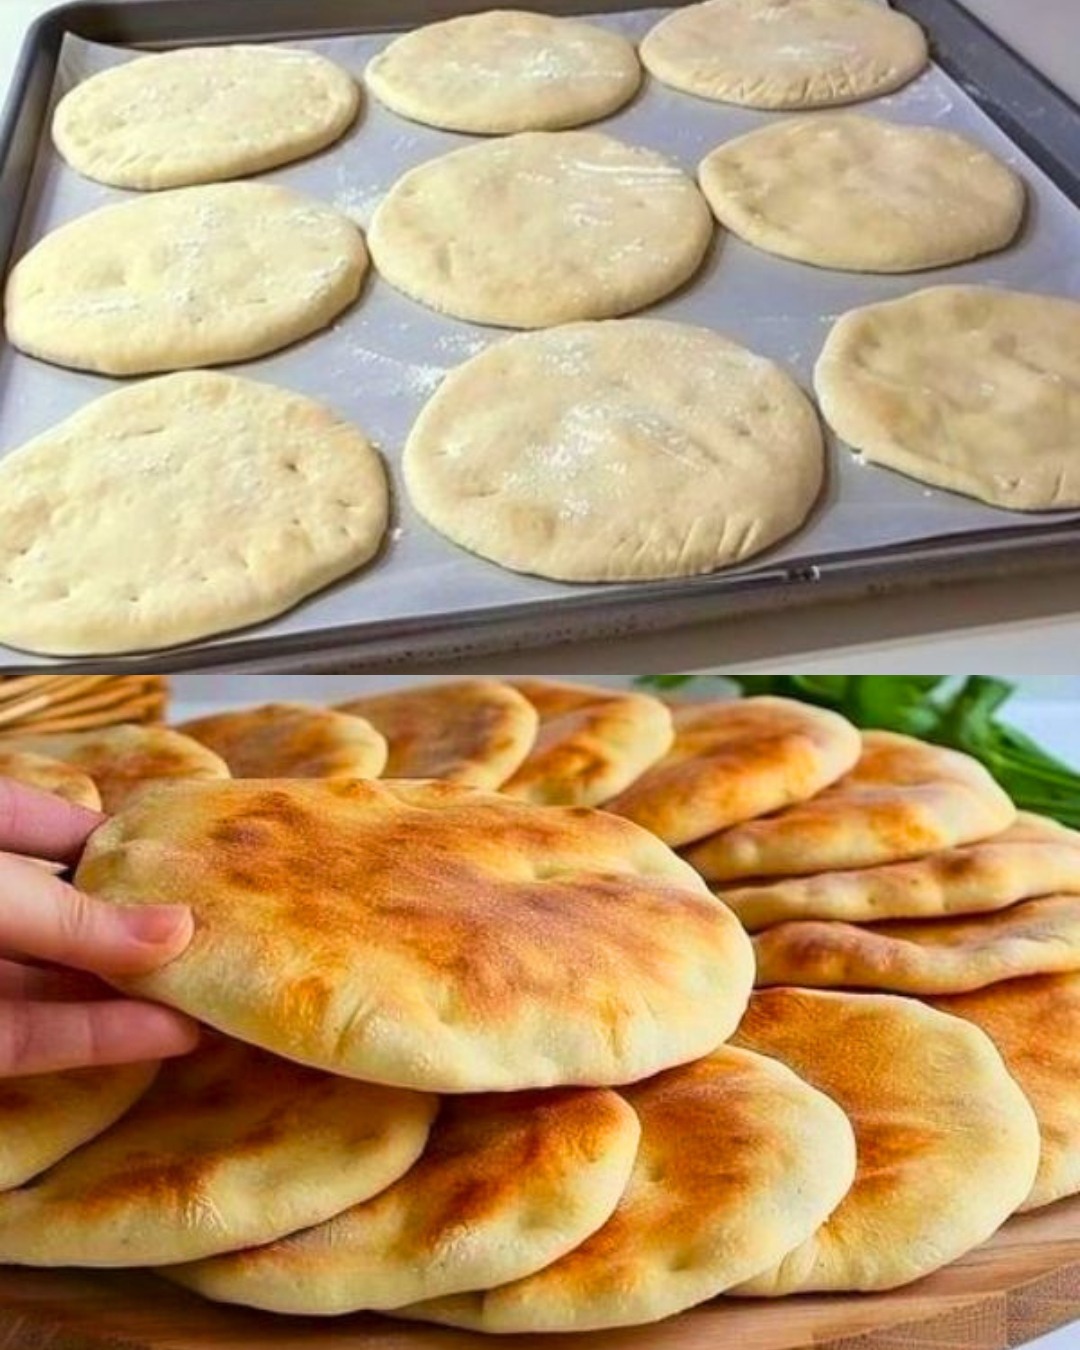
Making bread at home doesn’t have to be complicated or time-consuming. With this quick and easy homemade bread recipe, you can have a fresh loaf ready in under 2 hours—without the need for special equipment or advanced techniques. The result is a loaf that’s soft on the inside with a golden, crisp crust that’s perfect for sandwiches, toast, or just enjoying on its own with a bit of butter.
This recipe is incredibly versatile, so feel free to experiment with different flavors and shapes. Whether you’re baking it for a family dinner, a picnic, or a weekend treat, you’ll be proud of the results. Plus, there’s nothing quite like the satisfaction of biting into a slice of homemade bread knowing it was made with your own hands.
Final Thoughts
There’s nothing more satisfying than pulling a loaf of homemade bread from the oven, and this quick and easy homemade bread recipe makes that experience accessible to everyone—whether you’re an experienced baker or a complete beginner. With just a few basic ingredients and minimal effort, you’ll have a loaf of bread that rivals the best bakery-bought varieties.
So grab your ingredients, preheat the oven, and get ready to enjoy warm, fresh bread in no time. Happy baking! 🍞
ADVERTISEMENT
