ADVERTISEMENT
Instructions
Step 1: Prepare Your Peanuts
If you’re using unshelled peanuts, first shell them and remove any skins. If you want extra crunch, feel free to lightly toast your peanuts in a skillet over medium heat for 2-3 minutes. This will bring out their flavor and add a bit of extra texture to the clusters. Once ready, set them aside.
Step 2: Melt the Caramel
In a medium saucepan, combine the caramel bits (or caramel squares) with butter over medium heat. Stir occasionally until the caramel and butter melt together smoothly into a rich sauce. Once melted, remove the saucepan from the heat and stir in the vanilla extract. The caramel should be smooth and slightly thick.
Step 3: Combine the Peanuts and Caramel
In a large mixing bowl, pour the melted caramel mixture over the prepared peanuts. Stir gently to coat the peanuts evenly with the caramel. At this point, you should have a sticky, gooey peanut-caramel mixture.
Step 4: Form the Clusters
Using a spoon, scoop spoonfuls of the peanut-caramel mixture onto a baking sheet lined with parchment paper or a silicone baking mat. You can make each cluster as large or small as you like. Be sure to leave some space between each one, as they will harden and set as they cool.
Step 5: Melt the Chocolate
While the peanut-caramel clusters are cooling, it’s time to melt the chocolate. Place the chocolate chips in a microwave-safe bowl, and microwave them in 20-second intervals, stirring after each interval, until completely melted and smooth. Alternatively, you can melt the chocolate using a double boiler on the stovetop.
If you prefer a smoother chocolate coating, stir in vegetable oil to the melted chocolate to make it a bit thinner and easier to work with.
Step 6: Coat the Clusters with Chocolate
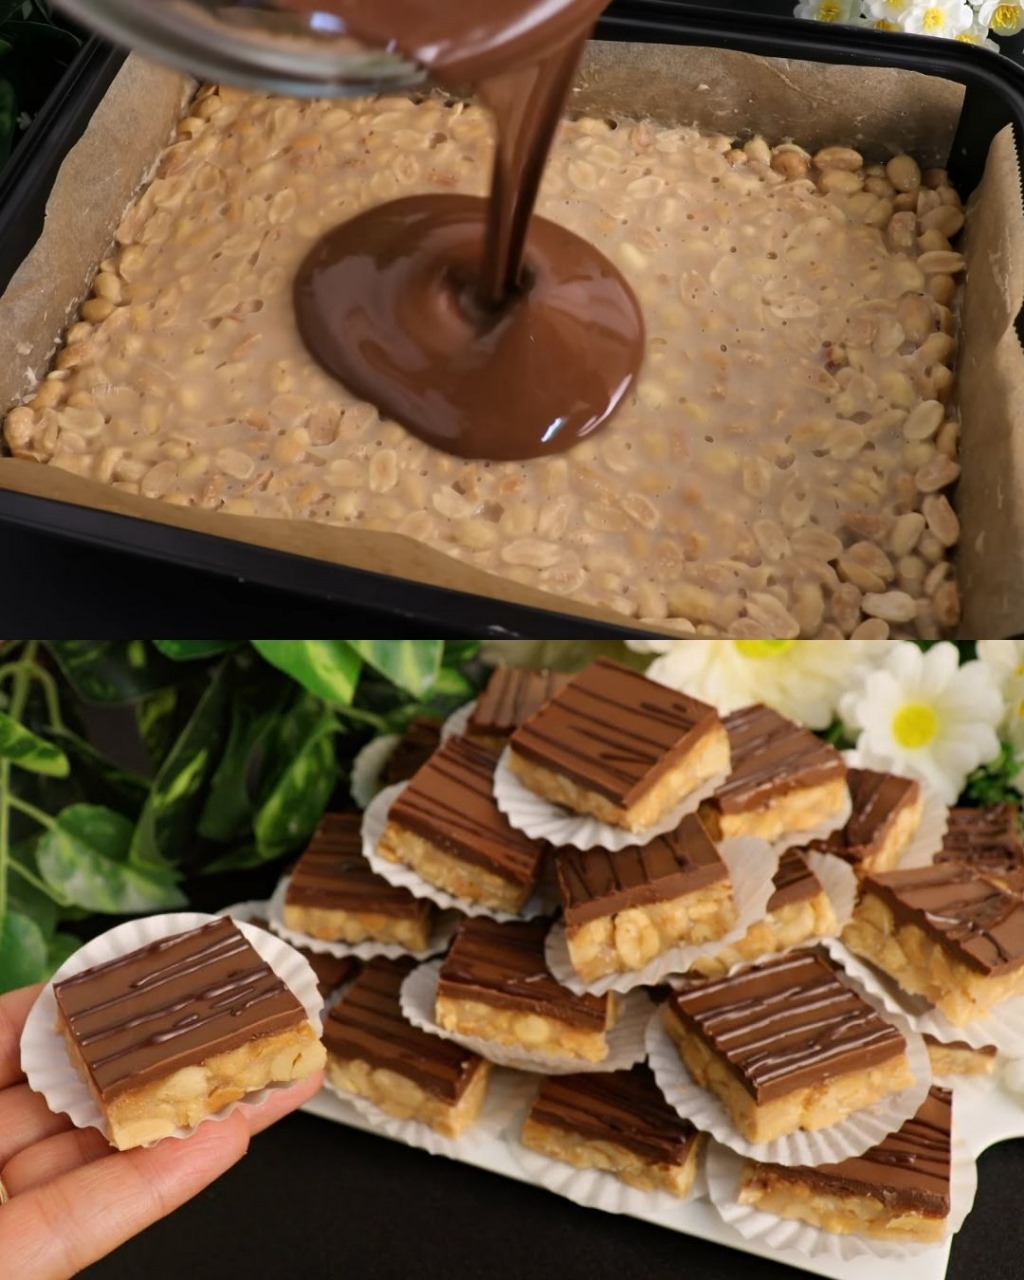
Once the clusters have cooled slightly but are still soft and sticky, use a spoon or drizzle the melted chocolate over the peanut-caramel clusters. Be generous with the chocolate, covering each cluster completely. For a decorative touch, you can drizzle additional chocolate on top for extra texture.
Step 7: Let the Clusters Set
Once the clusters are coated in chocolate, let them cool completely. To speed up the process, you can place them in the refrigerator for about 15-20 minutes until the chocolate hardens and the caramel becomes firm.
Step 8: Serve and Enjoy
Once the chocolate has set and the clusters are firm, they’re ready to enjoy! You can store them in an airtight container at room temperature or in the fridge if you prefer a firmer texture.
Tips for Success
- Use High-Quality Chocolate: The chocolate is one of the key flavors in this recipe, so use a good-quality semi-sweet or dark chocolate for the best results.
- Add More Nuts: Feel free to add other types of nuts like cashews, almonds, or pecans to make the clusters even more flavorful.
- Don’t Overheat the Caramel: Make sure to melt the caramel slowly and gently to avoid burning. Stir it frequently to ensure it melts evenly.
- Customization: Add a dash of sea salt to the top of the clusters before they set for an extra salty-sweet touch.
Why You’ll Love Peanut Caramel Clusters
These Peanut Caramel Clusters are the ultimate treat for anyone who loves the combination of salty and sweet flavors. The contrast between the crunchy peanuts, gooey caramel, and smooth chocolate creates a delightful bite that’s impossible to resist. Plus, the recipe is so simple and quick, making it perfect for busy days when you want something homemade and delicious without a lot of hassle.
Whether you’re making these as a gift for friends and family or simply indulging in a sweet treat for yourself, these clusters will quickly become a staple in your dessert repertoire. They’re perfect for holidays, parties, or just an everyday snack. With just a few simple ingredients and minimal effort, you can create an irresistible candy that will have everyone coming back for more.
Conclusion
Peanut Caramel Clusters are a fantastic treat that combines the best of sweet and salty flavors. They’re easy to make, fun to customize, and impossible to stop eating once you start. With the holidays approaching or just when you need a quick candy fix, this recipe is sure to become a favorite in your kitchen. Whether you’re gifting them or enjoying them at home, these clusters will bring joy to everyone who tastes them. Happy snacking!
ADVERTISEMENT
