ADVERTISEMENT
Instructions: How to Make Peanut Butter Lunch Lady Cookie Bars
1. Preheat the Oven:
Start by preheating your oven to 350°F (175°C). Line a 9×13-inch baking pan with parchment paper or lightly grease it to ensure easy removal of the bars later.
2. Cream the Wet Ingredients:
In a large mixing bowl, beat together the softened butter and peanut butter until smooth and well combined. This will take about 2 minutes. Then, add the granulated sugar and brown sugar, beating the mixture until fluffy and light. Next, add the eggs and vanilla extract, and beat until everything is well incorporated.
3. Add the Dry Ingredients:
In a separate bowl, whisk together the flour, baking soda, and salt. Gradually add this dry mixture into the wet ingredients, stirring until just combined. Be careful not to overmix, as you want the bars to be soft and chewy.
4. Optional Add-ins:
If you’re using oats for extra texture, fold them into the batter now. If you love a little extra sweetness, feel free to fold in mini chocolate chips or peanut butter chips—both will complement the peanut butter flavor perfectly.
5. Bake:
Spread the batter evenly in the prepared baking pan, smoothing the top with a spatula. Bake the cookie bars in the preheated oven for about 25-30 minutes, or until the edges are golden and a toothpick inserted into the center comes out clean.
6. Cool and Slice:
Allow the cookie bars to cool in the pan for at least 10 minutes before transferring them to a wire rack to cool completely. Once cooled, cut them into squares or bars of your desired size.
Why These Cookie Bars Are So Special
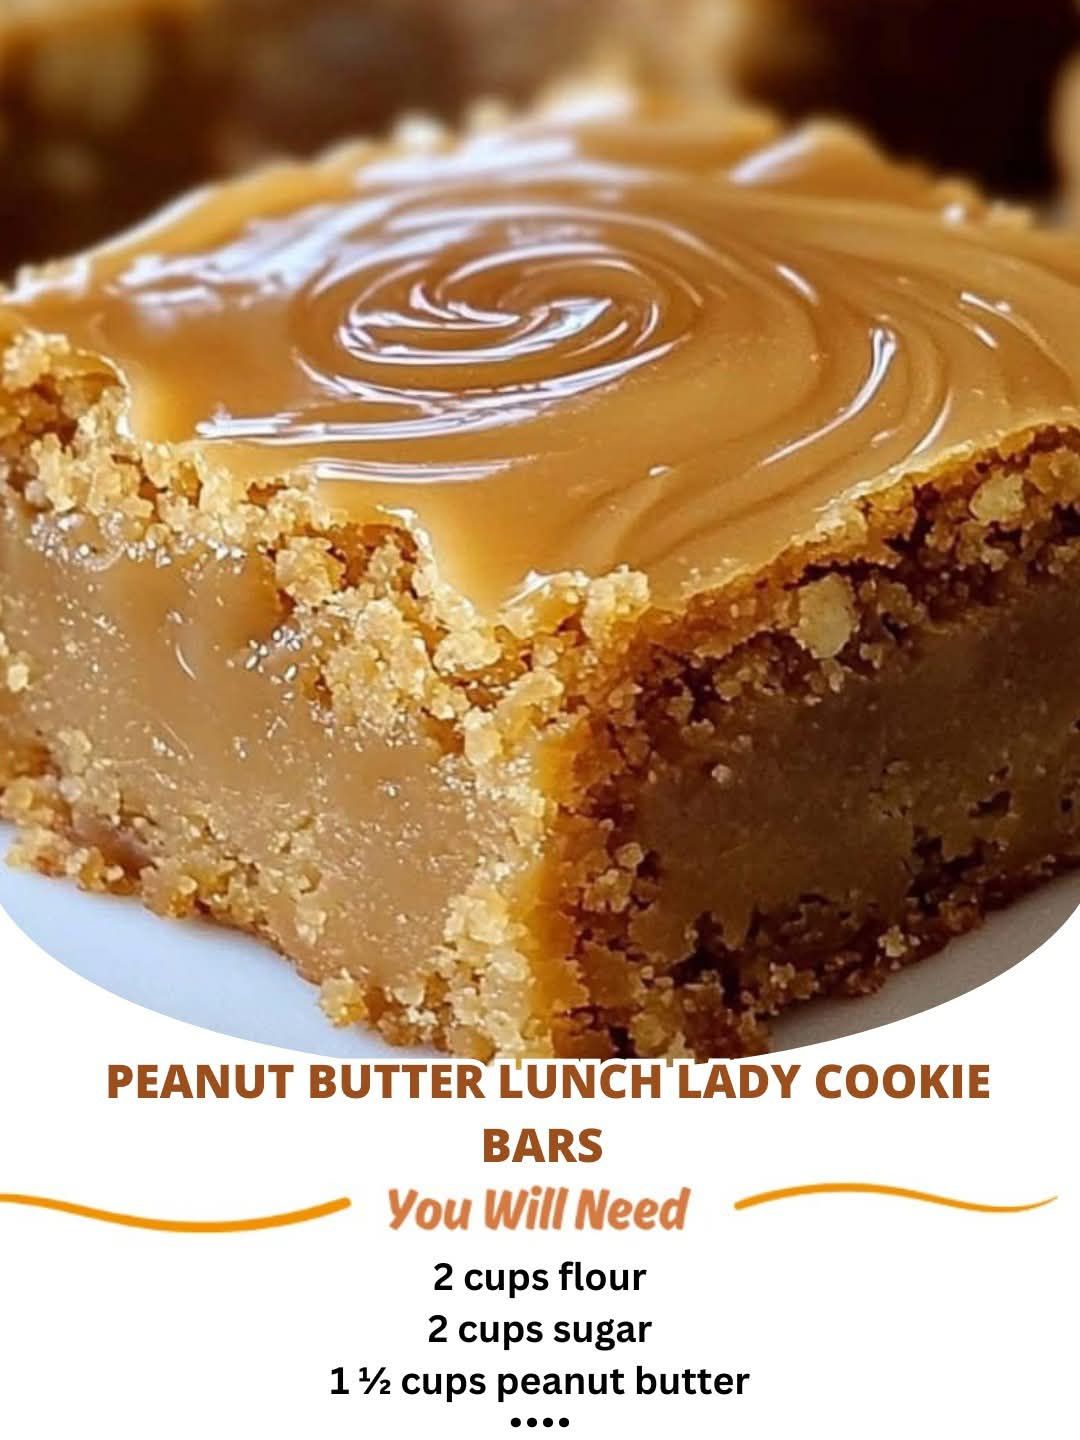
1. Perfect Texture: These bars are soft, chewy, and perfectly moist—just like the cookies you remember from school lunches. The peanut butter adds a rich and creamy texture that’s irresistible.
2. Quick and Easy: With simple pantry staples and just a few minutes of prep, you can have a batch of these delicious cookie bars ready to enjoy. No need to roll individual cookie dough balls—just mix, spread, and bake!
3. Customizable: Whether you like them plain or with chocolate chips, adding a handful of oats or a drizzle of melted chocolate on top, these bars are super customizable. They’re your perfect blank canvas for experimenting with different add-ins.
4. Kid-Friendly: If you’re looking for a fun treat to make with your little ones, this recipe is an excellent choice. Kids love the sweet peanut butter flavor, and the easy-to-make, no-fuss nature of these bars makes them a great baking project.
5. Great for Sharing: Whether it’s a bake sale, family gathering, or snack time at home, these bars are an excellent treat to share with friends and family. They travel well, so you can easily pack them in lunches or take them to picnics.
Pro Tips for the Best Peanut Butter Lunch Lady Cookie Bars:
- Don’t Overmix: When adding the dry ingredients to the wet mixture, mix until just combined. Overmixing can lead to a dense, tough texture.
- Experiment with Mix-ins: While optional, adding chocolate chips, peanut butter chips, or even a handful of chopped peanuts can elevate these cookie bars to a new level of deliciousness.
- For a Chewier Texture: To make the bars even chewier, you can use a bit less flour or add more peanut butter. The oats, while optional, will also give the bars a slightly denser and chewier consistency.
- Let Them Cool: Letting the bars cool completely before slicing ensures they’ll hold their shape and not crumble. The wait is worth it!
Conclusion: A Nostalgic Favorite for Today
These Peanut Butter Lunch Lady Cookie Bars combine the warmth and comfort of childhood memories with a modern, homemade twist. With their irresistible peanut butter flavor, chewy texture, and simple ingredients, these bars are sure to become a beloved treat in your household.
Whether you’re looking to relive some nostalgia or introduce a new classic into your baking repertoire, these cookie bars are the perfect choice. Make a batch today, and you’ll soon see why they’re impossible to resist!
ADVERTISEMENT
ADVERTISEMENT
