ADVERTISEMENT
Instructions: How to Make Old-Fashioned Cherry Cobbler
Making this cherry cobbler is surprisingly simple, and the results are always worth the effort. Here’s how to bring this nostalgic dessert to life:
Step 1: Prepare the Cherry Filling
Start by preheating your oven to 375°F (190°C). While the oven is heating up, prepare the cherry filling. In a medium-sized mixing bowl, combine the cherries, sugar, cornstarch, lemon juice, and vanilla extract. Stir well to coat the cherries evenly. This mixture will help create a thick, syrupy sauce as it bakes.
Once everything is well combined, pour the cherry mixture into a greased 9-inch baking dish. Set it aside while you prepare the biscuit topping.
Step 2: Make the Biscuit Topping
In a separate bowl, whisk together the flour, sugar, baking powder, and salt. Add the cold cubed butter to the dry ingredients. Using a pastry cutter or your fingers, cut the butter into the flour mixture until it resembles coarse crumbs. The small pieces of butter will create a flaky, tender topping.
Next, pour in the milk and stir until just combined. Be careful not to overmix—the dough should be a bit lumpy.
Step 3: Assemble the Cobbler
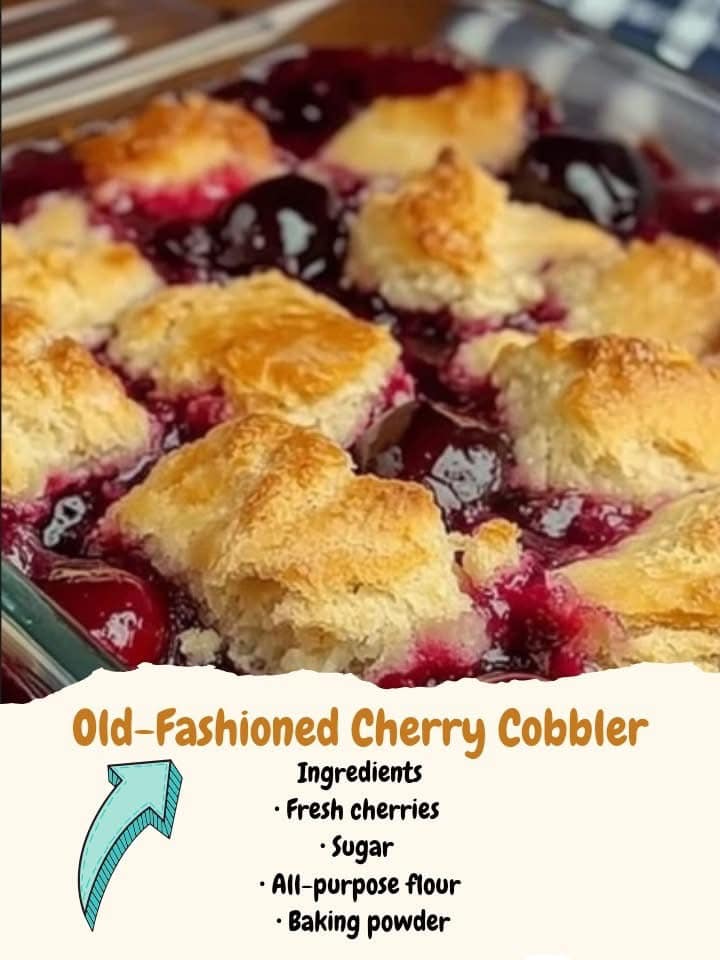
Now comes the fun part! Using a spoon or cookie scoop, drop spoonfuls of the biscuit dough over the cherry filling. The topping will spread as it bakes, so don’t worry about covering every inch. Leave a little space between the dough for the filling to bubble up.
Step 4: Bake
Place the assembled cobbler in the preheated oven and bake for 45-50 minutes, or until the biscuit topping is golden brown and the cherry filling is bubbling around the edges. You might want to check halfway through to make sure the topping is cooking evenly.
Step 5: Serve and Enjoy
Once the cobbler is out of the oven, let it cool slightly before serving. This dessert is perfect when served warm, either on its own or with a scoop of vanilla ice cream or a dollop of whipped cream. The hot cherry filling and the buttery biscuit topping make a perfect pairing, and the sweetness is perfectly balanced by the tart cherries.
Tips for the Best Cherry Cobbler:
- Use fresh cherries if you can, but frozen or canned cherries will work well too. Just make sure to drain canned cherries to avoid excess liquid.
- For extra flavor, add a pinch of cinnamon or almond extract to the filling.
- Make it ahead: You can prepare the cherry filling and biscuit topping in advance. Store them separately in the fridge and then assemble and bake when you’re ready to enjoy your cobbler.
- Serve with ice cream: A scoop of vanilla ice cream pairs wonderfully with this warm, fruity dessert. The cold ice cream melts perfectly over the hot cherries and biscuit.
Why You’ll Love This Recipe
This old-fashioned cherry cobbler recipe is simple, comforting, and filled with nostalgia. The combination of sweet cherries and buttery biscuit topping is the perfect balance of flavors and textures. Whether you’re baking it for a family gathering or just indulging in a quiet evening at home, this cobbler is sure to bring smiles to everyone’s faces.
Plus, it’s highly customizable—add your favorite fruits, make it gluten-free, or top it with a sprinkle of cinnamon for a bit of spice. The best part? It’s so easy to make that anyone can master it in no time. So go ahead, give it a try, and enjoy the comforting taste of homemade cobbler that’s as good as grandma used to make!
This article captures the essence of a classic cherry cobbler and how to make it at home, with easy-to-follow instructions and helpful tips!
ADVERTISEMENT
