ADVERTISEMENT
Instructions
1. Mix the Dry Ingredients:
- In a medium bowl, whisk together the flour, baking powder, salt, and sugar (if using). This is your dry mixture.
2. Add the Wet Ingredients:
- Make a well in the center of the dry ingredients and add the milk, melted butter, and vanilla extract (if using).
- Stir gently with a spoon or spatula until the dough comes together. It should be slightly sticky but not overly wet. If it’s too dry, add a little extra milk, a tablespoon at a time.
3. Shape the Dough:
- Turn the dough out onto a lightly floured surface and gently knead for just a few seconds, until it comes together into a soft ball. There’s no need to knead it for long—just enough to shape it.
4. Prepare the Skillet:
- Heat a large, heavy-bottomed skillet (preferably non-stick) over low to medium heat. Add a small amount of oil or butter to coat the bottom of the skillet.
5. Cook the Bread:
- Gently flatten the dough ball into a round or oval shape (about 1 inch thick) with your hands or a rolling pin.
- Place the shaped dough into the skillet and cover with a tight-fitting lid.
- Cook on low to medium heat for about 20-25 minutes, flipping the bread halfway through.
- Tip: You want the heat to be low to medium, so the bread cooks all the way through without burning the outside. If the bread is browning too quickly, reduce the heat.
6. Check for Doneness:
- After about 10-12 minutes, carefully flip the bread over using a spatula or tongs. You should see a golden-brown crust forming on the bottom.
- Continue cooking for another 10-15 minutes on the other side.
- To check if the bread is done, insert a toothpick or skewer into the center of the bread. If it comes out clean, the bread is ready. If it’s still wet, cover and cook for a few more minutes.
7. Let It Cool:
- Once the bread is cooked through and golden on both sides, remove it from the skillet and place it on a cooling rack or cutting board. Allow it to cool slightly before slicing.
8. Serve and Enjoy:
- Slice the bread and serve while it’s still warm! It’s delicious on its own, or you can spread it with butter, jam, or use it as a base for sandwiches.
- For an extra treat, serve with a drizzle of honey or a sprinkle of cinnamon sugar for a sweet version.
Serving Suggestions
No-Oven Stovetop Bread pairs wonderfully with a wide variety of meals. Here are a few ideas for what to serve it with:
- Soup: A warm, hearty soup like tomato soup, chicken noodle, or vegetable stew is a perfect pairing for this soft, fluffy bread.
- Salads: Serve a slice alongside a fresh green salad or Greek salad for a light and satisfying meal.
- Breakfast: Top with butter and jam or enjoy it with a drizzle of honey for a simple breakfast.
- Sandwiches: Use this bread for your favorite sandwich fillings, from grilled cheese to avocado toast.
Tips for Success
🌟 Adjust the Heat: The key to stovetop bread is cooking it slowly over low to medium heat. If the heat is too high, the outside will burn before the inside cooks. If this happens, turn the heat down and cover the skillet to trap the heat and cook the bread more evenly.
🌟 Use a Heavy Skillet: A cast iron skillet or heavy-bottomed pan works best, as it ensures even heat distribution and prevents hotspots that could burn the bread.
🌟 Flavor Variations: Add herbs, cheese, or spices to the dough for a twist! Try adding garlic powder, rosemary, or cheddar cheese for a savory version, or cinnamon and nutmeg for a sweet breakfast bread.
🌟 Make It Your Own: If you prefer a sweeter bread, add a tablespoon of sugar or honey to the dough. You can also experiment with adding raisins, chocolate chips, or dried fruit for added flavor.
Why This Recipe Works
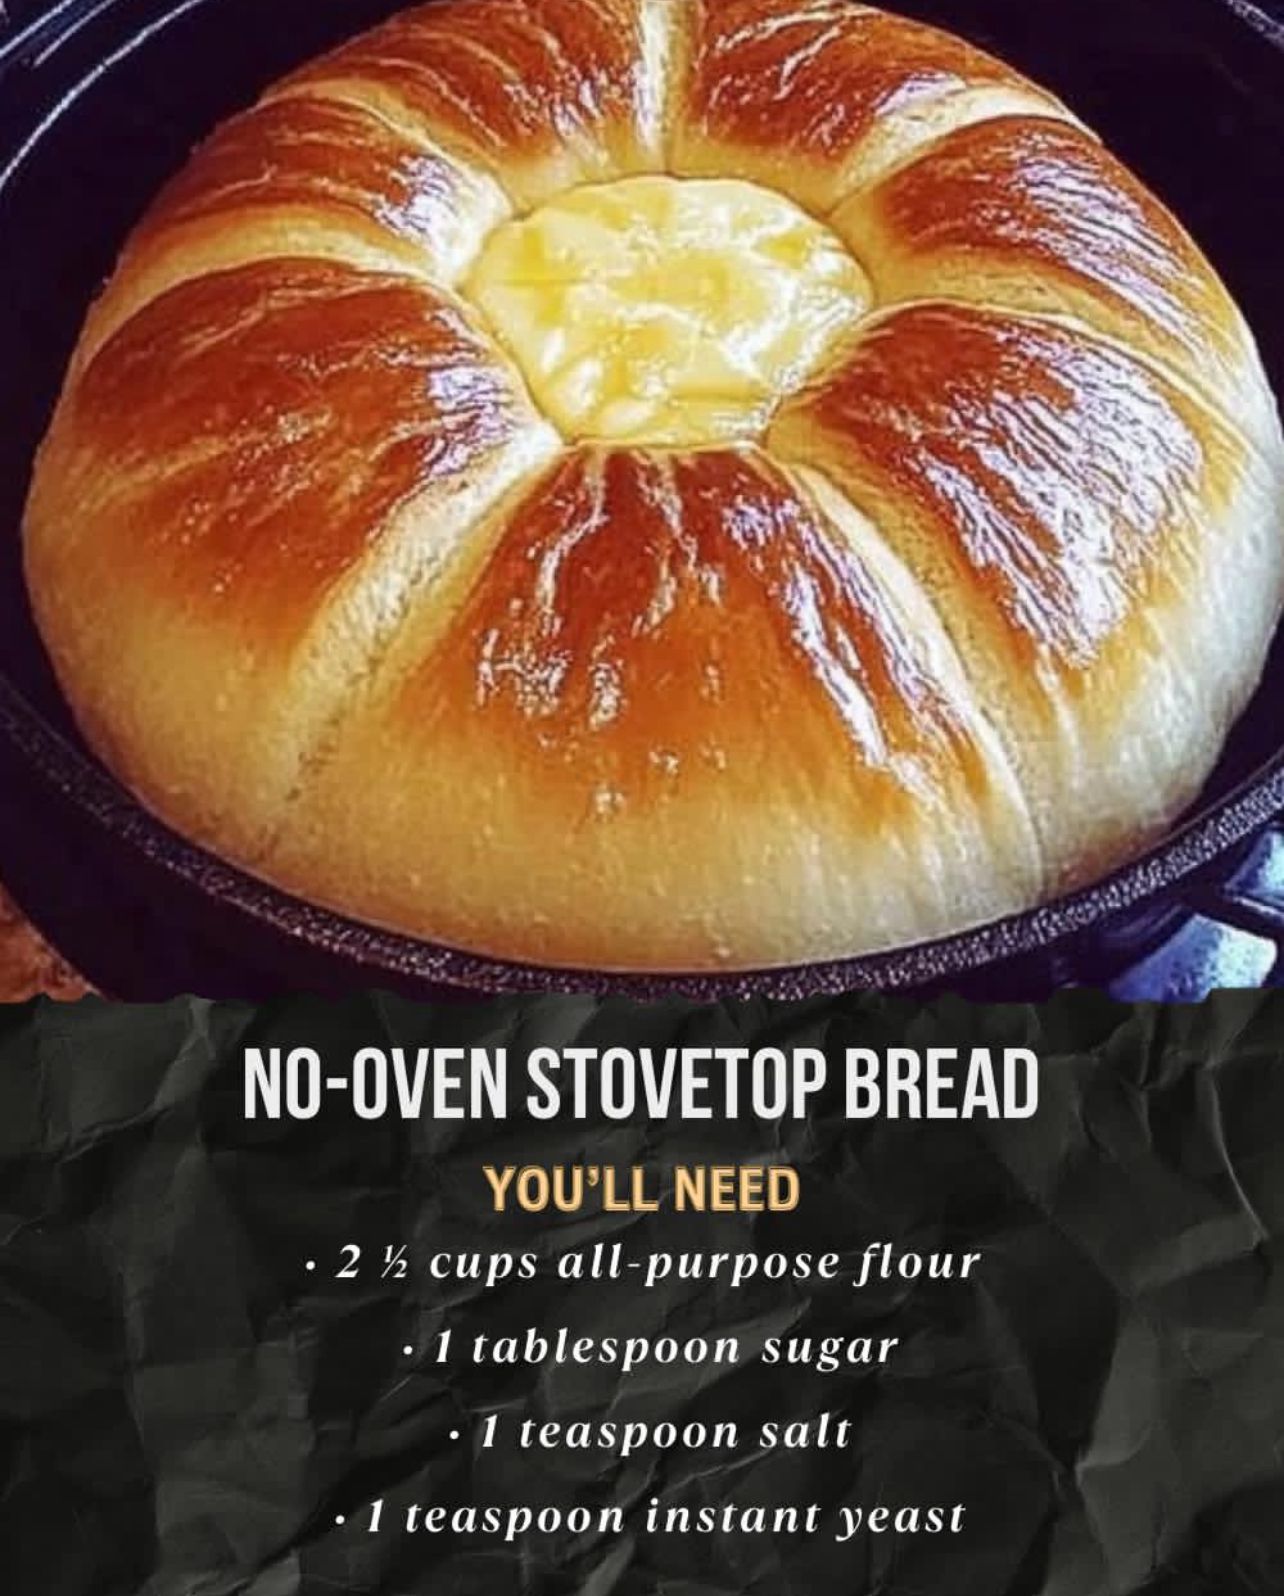
No-Oven Stovetop Bread is a true lifesaver when you’re short on time or want to avoid using the oven. The key to success is using a heavy skillet and cooking the bread on low heat to ensure it cooks evenly and comes out soft and fluffy. The simple combination of flour, baking powder, milk, and butter creates a bread that’s perfect for any occasion.
This bread has the perfect balance of crispy exterior and soft interior, and it’s a lot easier to make than traditional oven-baked bread. The baking powder acts as the leavening agent, so there’s no need for yeast or rising time—just mix, cook, and enjoy!
Final Thoughts
When you’re in the mood for warm, homemade bread but don’t want to heat up the oven, No-Oven Stovetop Bread is your go-to recipe. It’s easy, quick, and yields a delicious result that can be enjoyed in countless ways. Whether you’re serving it with dinner or enjoying it as a snack with butter, this stovetop bread is sure to become a new favorite in your kitchen.
So the next time you’re craving freshly baked bread, remember that you don’t need an oven—just a stovetop and a few simple ingredients. Happy bread-making! 🍞🧈
ADVERTISEMENT
