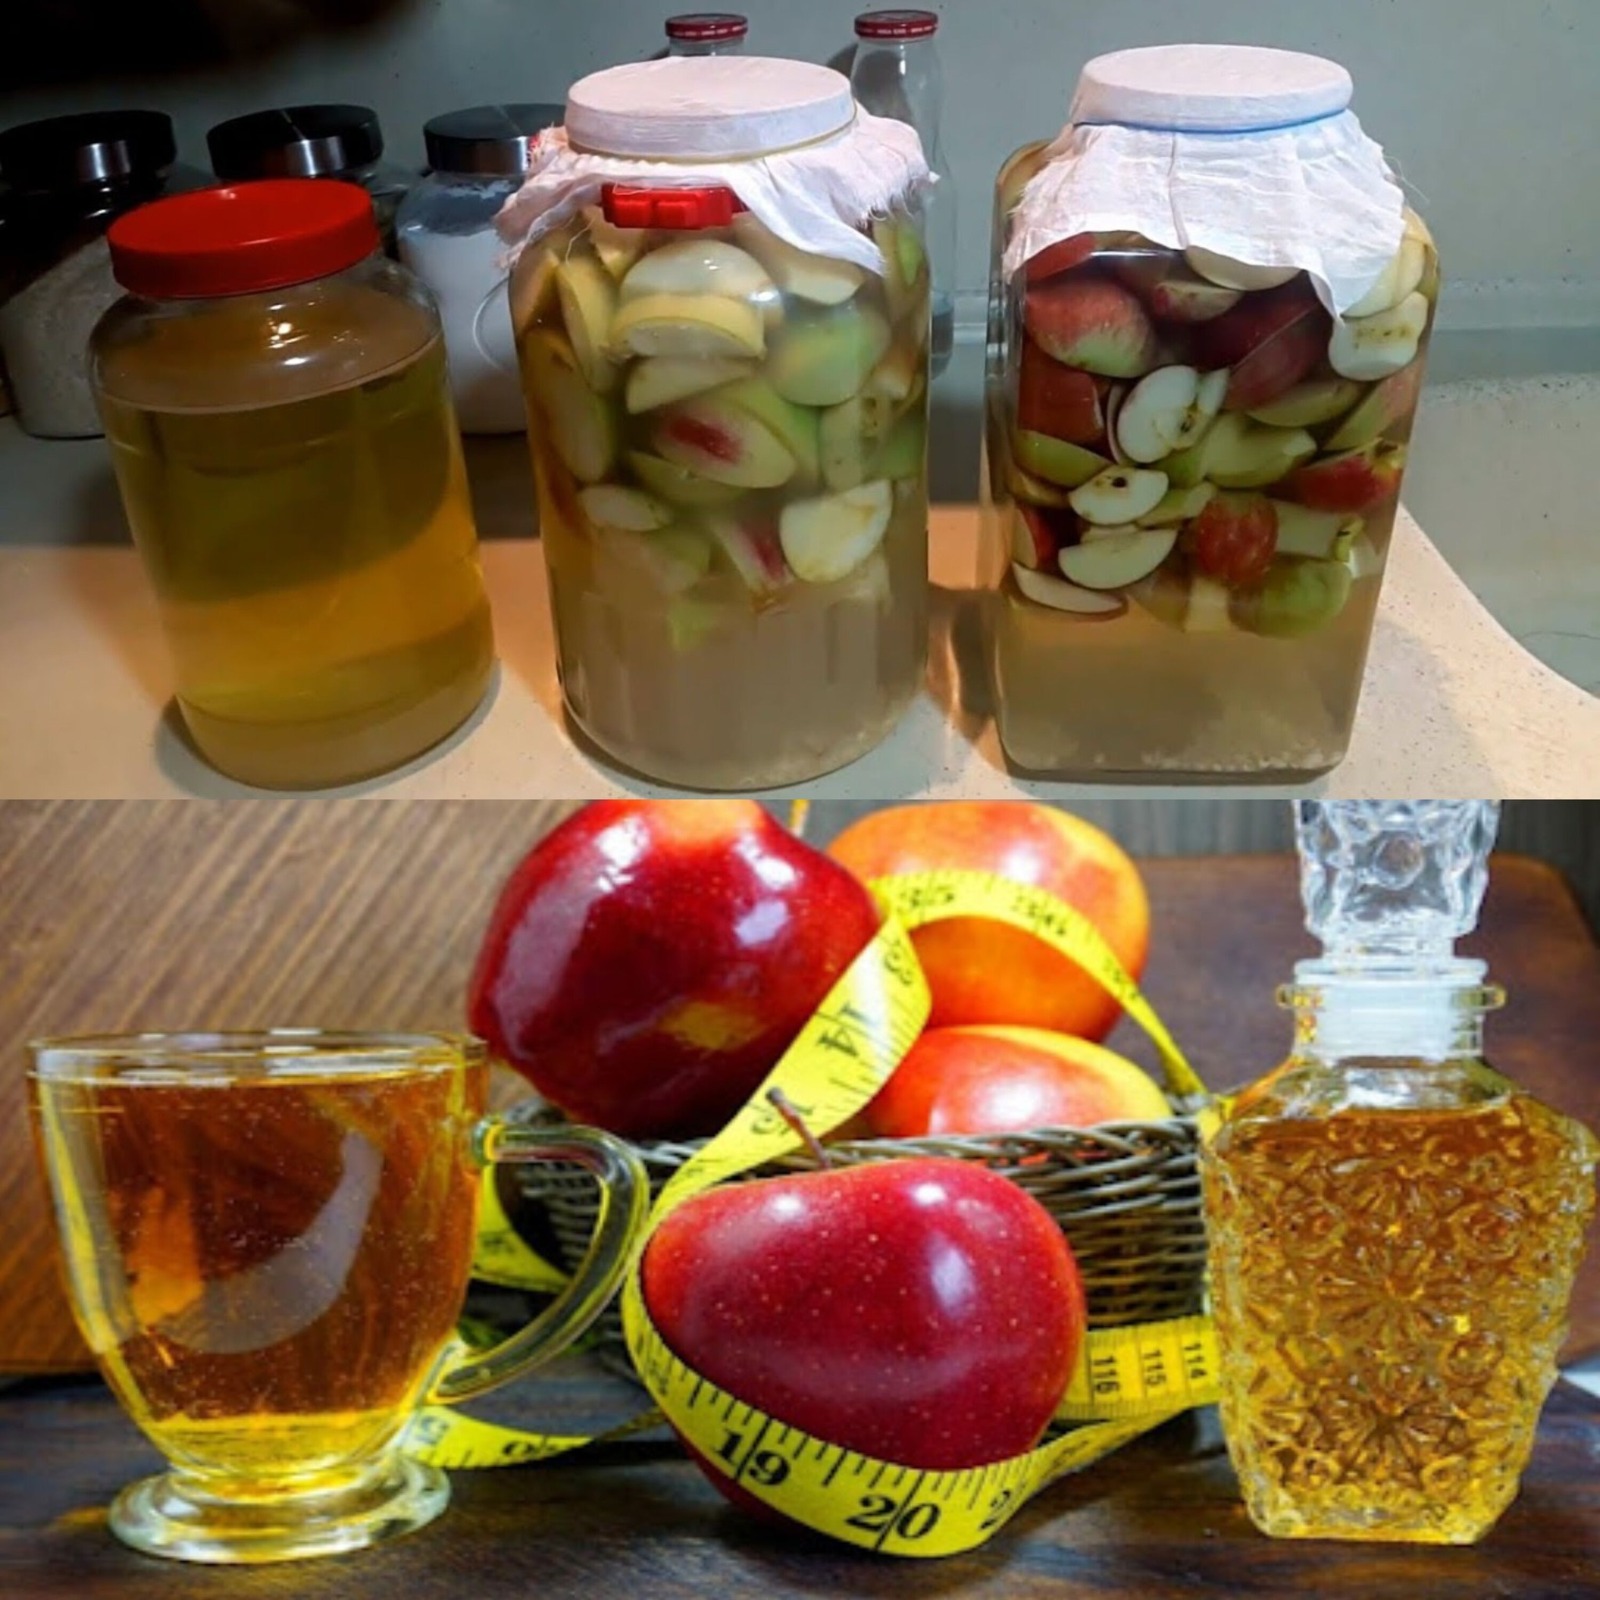
Step-by-Step Guide to Making Apple Vinegar
Step 1: Prepare the Apples
 If using whole apples, wash them thoroughly and chop them into small pieces.
 If using apple scraps, gather leftover peels and cores from making pies, cider, or applesauce.
Step 2: Start the Fermentation
 Place the apple pieces or scraps in a large glass jar.
 Dissolve 2 tablespoons of sugar or honey in 4 cups of warm filtered water.
 Pour the sugar water over the apples until they are fully submerged.
 Cover the jar with a clean cloth or coffee filter and secure it with a rubber band.
Step 3: Let It Ferment
 Store the jar in a dark, warm place (around 60-75°F or 15-24°C) for about 3-4 weeks.
 Stir the mixture every 2-3 days to prevent mold and allow fermentation.
 After 2 weeks, you should notice a vinegar-like smell forming!
Step 4: Strain and Continue Fermenting
 After about 4 weeks, strain the liquid through a fine-mesh sieve or cheesecloth into another clean jar.
 Discard the apple pieces.
 Cover the jar again and let the liquid ferment for another 2-3 weeks until it smells strong and tangy.
Step 5: Bottle and Store
 Once the vinegar reaches your desired acidity, transfer it to a sealed bottle.
 Store in a cool, dark place—it will keep for several months!
 If you see a cloudy film (called the “mother”), don’t worry—it’s rich in probiotics and beneficial for health.
Ways to Use Your Homemade Apple Vinegar
 Salad Dressing: Mix with olive oil, mustard, and herbs.
 Natural Cleaner: Dilute with water for an all-purpose disinfectant.
 Digestive Health: Add a teaspoon to warm water for gut support.
 Hair Rinse: Mix with water for shiny, healthy hair.
Final Thoughts
Making apple vinegar at home is easy, rewarding, and incredibly useful. With just apples, water, and time, you can create a natural, homemade vinegar that is full of flavor and health benefits.
Give it a try and let me know how your homemade apple vinegar turns out! 


