ADVERTISEMENT
Instructions: How to Make This No-Knead Bread
Step 1: Mix the Ingredients
In a large mixing bowl, combine the flour, salt, and yeast. Stir to evenly distribute the yeast throughout the flour. Slowly add the warm water (about 110°F, or just above room temperature). Use a spoon or your hands to mix the ingredients together until a sticky, shaggy dough forms. The dough should be slightly wet and sticky, but that’s okay! You don’t need to knead it.
Step 2: Let It Rise
Cover the bowl with a clean kitchen towel or plastic wrap, and let the dough rest at room temperature for 12 to 18 hours. Yes, you read that right—let it sit. During this time, the yeast will do its magic, slowly rising and developing flavor. There’s no need to rush the process—patience is key! You’ll know the dough is ready when it has doubled in size and has lots of little bubbles on the surface.
Step 3: Shape the Dough
Once the dough has risen, flour your countertop lightly. Turn the dough out onto the surface, and use your hands to gently shape it into a rough ball. You don’t need to be precise—just form it into a shape that will fit comfortably in your baking dish.
Step 4: Preheat the Oven
Preheat your oven to 450°F (230°C). While the oven heats up, place a Dutch oven or heavy pot with a lid inside the oven to warm up as well. The hot pot will create steam in the oven, which is crucial for giving your bread that delicious crispy crust.
Step 5: Bake the Bread
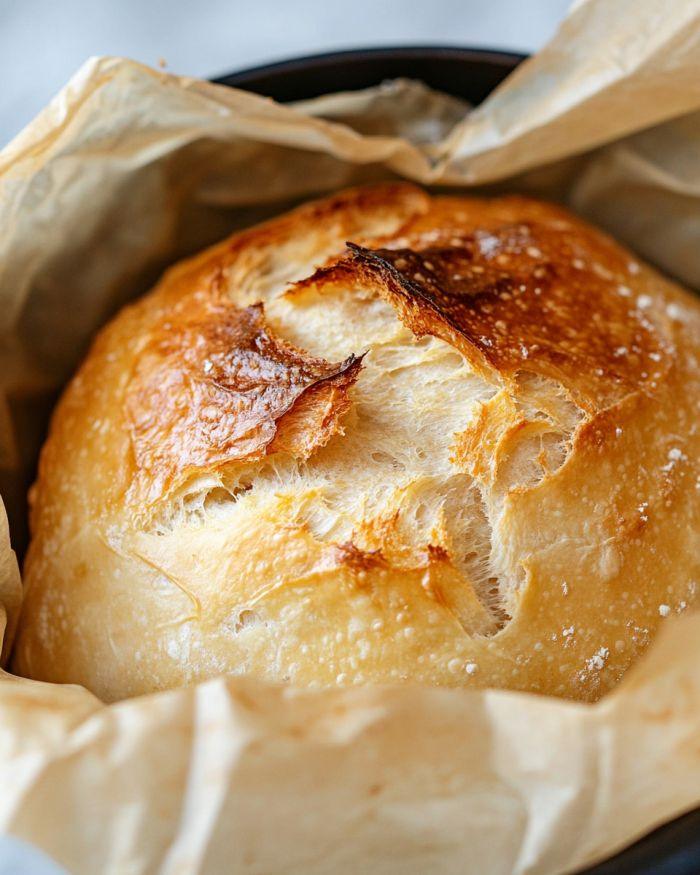
Once the oven and pot are hot, carefully remove the pot from the oven. Place your shaped dough inside the pot (it’s okay if it’s a little sticky). Cover the pot with the lid and bake for 30 minutes. After 30 minutes, remove the lid and continue baking for another 10-15 minutes, or until the bread is golden brown and sounds hollow when tapped on the bottom.
Step 6: Cool and Enjoy
Once the bread is done, remove it from the pot and let it cool on a wire rack for at least 30 minutes before slicing. This helps the texture set and prevents the bread from being too doughy inside.
Why You’ll Love This No-Knead Bread Recipe
- Minimal Effort: You don’t need to knead the dough, and it only takes a few minutes of hands-on work. The long resting time does all the heavy lifting for you.
- Few Ingredients: With just four basic ingredients, you’re able to create a delicious, homemade loaf of bread without complicated steps or special ingredients.
- Perfect for Beginners: If you’ve never baked bread before, this recipe is the perfect way to get started. It’s almost foolproof!
- Chewy and Flavorful: The long resting time allows the flavors to develop and creates a chewy, rustic texture that’s perfect for sandwiches, toast, or just enjoying with butter.
- Versatile: While this recipe is for basic bread, you can experiment with adding herbs, seeds, or even dried fruit to customize it to your tastes.
Additional Tips
- Use Warm Water: Make sure the water is warm but not too hot (around 110°F). Too hot, and it could kill the yeast; too cold, and it won’t activate properly.
- Don’t Skip the Resting Time: The 12-18 hour rise is essential for developing flavor and texture. You can easily leave the dough overnight and bake it the next day.
- Add Variations: Feel free to add a tablespoon of olive oil, a teaspoon of honey, or some fresh herbs like rosemary for extra flavor.
- Storage: Store your homemade bread in a bread box or tightly wrapped in a cloth to keep it fresh for several days. It also makes great toast!
Final Thoughts
This 4-ingredient no-knead bread is a game-changer for anyone looking to bake their own bread with minimal time and effort. It’s a simple yet satisfying recipe that will impress your family and friends with its fresh, homemade flavor. So, the next time you’re in the mood for freshly baked bread, try this no-knead method—you’ll be amazed at how easy it is to make and how delicious it tastes! Happy baking!
ADVERTISEMENT
ADVERTISEMENT
