ADVERTISEMENT
Instructions for Making Homemade Yellow Cheese
1. Prepare the Milk
Start by pouring the whole milk into a large pot. Gently heat the milk over medium heat until it reaches 85°F (29°C). Use a thermometer to monitor the temperature, ensuring it doesn’t get too hot.
2. Add the Annatto (Optional)
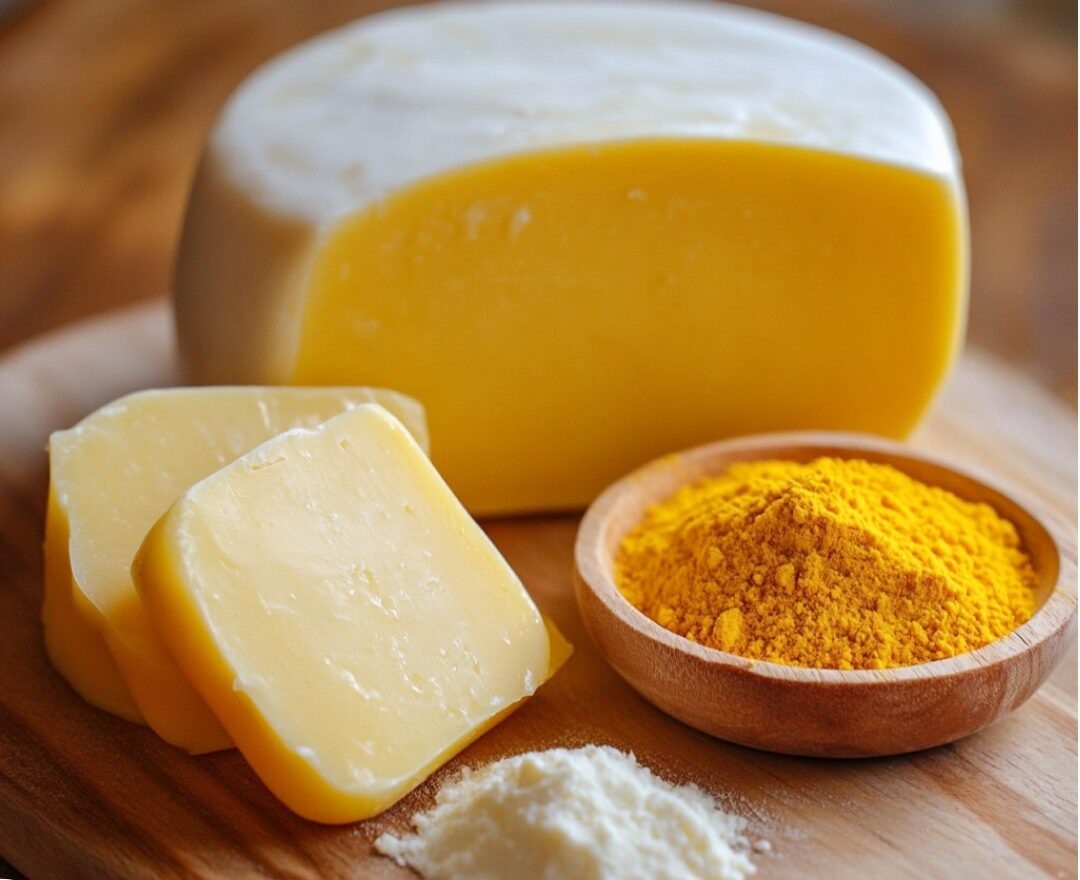
If you’d like to give your cheese that classic yellow color, add the annatto seeds to the milk now. To do so, dissolve the annatto in a small amount of warm water, then stir it into the milk. This step is optional, but it will give your cheese a beautiful golden hue.
3. Add the Starter Culture
Once the milk has reached the right temperature, sprinkle the mesophilic starter culture over the surface of the milk. Let it rehydrate for about 2-3 minutes, then stir it gently into the milk. This culture will help to develop the cheese’s flavor, so don’t skip this step!
4. Add the Rennet
Dilute the liquid rennet in about 1/4 cup of cool, chlorine-free water. Once it’s fully dissolved, pour it into the milk, stirring gently in an up-and-down motion for about 30 seconds. After this, stop stirring and let the milk sit undisturbed for 60-90 minutes at a temperature of 85°F (29°C). During this time, the milk will begin to coagulate and form curds.
5. Cut the Curds
Once the curds have set (the milk will have thickened into a custard-like consistency), it’s time to cut them. Using a long knife or curd cutter, cut the curds into small cubes, about 1/2 inch in size. Let the curds sit for about 5 minutes to firm up slightly.
6. Cook the Curds
Slowly heat the curds to 110°F (43°C) over a 30-minute period. Stir the curds gently during this time to prevent them from clumping together. You’ll notice the curds will begin to shrink and firm up as they heat. Once the curds reach the desired temperature, let them sit for another 15 minutes.
7. Drain the Curds
After the curds have cooked, it’s time to drain off the whey. Line a colander with cheesecloth and carefully pour the curds into the colander, allowing the whey to drain away. You can save the whey for other uses, such as in soups or for making ricotta cheese.
8. Press the Cheese (Optional)
If you prefer a firmer cheese, you can press the curds to help them release more whey. Place the curds into a cheese mold and apply light pressure using a cheese press or a heavy object. Press the cheese for about 1-2 hours, then flip it over and press again for another hour.
If you don’t have a cheese press, you can also shape the cheese by hand and let it drain for a few hours in the cheesecloth.
9. Salting the Cheese
Once your cheese has been pressed and shaped, it’s time to add salt. Sprinkle the salt evenly over the surface of the cheese, then rub it in gently. The salt not only enhances the flavor but also helps to preserve the cheese.
10. Age the Cheese
Homemade yellow cheese can be enjoyed fresh, but for the best flavor and texture, it’s recommended to age it. To age your cheese, wrap it in wax paper and store it in a cool, dark place (such as a cheese cave or refrigerator) for 1-2 weeks. During this time, the flavors will develop, and the cheese will become firmer.
Enjoy Your Homemade Yellow Cheese!
Once your cheese has aged to your liking, it’s time to enjoy! Whether you slice it for sandwiches, melt it on a burger, or grate it over pasta, homemade yellow cheese adds a fresh and flavorful touch to any dish. Plus, there’s nothing quite like the satisfaction of tasting a cheese you made with your own two hands.
Tips for Success
- Use good-quality milk: The quality of your milk will directly affect the taste and texture of your cheese, so opt for fresh, high-quality whole milk.
- Maintain the right temperature: The temperature at each stage of the process is crucial to getting the right texture. Invest in a good thermometer to ensure accuracy.
- Be patient: Cheese-making takes time, and the longer you allow the curds to develop and age, the better the flavor will be. Don’t rush the process!
Final Thoughts: Crafting Your Own Yellow Cheese
Making homemade yellow cheese may seem intimidating at first, but with the right ingredients and a little patience, it’s a rewarding experience. The ability to create your own creamy, flavorful cheese from scratch opens up a world of culinary possibilities. So, grab your ingredients, get your hands on some cheesecloth, and start crafting your own delicious yellow cheese today! You’ll be amazed at how much better homemade cheese can taste, and your friends and family will be impressed by your new cheese-making skills!
ADVERTISEMENT
