ADVERTISEMENT
Step 3: Wipe Down with Soapy Water
Dampen a microfiber cloth or soft sponge in the cleaning solution, then wring it out so it’s not soaking wet. Wipe down the entire surface of the cabinet, starting from the top and working your way down to avoid drips. Gently scrub any areas that have built-up grease or dirt. For stubborn spots, you can use a soft toothbrush to scrub between the grooves and details of the cabinet doors.
Tip: Avoid soaking the wood. Excess water can damage the finish and even cause the wood to warp. Always use a slightly damp cloth, not a soaking wet one.
Step 4: Tackle Grease Stains with Baking Soda
If you encounter grease stains that won’t come off with soapy water, baking soda is your secret weapon. It’s gentle enough to use on wood, but powerful enough to cut through grease.
How to use baking soda:
- Mix a small amount of baking soda with water to create a paste.
- Apply the paste to the grease spots and let it sit for 5-10 minutes.
- Use a damp cloth or soft sponge to gently scrub the area.
- Wipe away any excess paste with a clean, damp cloth.
Tip: Always do a small test patch in an inconspicuous area before using baking soda on the entire surface to make sure it doesn’t damage the finish.
Step 5: Rinse and Dry
Once the cabinets are clean, rinse them with a clean cloth dampened with plain water to remove any soap residue. It’s essential not to leave any cleaning solution behind, as it can leave streaks or damage the wood over time.
After rinsing, dry the cabinets thoroughly with a dry microfiber cloth to avoid any water spots or potential damage from moisture.
Step 6: Polish and Protect the Wood
After your cabinets are clean and dry, you can add a little extra shine and protection by applying a wood furniture polish or a DIY oil solution.
DIY oil solution:
- 1/4 cup of olive oil (or vegetable oil)
- 1/4 cup of vinegar
- A few drops of essential oil (optional) for a pleasant scent
Mix the ingredients in a small bowl, then apply a small amount to a clean cloth. Gently buff the wood in a circular motion to enhance the shine and protect the finish. The oil helps moisturize the wood and adds a layer of protection against future grime.
Tip: Always use a small amount of polish or oil, as too much can leave a greasy residue.
Final Thoughts
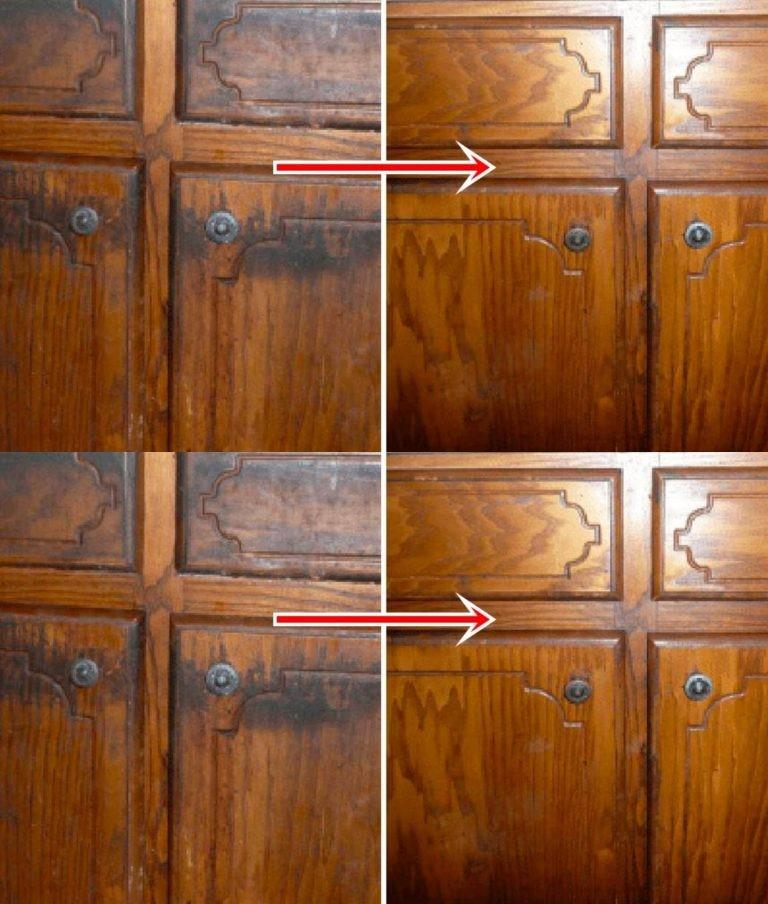
Cleaning wood kitchen cabinets doesn’t have to be a daunting task. With these simple steps and a few household ingredients, you can easily remove dirt and grease, leaving your cabinets looking as good as new. Regular cleaning and maintenance will also help preserve the wood’s natural beauty and ensure your kitchen always shines.
So, next time you notice grease stains or built-up grime on your cabinets, skip the harsh chemicals and opt for these easy, natural cleaning solutions. Your wood cabinets will thank you!
ADVERTISEMENT
ADVERTISEMENT
