ADVERTISEMENT
Step 4: Clean the Inside
- Pour the vinegar solution into the cistern, ensuring all surfaces are covered.
- Let it sit for 30 minutes to break down limescale and grime.
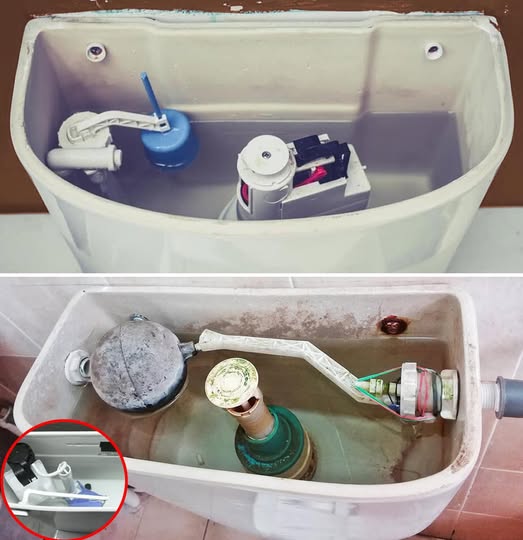
- Use a soft brush or sponge to scrub the walls and components gently. Avoid using abrasive tools, as they can damage the cistern.
Step 5: Scrub Small Parts
Use an old toothbrush to clean hard-to-reach areas like the flapper, float, and refill tube.
Step 6: Rinse Thoroughly
Turn the water supply back on and let the cistern refill. Flush the toilet several times to rinse away the cleaning solution and loosened debris.
Step 7: Exterior Maintenance
While cleaning the cistern, take a moment to wipe down the exterior using the same vinegar solution for a spotless finish.
Preventative Tips
- Use Vinegar Tablets: Drop vinegar tablets into the cistern regularly to prevent mineral buildup.
- Inspect Monthly: Check for grime and clean the cistern every month to maintain optimal performance.
- Install a Filter: If you have hard water, consider installing a water filter to reduce limescale deposits.
Benefits of a Clean Cistern
- Reduces the risk of leaks and mechanical issues.
- Keeps your toilet looking and smelling fresh.
- Enhances the lifespan of your toilet system.
Conclusion
Cleaning your toilet cistern doesn’t have to be a daunting task. With these simple steps and a few household ingredients, you can restore your cistern to its original shine and functionality. Incorporating this task into your regular cleaning routine will save you from costly repairs and keep your bathroom fresh and hygienic.
Give your toilet the care it deserves—it’s worth the effort!
ADVERTISEMENT
