ADVERTISEMENT
Instructions for Making Homemade Chocolate Ice Cream
1. Prepare the Chocolate Base
In a medium saucepan, combine the heavy cream and whole milk. Place the saucepan over medium heat and stir occasionally until the mixture is hot but not boiling.
While the cream and milk are heating, place the unsweetened cocoa powder and sugar in a separate small bowl. Once the milk and cream are hot, whisk the cocoa and sugar mixture into the saucepan. Stir well to dissolve the cocoa and sugar completely. Then, add the chopped bittersweet chocolate (or chocolate chips) to the hot mixture. Stir continuously until the chocolate is melted and the mixture is smooth and well combined.
2. Temper the Egg Yolks
In a separate bowl, whisk together the egg yolks and a pinch of salt. Gradually pour a small amount of the hot chocolate mixture into the egg yolks, whisking constantly. This step, known as tempering, prevents the eggs from curdling when added to the hot liquid.
Slowly add more of the hot chocolate mixture to the egg yolks while continuing to whisk. Once the egg yolks are warmed up, pour them back into the saucepan with the rest of the chocolate mixture.
3. Cook the Custard
Return the saucepan to medium-low heat and cook the mixture while stirring constantly. You’ll want to cook it until it thickens slightly, which should take about 5-8 minutes. The custard is ready when it coats the back of a spoon and you can draw a line through it with your finger.
Be careful not to overheat the mixture, as the eggs may scramble if the temperature gets too high.
4. Cool the Mixture
Once the custard has thickened, remove it from the heat and stir in the vanilla extract. Transfer the custard to a clean bowl and let it cool to room temperature. To speed up this process, you can place the bowl over an ice bath (a larger bowl filled with ice and water) while stirring occasionally.
Once the mixture has cooled, cover it with plastic wrap, ensuring the wrap touches the surface of the custard to prevent a skin from forming. Refrigerate for at least 4 hours or overnight to allow it to chill completely.
5. Churn the Ice Cream
Once the mixture is thoroughly chilled, it’s time to churn the ice cream. If you have an ice cream maker, pour the chilled mixture into the machine and churn according to the manufacturer’s instructions. This will usually take about 20-25 minutes, or until the ice cream has thickened and resembles soft-serve consistency.
If you don’t have an ice cream maker, pour the mixture into a shallow, freezer-safe container. Place it in the freezer, and after about 30-45 minutes, stir the mixture with a fork to break up any ice crystals. Repeat this every 30 minutes for about 3-4 hours until the ice cream reaches the desired consistency.
6. Freeze and Set
Once the ice cream has reached the desired consistency, transfer it to an airtight container and place it in the freezer for an additional 4 hours or until it’s firm.
7. Serve and Enjoy
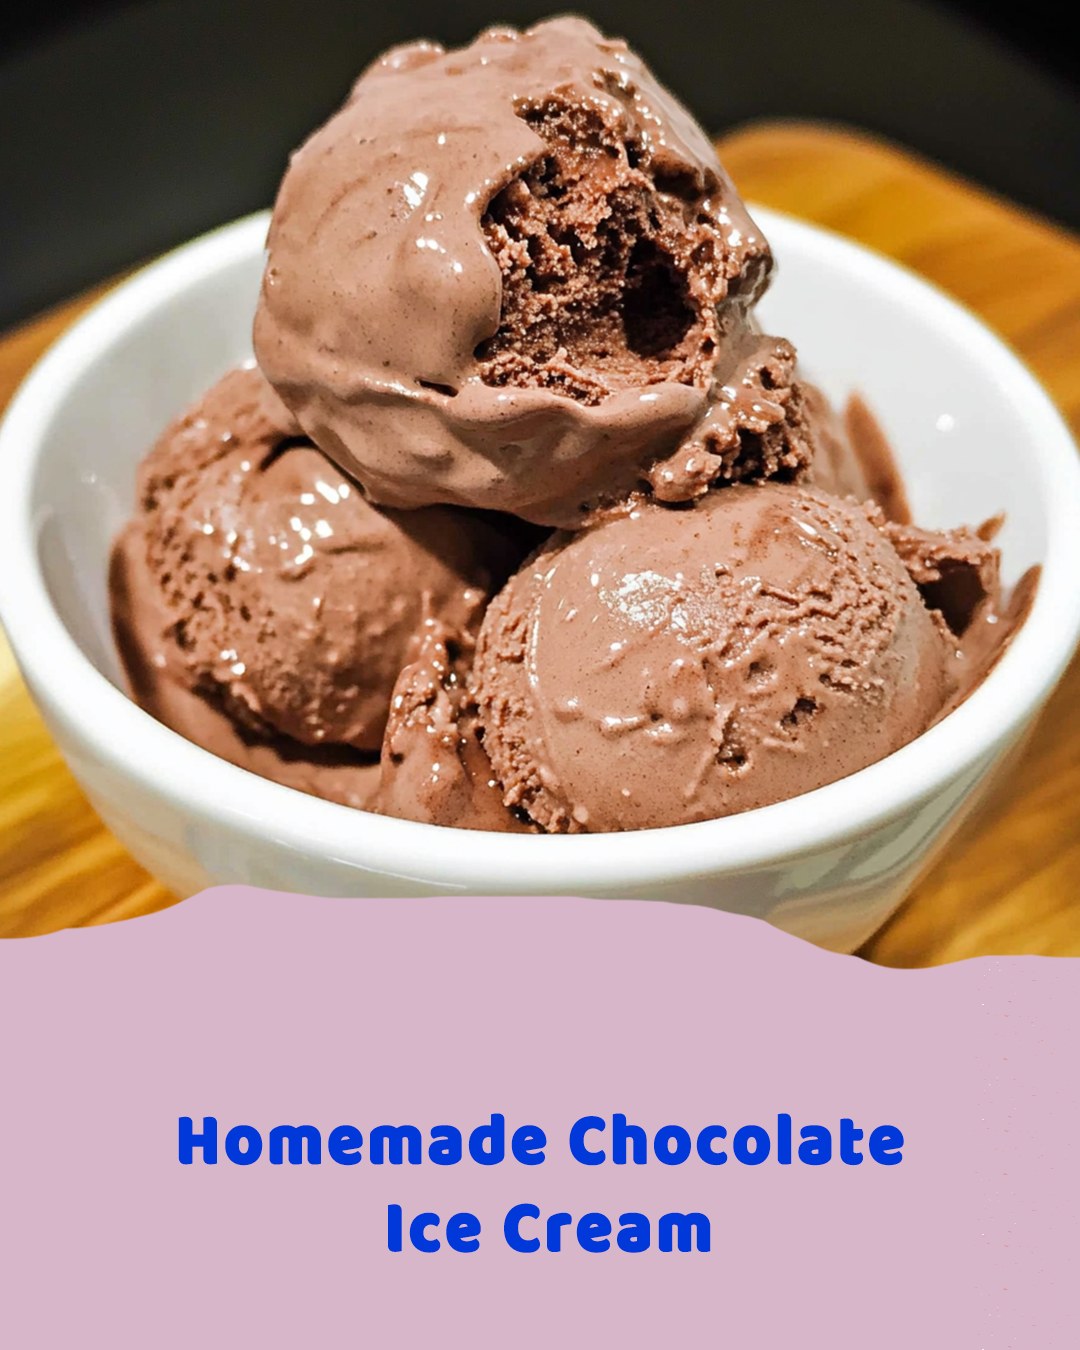
Once your Homemade Chocolate Ice Cream has set, scoop it into bowls or cones, and enjoy the creamy, chocolatey goodness. For an extra indulgence, you can drizzle some chocolate syrup, top with whipped cream, or add chocolate chips or nuts for texture.
Tips for Perfect Homemade Chocolate Ice Cream
- Use Good Quality Chocolate: The quality of the chocolate you use will make a huge difference in the final flavor of your ice cream. Choose a high-quality bittersweet or semi-sweet chocolate for the best results.
- Don’t Rush the Chilling Process: For the creamiest texture, ensure that the custard is completely chilled before churning. This will help the ice cream churn faster and result in a smoother texture.
- Customize Your Ice Cream: Feel free to mix in your favorite ingredients once the ice cream is churned, such as chocolate chips, crushed cookies, marshmallows, or even swirls of caramel or peanut butter.
- Texture Tip: If you prefer your ice cream to be firmer, let it freeze for an additional few hours after churning. The longer it freezes, the harder it will be.
Why You’ll Love Homemade Chocolate Ice Cream
- Rich and Decadent: This ice cream is the perfect treat for chocolate lovers. It’s rich, creamy, and full of deep chocolate flavor.
- Customizable: From extra mix-ins to different types of chocolate, this ice cream can be personalized to your tastes.
- Made with Simple Ingredients: No complicated techniques or hard-to-find ingredients are required for this homemade version. It’s made with simple, pantry-friendly ingredients, so you can enjoy gourmet ice cream without any special equipment.
- Creamier Than Store-Bought: Homemade ice cream has a smooth, velvety texture that’s hard to find in store-bought versions. Once you’ve tasted homemade, you’ll never look at store-bought ice cream the same way again!
Final Thoughts
Homemade Chocolate Ice Cream is the ultimate dessert for chocolate lovers, offering a rich and creamy texture with the perfect balance of sweetness and chocolatey goodness. Whether you’re making it for a special occasion or simply indulging in a treat on a warm day, this ice cream is sure to delight.
By following this easy recipe and adding your own creative touches, you can enjoy a truly decadent homemade ice cream that rivals any store-bought version. So, grab your ingredients and start churning — you’ll be savoring the rich, smooth, and irresistible flavors of homemade chocolate ice cream in no time!
ADVERTISEMENT
ADVERTISEMENT
