ADVERTISEMENT
How to Make Homemade Chocolate-Covered Ice Cream Bars
Step 1: Prepare the Ice Cream Bars
Start by removing the ice cream from the freezer to let it soften just a little, making it easier to scoop and shape. While the ice cream softens, line a baking sheet or tray with parchment paper for easy cleanup.
Scoop the ice cream into bar-sized portions, and shape them into rectangular or square bars (or even rounds, if you prefer a different shape). If you want to add some fun texture, you can mix mini chocolate chips or crushed nuts into the ice cream before shaping the bars. Once the ice cream is shaped, insert a wooden popsicle stick into the center of each bar.
Place the shaped ice cream bars on the parchment paper-lined tray, making sure they aren’t touching. Transfer the tray to the freezer and allow the bars to freeze completely — about 3-4 hours or overnight for best results. The colder the ice cream is, the easier it will be to dip in the chocolate coating without melting.
Step 2: Prepare the Chocolate Coating
While the ice cream bars are freezing, prepare the chocolate coating. In a microwave-safe bowl, add the chocolate chips and coconut oil (or vegetable oil). Microwave the mixture in 20-30 second intervals, stirring well after each interval, until the chocolate is smooth and fully melted. Be sure not to overheat the chocolate, as it can burn easily.
Once the chocolate is melted and smooth, stir in the vanilla extract for an extra layer of flavor. Let the chocolate cool slightly to prevent it from melting the ice cream when you dip the bars.
Step 3: Coat the Ice Cream Bars in Chocolate
Once the ice cream bars are fully frozen, it’s time to coat them. Remove the bars from the freezer and dip each one into the melted chocolate, ensuring it’s fully covered. Hold the bar by the popsicle stick and swirl it gently in the chocolate to coat all sides evenly. You can also drizzle the chocolate over the bars if you prefer to cover them more lightly.
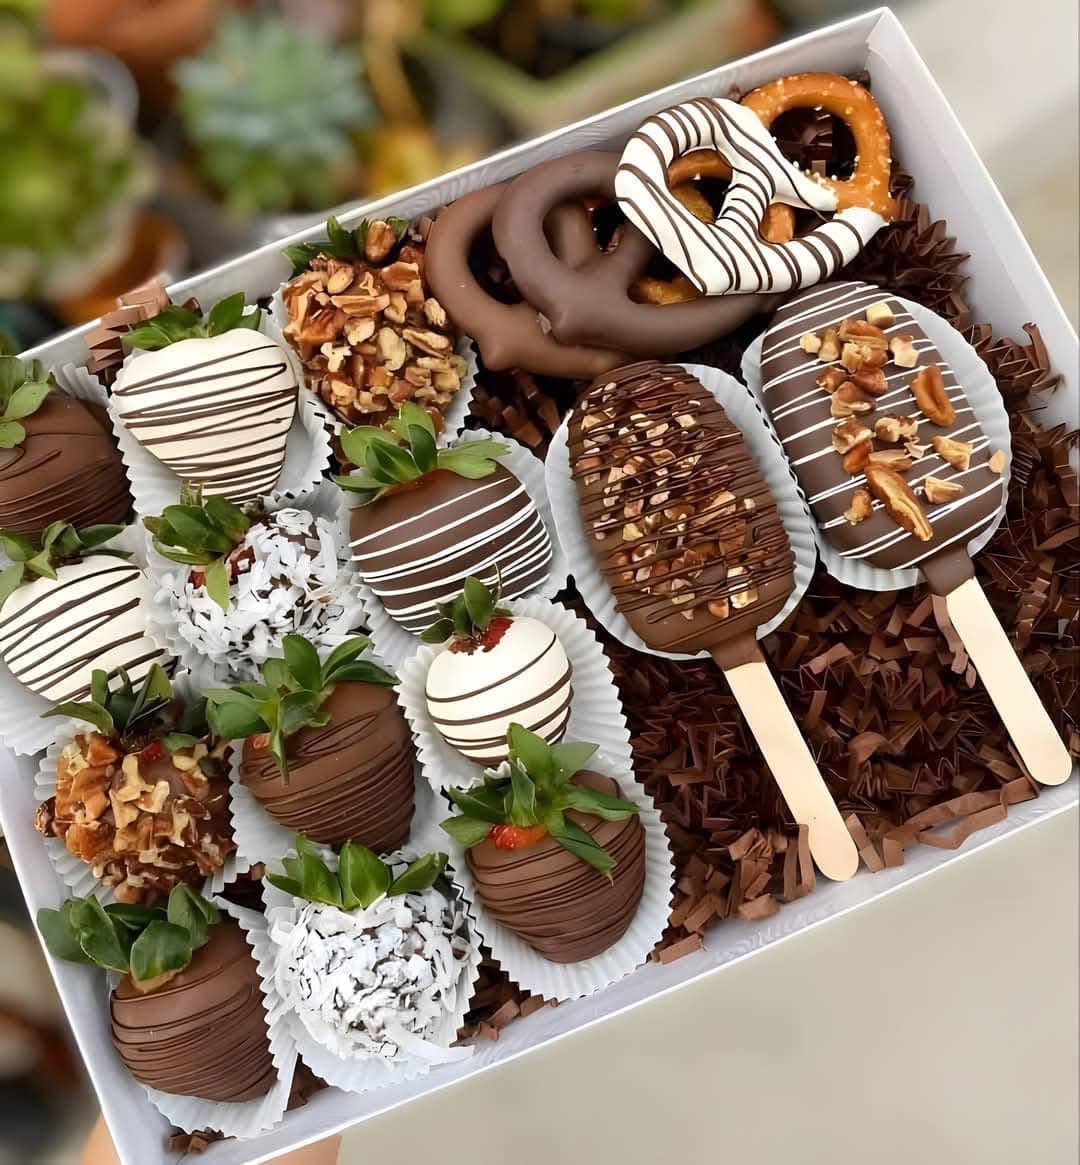
For a decorative touch, you can sprinkle crushed nuts, shredded coconut, or sprinkles onto the chocolate coating before it hardens. Once the bar is fully coated, place it back on the parchment paper and return it to the freezer immediately to allow the chocolate to set and harden.
Step 4: Let the Chocolate Harden and Serve
Allow the chocolate coating to harden completely, which should take about 10-15 minutes in the freezer. Once the chocolate is set, your homemade chocolate-covered ice cream bars are ready to enjoy!
If you’d like to store them for later, wrap each bar in wax paper or plastic wrap and store them in an airtight container in the freezer for up to 2 weeks.
Creative Variations for Homemade Ice Cream Bars
One of the best things about making your own ice cream bars is the ability to customize them to your taste. Here are a few fun variations you can try:
- Flavor Swaps: Instead of vanilla ice cream, use any flavor you like—chocolate, mint chocolate chip, strawberry, or even coffee ice cream for a unique twist.
- Crushes and Toppings: Add crushed Oreos, pretzels, or graham crackers for extra crunch inside the bars or as a topping. You could also drizzle caramel or peanut butter over the chocolate coating for added flavor.
- Coconut Lovers: Add toasted coconut flakes to the chocolate coating or sprinkle them over the bars after dipping. This tropical touch will take your ice cream bars to the next level.
- Healthier Options: Use low-fat or dairy-free ice cream for a lighter version. You could also use dark chocolate for a less sweet, more antioxidant-rich coating.
- Mini Bars: Make mini versions of these bars for bite-sized treats. You can use small molds or simply cut the ice cream into smaller pieces before coating them in chocolate.
Tips for Perfect Homemade Ice Cream Bars
- Freeze Thoroughly: The key to getting a smooth chocolate coating is ensuring the ice cream bars are frozen solid before dipping. This prevents the ice cream from melting and creating a mess in the chocolate.
- Smooth Chocolate Coating: Be patient while melting the chocolate to ensure it’s smooth and free of lumps. Stir in a little oil to help it coat the ice cream more evenly.
- Work Quickly: Once you start dipping the ice cream bars in chocolate, work quickly before the chocolate sets. If needed, reheat the chocolate for a few seconds to keep it at the right consistency.
- Storage: Keep your homemade chocolate-covered ice cream bars in the freezer until ready to serve to ensure they stay cold and delicious.
Conclusion
These Homemade Chocolate-Covered Ice Cream Bars are a delicious and fun way to enjoy your favorite frozen treat. They’re creamy, crunchy, and coated in rich chocolate—making them the perfect dessert for any occasion. With endless possibilities for flavors and toppings, you can customize these ice cream bars to suit your tastes and get creative in the kitchen.
So, gather your ingredients, get your freezer ready, and treat yourself to these decadent homemade ice cream bars. You’ll never want to buy store-bought again!
ADVERTISEMENT
ADVERTISEMENT
