ADVERTISEMENT
3. Make the Cherry Filling
In a medium saucepan, combine the cherries, sugar, cornstarch, lemon juice, and almond extract (if using). Stir everything together and cook over medium heat for about 5-7 minutes, or until the mixture begins to thicken and the cherries start releasing their juices. Once the filling has thickened, remove it from the heat and set it aside.
4. Assemble the Bars
Pour the cherry filling evenly over the crust layer in the baking dish. Dot the filling with small pieces of butter for added richness.
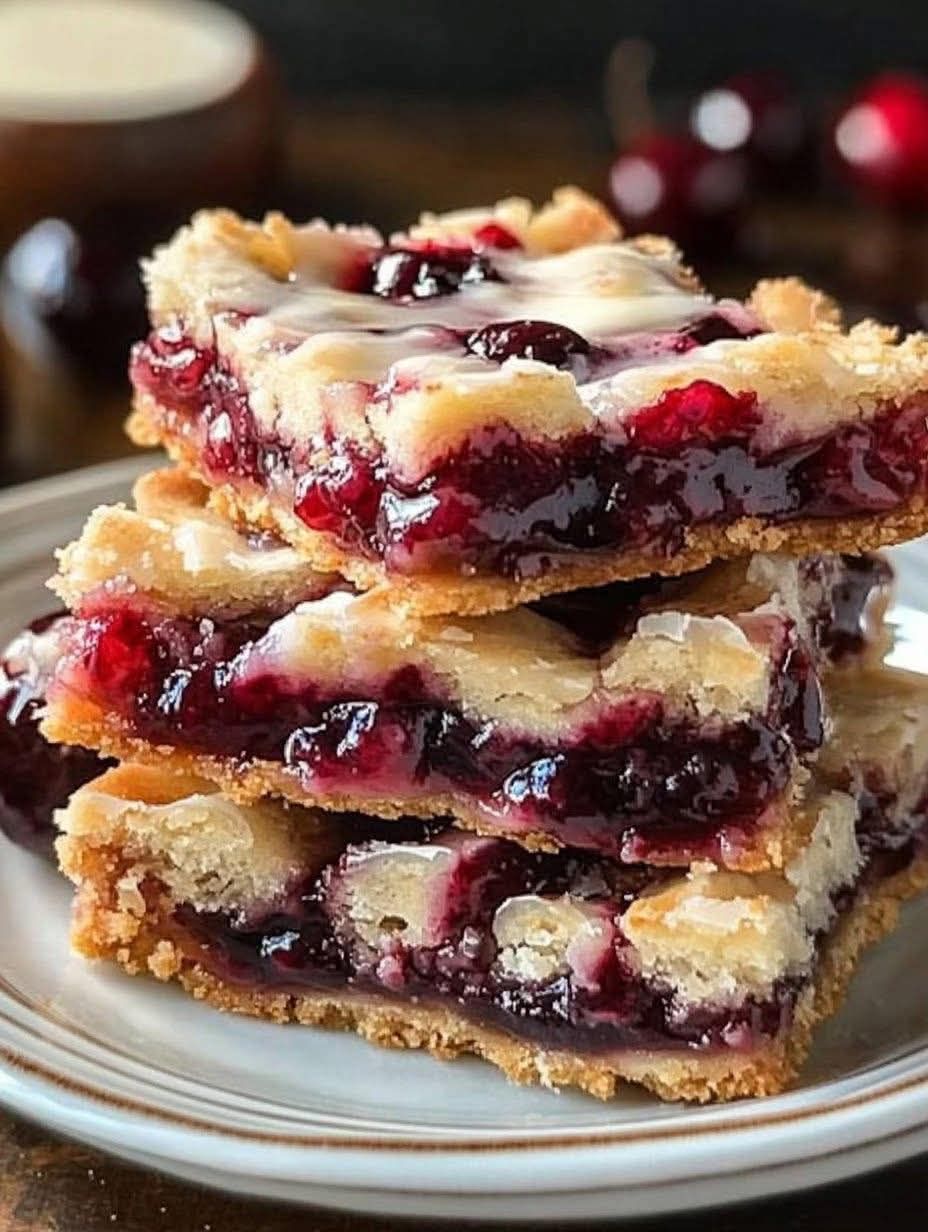
Take the reserved half of the dough and crumble it over the top of the cherry filling. It doesn’t need to cover the entire surface, as you want some of the filling to peek through for a rustic look.
5. Bake the Bars
Place the dish in the preheated oven and bake for 35-40 minutes, or until the crust and topping are golden brown and the cherry filling is bubbling.
6. Cool and Slice
Once the bars are done, remove them from the oven and let them cool completely in the pan. This allows the filling to set and makes slicing easier. Once cooled, cut into squares or bars.
Tips for Perfect Cherry Pie Bars
- Use Fresh or Frozen Cherries: Fresh cherries will give you a more vibrant color, but frozen cherries are just as good. If using frozen cherries, make sure to thaw and drain them thoroughly to avoid excess moisture in the filling.
- Add a Drizzle of Glaze: For extra sweetness, drizzle a simple glaze made from powdered sugar and milk over the cooled bars. This will add a beautiful finishing touch.
- Experiment with Other Fruits: While cherry pie bars are a classic favorite, you can easily switch up the fruit filling. Try blueberries, raspberries, or a mix of berries for a different flavor.
- Make Ahead: These bars can be made ahead of time. Simply store them in an airtight container at room temperature for up to 3-4 days. They also freeze well, so feel free to make a double batch and freeze one for later.
Serving Suggestions
Homemade cherry pie bars are perfect as a sweet snack or dessert, but here are a few serving ideas to make them even more special:
- Serve with Whipped Cream: Top each bar with a dollop of fresh whipped cream for a rich, creamy contrast to the tart cherries.
- Pair with Ice Cream: Serve these bars warm with a scoop of vanilla ice cream or a drizzle of caramel sauce for an indulgent treat.
- Perfect for Parties: Cherry pie bars are easy to transport, making them perfect for gatherings, family picnics, or holiday parties.
Why You’ll Love These Cherry Pie Bars
- Easy to Make: Unlike traditional pie, these bars require no pie crust skills. Just press the dough into the pan, add the filling, and crumble the topping on top.
- Portable: The bars are easy to cut into squares, making them perfect for on-the-go snacking or packing in lunchboxes.
- Bursting with Flavor: The combination of sweet, juicy cherries with the buttery, crumbly topping will have you reaching for more.
- Versatile: You can swap out the cherries for other fruits or even add nuts to the topping for added texture and flavor.
Conclusion
Homemade cherry pie bars are a delightful, simple, and delicious treat that brings all the flavors of a classic cherry pie into an easy-to-make bar form. With a buttery crust, sweet cherry filling, and a crumbly topping, they’re sure to become a family favorite. Whether for a special occasion, a holiday, or just because you’re craving something sweet, these bars are the perfect way to satisfy your sweet tooth and impress your friends and family.
Give this recipe a try, and enjoy the delicious taste of homemade cherry pie bars in every bite!
ADVERTISEMENT
ADVERTISEMENT
