ADVERTISEMENT
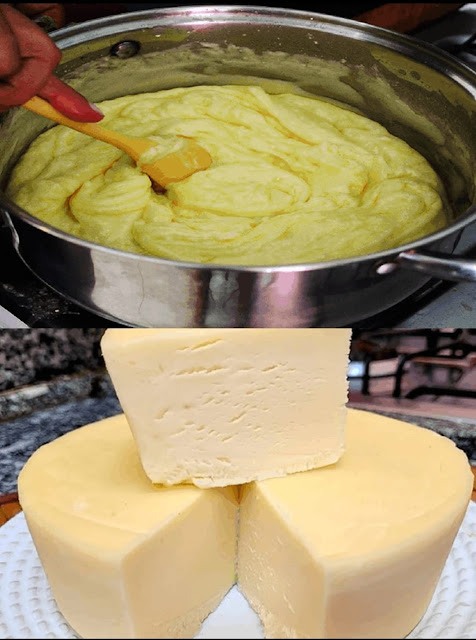
How to Make Homemade Cheese: A Simple and Delicious Recipe
Making homemade cheese might sound like a daunting task, but with the right ingredients and a little patience, it’s surprisingly easy to create a delicious, fresh cheese right in your own kitchen. Homemade cheese not only tastes better but can be customized to your preferences, offering a fresh, creamy, and flavorful product that you won’t find in stores. Whether you’re a beginner or an experienced home cook, this simple cheese recipe will help you make your very own cheese from scratch!
The Basics: What You Need
Before diving into the recipe, it’s essential to gather the right tools and ingredients. Making cheese at home requires a few special items, but all of them are easy to find.
Ingredients:
- Whole Milk – 1 gallon (preferably raw or full-fat milk for the best flavor and texture)
- White Vinegar or Lemon Juice – 1/4 cup (to acidify the milk and help it curdle)
- Salt – 1-2 teaspoons (for flavor)
- Cheesecloth – For draining the curds (available at most kitchen supply stores)
- A Large Pot – To heat the milk
- A Spoon or Slotted Spoon – For stirring
- A Thermometer – To measure the temperature of the milk
- A Strainer – To drain the curds
- A Large Bowl – To catch the whey
Instructions: Step-by-Step Guide to Homemade Cheese
1. Heat the Milk
Start by pouring the entire gallon of milk into your large pot. Place the pot over medium heat and slowly heat the milk to around 190°F (88°C). Stir gently every few minutes to prevent the milk from scalding. Keep a close eye on the temperature with your thermometer.
Pro Tip: If you don’t have a thermometer, just keep an eye on the milk—it should start to steam, and small bubbles will form around the edges of the pot. Avoid letting it boil.
2. Add the Acid
Once the milk reaches the desired temperature, it’s time to add the acid. You can use either white vinegar or lemon juice, depending on your preference. Slowly add the vinegar or lemon juice into the milk while stirring gently. You’ll notice the milk begin to curdle and separate into curds (solid) and whey (liquid).
Pro Tip: If the curds don’t form immediately, let the milk sit for a few minutes, and the curds will begin to form.
3. Let the Curds Settle
Turn off the heat and let the curds sit in the pot for about 10-15 minutes. This resting period allows the curds to firm up and separate more easily from the whey. The whey will appear as a yellowish liquid, while the curds will look like soft white clumps.
4. Drain the Curds
Place a strainer over a large bowl and line it with cheesecloth. Pour the curds and whey into the strainer, allowing the liquid (whey) to drain into the bowl. You can gently stir the curds with a spoon to help the liquid drain more quickly.
Pro Tip: If you prefer a drier cheese, let the curds drain for a longer time.
For Complete Cooking STEPS Please Head On Over To Next Page Or Open button (>) and don’t forget to SHARE with your Facebook friends
ADVERTISEMENT
ADVERTISEMENT
