ADVERTISEMENT
Instructions:
Step 1: Prepare the Yeast Mixture Start by dissolving the sugar in the warm water. Sprinkle the active dry yeast over the water and stir gently to combine. Let this sit for 5 to 10 minutes until the mixture becomes frothy. This step ensures the yeast is active and ready to work its magic in your dough.
Step 2: Mix the Dough In a large mixing bowl, combine the flour and salt. Once the yeast mixture is ready, pour it into the flour mixture along with the olive oil. Stir everything together using a wooden spoon or spatula until the dough starts to come together.
Step 3: Knead the Dough Turn the dough out onto a lightly floured surface and knead for about 8-10 minutes. To knead, fold the dough over itself, press it down, and rotate it. Repeat this motion until the dough becomes smooth, elastic, and no longer sticky. You can add a little more flour if the dough is too sticky, but be careful not to add too much, as this can result in a denser bread.
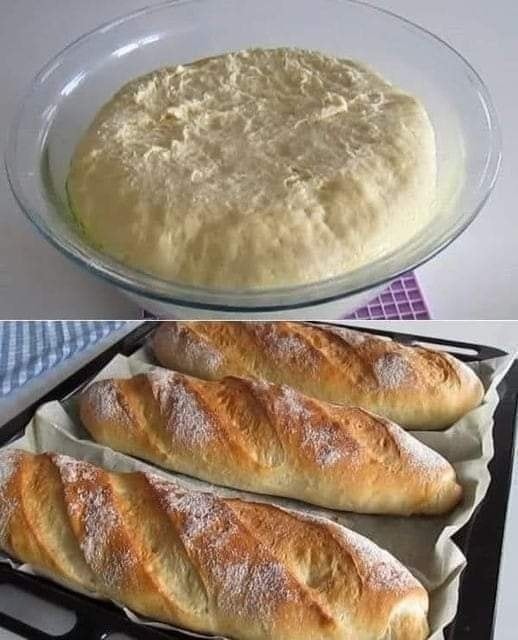
Step 4: Let the Dough Rise Place the kneaded dough into a clean, lightly oiled bowl. Cover the bowl with a clean kitchen towel or plastic wrap. Allow the dough to rise in a warm, draft-free place for about 1 to 1 ½ hours, or until it has doubled in size. This process, called proofing, is essential for the bread’s light and airy texture.
Step 5: Shape the Dough Once the dough has risen, punch it down to release any air bubbles. Turn the dough out onto a floured surface again and gently shape it into a loaf by folding the edges inward and rolling it tightly. Place the shaped dough into a greased 9×5-inch loaf pan.
Step 6: Second Rise Cover the dough again and let it rise in the pan for about 30-45 minutes, or until it has puffed up and almost reached the top of the pan. This second rise is crucial for ensuring the bread is light and soft.
Step 7: Bake the Bread Preheat your oven to 375°F (190°C) while the dough is rising. Once the dough is ready, place the loaf pan in the oven and bake for 25-30 minutes, or until the bread is golden brown on top and sounds hollow when tapped on the bottom.
Step 8: Cool and Serve Remove the bread from the oven and allow it to cool for about 10 minutes before removing it from the pan. Let it cool completely on a wire rack before slicing. This ensures the bread holds its shape and doesn’t become too crumbly.
Tips for Perfect Homemade Bread:
- Use warm water: Yeast thrives in warm environments, so make sure the water is not too hot or too cold.
- Kneading is key: Kneading develops the gluten in the dough, which is essential for the texture of the bread.
- Don’t rush the rise: Allow the dough enough time to rise and proof properly. A rushed rise can lead to denser bread.
- Experiment with flavors: You can add herbs, garlic, cheese, or even a bit of honey to customize the flavor of your bread.
Conclusion:
This homemade bread recipe is a simple and satisfying way to bring fresh bread to your table. Whether you enjoy it with a pat of butter, make a sandwich, or serve it alongside a hearty soup, homemade bread is always a crowd-pleaser. With just a few basic ingredients and a little patience, you’ll have a delicious loaf of bread to share with family and friends. Happy baking!
ADVERTISEMENT
