ADVERTISEMENT
Step-by-Step Instructions
Step 1: Prepare the Yeast Mixture
Start by activating the yeast. In a small bowl, combine the warm water and sugar, stirring to dissolve. Sprinkle the yeast on top of the water and let it sit for 5-10 minutes, until it becomes frothy. This step ensures that the yeast is active and ready to help the dough rise.
Step 2: Make the Dough
In a larger bowl, mix together the flour and salt. Once the yeast mixture is frothy, pour it into the flour mixture and add the olive oil (if using). Stir with a wooden spoon or spatula until the dough comes together. It will be slightly sticky but manageable.
Step 3: Knead the Dough (Optional)
Although this recipe is designed to be quick and easy, if you’d like to develop the dough further, kneading it for 3-5 minutes on a lightly floured surface will give it more structure. However, if you’re short on time, you can skip this step and move on to the next.
Step 4: Let the Dough Rise
Cover the bowl with a clean cloth or plastic wrap and let the dough rise in a warm area for about 1 hour, or until it has doubled in size. If you’re in a hurry, you can place the dough in a slightly warm oven (turned off) or let it rise on your countertop.
Step 5: Shape the Dough
Once the dough has risen, punch it down to release any excess air. Then, shape it into a round or oval loaf, depending on the size of your air fryer. Make sure it fits comfortably in your air fryer basket or tray.
Step 6: Preheat the Air Fryer
Preheat your air fryer to 350°F (175°C) for about 3-5 minutes. This helps ensure that the bread starts cooking evenly as soon as it’s placed inside.
Step 7: Bake the Bread
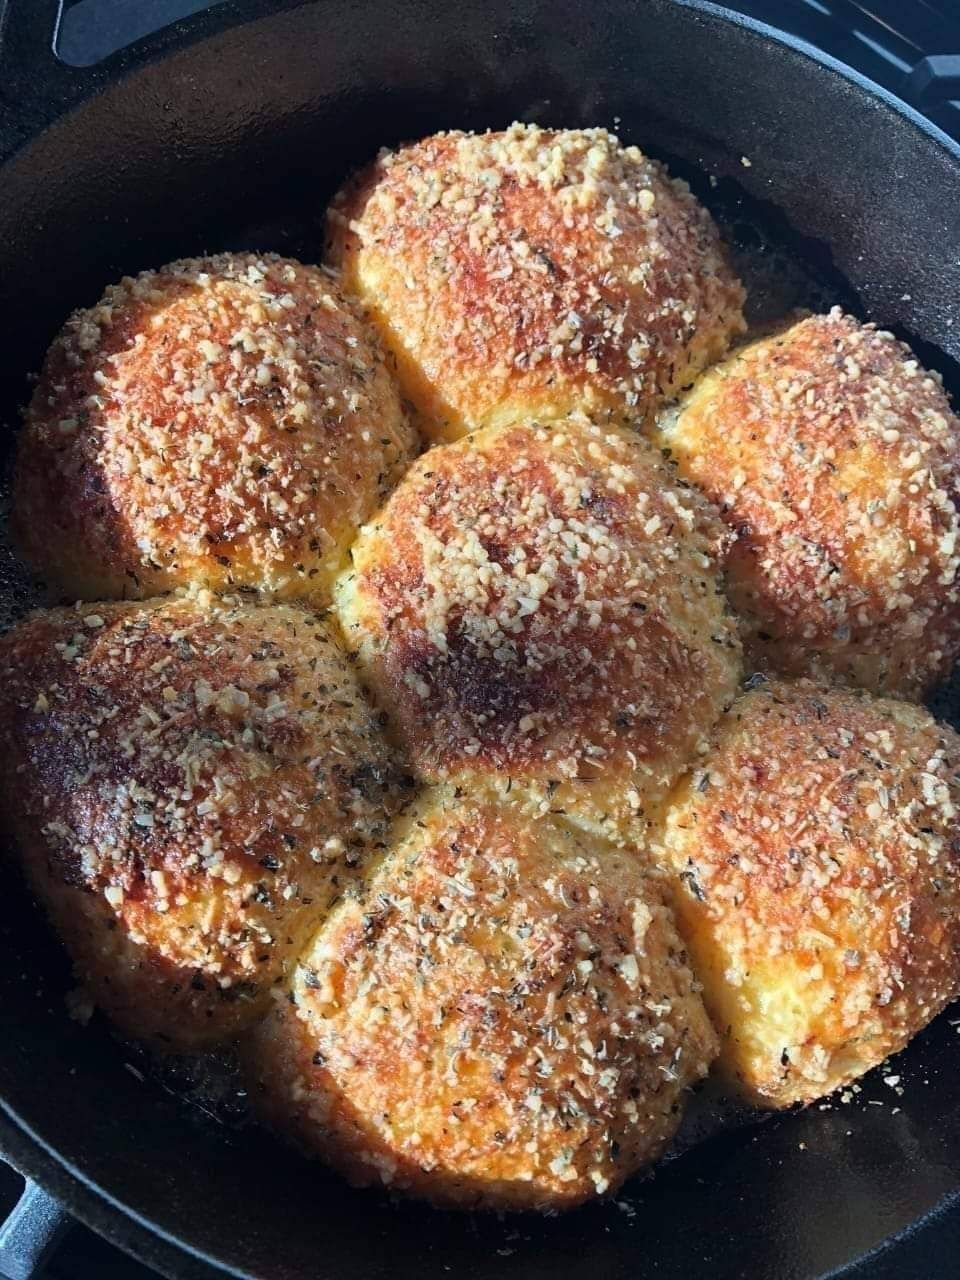
Place the shaped dough into the air fryer basket or tray. Cook the bread for about 15-20 minutes, or until the crust is golden brown and the loaf sounds hollow when tapped on the bottom. If you want an extra-crispy crust, you can lightly brush the top of the dough with olive oil before baking.
Step 8: Cool and Serve
Once the bread is done, carefully remove it from the air fryer and let it cool on a wire rack for at least 10 minutes before slicing. This allows the bread to set and prevents it from becoming too doughy in the center.
Tips for the Perfect Air Fryer Bread
- Use the Right Pan: If your air fryer basket or tray is too small for the dough, consider using a small loaf pan that fits inside. Just be sure the dough has enough room to rise and spread.
- Check for Doneness: Air fryer cooking times can vary depending on the model, so be sure to check your bread periodically. If it’s not quite golden after the initial cooking time, add a few extra minutes.
- Experiment with Flavors: For a more personalized bread, try adding ingredients like garlic, herbs, cheese, or even olives to the dough before baking.
- Don’t Overcrowd: Make sure the dough has plenty of space to rise and bake evenly in the air fryer. If necessary, bake in batches for larger quantities.
Why This Recipe Works
The air fryer creates a dry, hot environment that’s perfect for baking bread. As the dough bakes, the heat circulates around it, creating a crisp, golden crust. The inside of the bread remains soft and airy, thanks to the yeast and the minimal kneading involved. This method is a game-changer for anyone who loves homemade bread but doesn’t want to deal with the hassle of traditional ovens or lengthy baking times.
Conclusion
Making homemade bread in the air fryer is a game-changing way to enjoy fresh, warm bread with minimal effort. In just a few easy steps, you can bake a loaf that’s soft on the inside, with a beautiful, crispy crust on the outside—all without turning on the oven. Whether you’re new to bread baking or just looking for a faster way to enjoy fresh bread, this air fryer recipe is sure to become a staple in your kitchen. So grab your ingredients, fire up the air fryer, and treat yourself to some homemade goodness!
ADVERTISEMENT
