ADVERTISEMENT
Instructions:
1. Prepare the Dough:
In a large bowl, combine the flour, sugar, and salt. In a separate small bowl, activate the yeast by sprinkling it over the warm milk. Allow it to sit for about 5 minutes, or until it becomes foamy.
Once the yeast is activated, add the yeast mixture to the dry ingredients along with the softened butter, eggs, and vanilla extract. Use a spoon or your hands to combine the ingredients into a sticky dough.
2. Knead the Dough:
Transfer the dough to a lightly floured surface and knead for about 8-10 minutes, or until the dough is smooth and elastic. If the dough is too sticky, add a little extra flour, a tablespoon at a time. Once the dough is kneaded, form it into a ball.
3. Let the Dough Rise:
Place the dough in a lightly greased bowl and cover it with a clean kitchen towel. Let it rise in a warm, draft-free area for 1 to 1.5 hours, or until it has doubled in size. This step is essential to create the light, fluffy texture in the buns.
4. Shape the Buns:
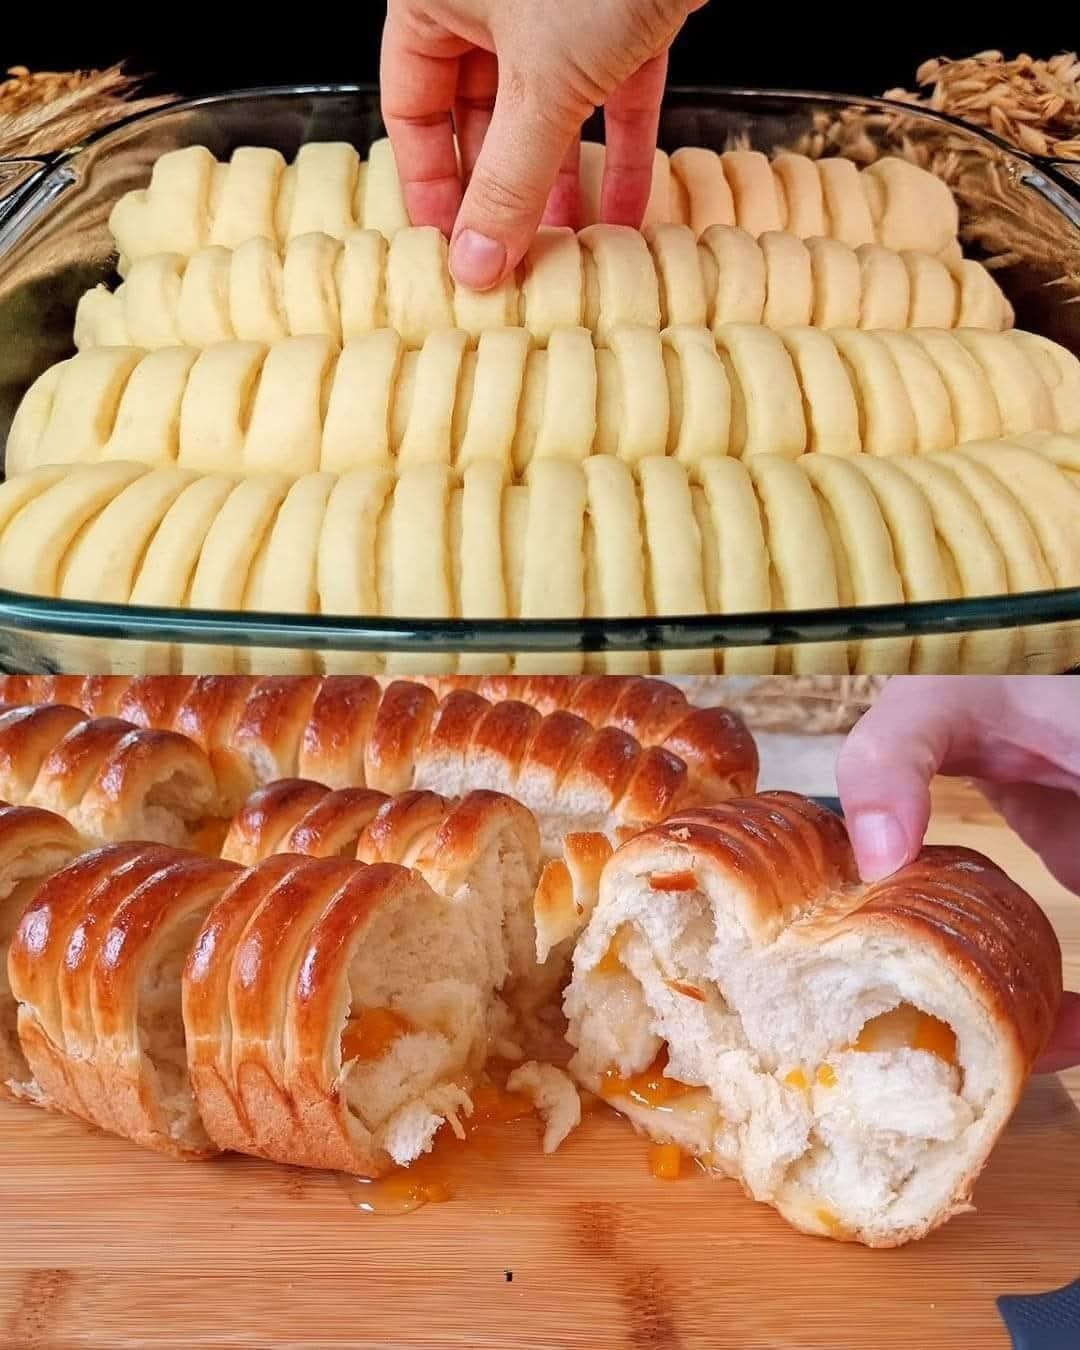
Once the dough has risen, punch it down gently to release the air. Turn the dough out onto a floured surface and roll it into a large rectangle, about 12×18 inches (30×45 cm). Spread a thin layer of apricot jam evenly over the dough, leaving a small border around the edges.
Carefully roll the dough up tightly from the longer edge, like a jelly roll. Once rolled, cut the dough into 12 equal slices. Place the slices cut side up on a parchment-lined baking sheet, spacing them evenly apart.
5. Second Rise:
Cover the shaped buns with a clean kitchen towel and let them rise for an additional 30 minutes, or until they puff up and almost double in size.
6. Bake the Buns:
Preheat your oven to 350°F (175°C). Once the buns have finished their second rise, brush the tops with the beaten egg for a golden, shiny finish. Bake for 20-25 minutes, or until the buns are golden brown and cooked through.
7. Serve and Enjoy:
Remove the buns from the oven and let them cool slightly before serving. If you’d like, dust them with a light sprinkle of powdered sugar for a beautiful finishing touch. These buns are best enjoyed warm, but they can also be stored in an airtight container for a few days or frozen for later.
Tips for the Best Homemade Apricot Jam-Filled Buns:
- Use High-Quality Jam: The quality of the apricot jam you use will make a big difference in the flavor of your buns. Opt for a good-quality apricot preserve or homemade jam for the best taste.
- Don’t Overfill the Buns: While it’s tempting to add a lot of jam, be careful not to overfill the buns. A thin layer of jam is all you need. Too much jam may cause the buns to leak during baking or make them soggy.
- Let the Dough Rise Properly: Make sure you give the dough enough time to rise during both the first and second rise. This is what will give the buns their fluffy, light texture.
- Experiment with Flavors: While apricot jam is a classic filling, you can easily experiment with other fruit jams or even nut butters. Raspberry, peach, or even fig jam would all work beautifully in these buns.
- Serve Warm for the Best Experience: These buns are at their best when served warm from the oven. They make the perfect breakfast treat or afternoon snack with a hot cup of tea or coffee.
Why These Buns Are Perfect for Any Occasion:
Homemade Apricot Jam-Filled Buns are a versatile and delightful treat. They’re perfect for a weekend breakfast or brunch with family, an afternoon snack, or even as a sweet gift to share with friends. They also make for an excellent addition to any holiday or celebration spread, such as Easter, Christmas, or a summer picnic.
The balance of soft, sweet dough with the tangy apricot jam filling creates a flavor profile that will appeal to both kids and adults alike. Whether you enjoy them fresh out of the oven or a few days later, these buns are sure to become a favorite in your household.
Conclusion:
These Homemade Apricot Jam-Filled Buns are an irresistible combination of soft, fluffy dough and sweet, tangy jam filling. They’re perfect for any occasion, and making them from scratch gives them that special touch that store-bought pastries just can’t match. With just a few basic ingredients and simple steps, you can enjoy a batch of warm, homemade buns that will fill your home with delightful aromas and have everyone asking for the recipe. So why not give them a try and experience the joy of baking something truly delicious?
ADVERTISEMENT
ADVERTISEMENT
