ADVERTISEMENT
Instructions:
- Activate the Yeast:
Begin by warming the milk in a microwave or on the stove, making sure it’s not too hot. Pour the warm milk into a bowl, add the sugar, and sprinkle the yeast on top. Let it sit for about 5-10 minutes, or until it becomes frothy and bubbly. This shows that the yeast is alive and ready to help your buns rise. - Make the Dough:
In a large bowl, combine the flour and salt. Create a well in the center and pour in the yeast mixture, melted butter, and one egg. Mix everything together until a dough forms. You can use a stand mixer with a dough hook attachment or knead by hand. - Kneading:
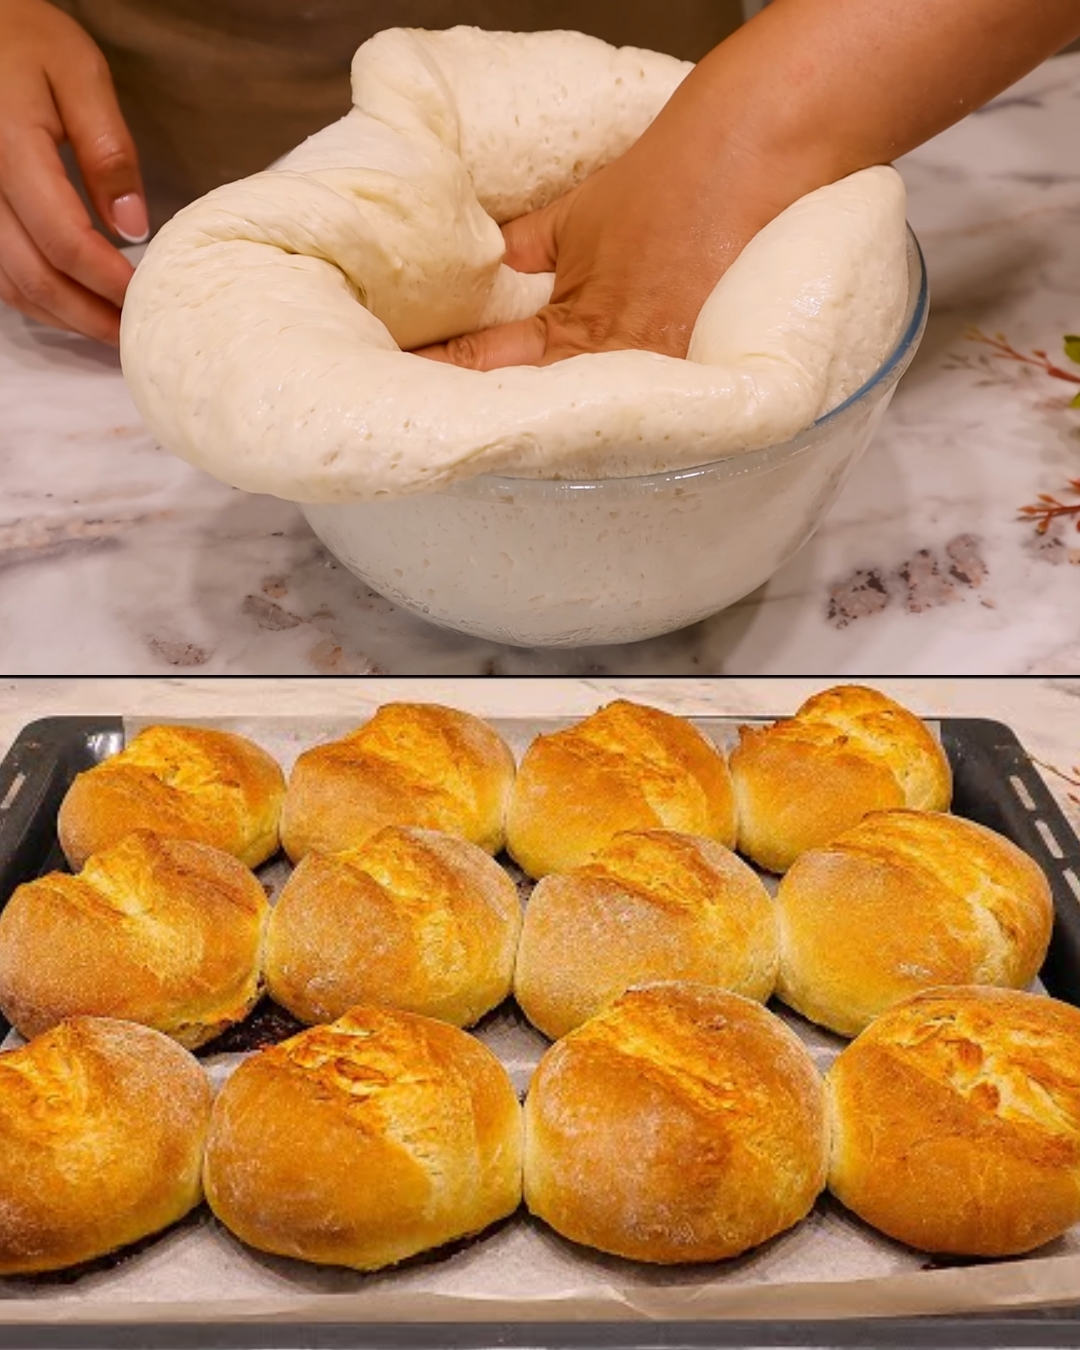
Turn the dough out onto a lightly floured surface and knead for about 8-10 minutes until it becomes smooth and elastic. If the dough feels too sticky, add a little more flour, but be careful not to add too much, as it can make the buns dense. - First Rise:
Shape the dough into a ball and place it in a lightly greased bowl. Cover with a clean kitchen towel or plastic wrap, and let it rise in a warm spot for about 1 to 1 1/2 hours, or until it doubles in size. - Shape the Buns:
Once the dough has risen, punch it down gently to release any air bubbles. Divide the dough into 12 equal pieces and shape each piece into a smooth ball. Place the dough balls on a greased baking pan, leaving some space between them. - Second Rise:
Cover the pan with a towel and let the buns rise again for about 30 minutes, or until they puff up and touch each other. - Bake the Buns:
Preheat your oven to 375°F (190°C). Whisk the second egg in a small bowl and brush the tops of the buns with the egg wash to give them a golden finish. Bake the buns for 15-18 minutes or until they are golden brown on top. - Cool and Enjoy:
Remove the buns from the oven and let them cool slightly before serving. Enjoy them fresh and warm for the best flavor!
Tips for Success:
- Warm, Not Hot Milk: When activating the yeast, ensure the milk is warm but not hot. Too much heat can kill the yeast, while too little won’t activate it properly.
- Proper Rising Time: Don’t rush the rising times. The dough needs enough time to rest and rise, which helps create those soft and fluffy buns.
- Experiment with Toppings: Feel free to sprinkle sesame seeds or poppy seeds on top before baking for an added crunch and flavor.
Why These Buns are Special:
These fluffy homemade buns are a perfect balance of soft, tender texture with a slightly chewy exterior. They can be used as dinner rolls, burger buns, or even a base for your favorite sandwich. Best of all, they freeze beautifully, so you can make a big batch and enjoy them later.
Whether you’re a seasoned baker or a first-time dough maker, these buns are sure to bring joy to your table. Try this recipe out next time you’re craving something fresh, warm, and irresistibly soft—your family and friends will thank you!
ADVERTISEMENT
ADVERTISEMENT
