ADVERTISEMENT
Instructions:
1. Activate the Yeast:
In a large mixing bowl, combine the warm water, sugar, and active dry yeast. Stir gently and let it sit for about 5-10 minutes, until the mixture becomes frothy. This means the yeast is activated and ready to work its magic!
2. Mix the Dough:
Add the flour and salt to the yeast mixture. Stir until the dough begins to come together. If you’re using olive oil, add it at this point for a slightly richer flavor and a softer crust. You can mix the dough with a spoon or your hands, but don’t worry about getting it perfect. The goal here is to just combine everything—no need for extensive kneading.
3. Let It Rest:
Cover the bowl with a clean kitchen towel or plastic wrap and let the dough rise for about 1 hour in a warm, draft-free area. It should double in size during this time. If your kitchen is a bit chilly, you can place the bowl in a warm oven (turned off) or near a sunny window.
4. Shape the Dough:
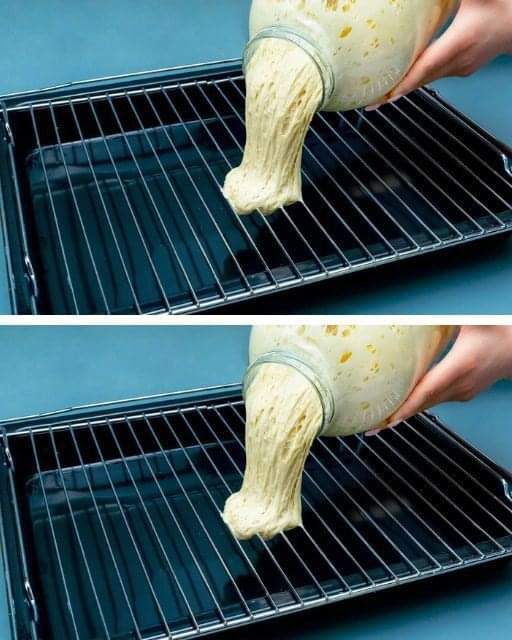
Once the dough has risen, gently punch it down to release any air bubbles. At this point, you can shape it into a loaf or divide it into smaller rolls if you prefer. For a basic loaf, simply form it into a rough loaf shape by folding the edges towards the center and then rolling it up.
5. Second Rise (Optional):
You can let the dough rise for another 30 minutes after shaping it, but if you’re short on time, you can skip this step. This second rise will give your bread a slightly fluffier texture.
6. Bake the Bread:
Preheat your oven to 375°F (190°C). Place the shaped dough on a baking sheet or in a loaf pan and bake for 30-35 minutes, or until the bread is golden brown on top and sounds hollow when tapped on the bottom.
If you want an extra-crusty loaf, you can place a shallow pan of water in the oven while baking. The steam will create a beautiful, crunchy crust.
7. Cool and Enjoy:
Once the bread is done, remove it from the oven and let it cool on a wire rack for about 10 minutes before slicing. This step is important because it allows the bread to set and makes it easier to cut.
Slice and enjoy with butter, jam, or anything else you love on your bread. You’ll be amazed at how much fresher and tastier it is compared to store-bought options!
Tips for Perfect Homemade Bread Every Time:
- Use Warm, Not Hot, Water: Yeast is sensitive to temperature. Water that’s too hot can kill the yeast, while water that’s too cold can slow down the activation. Aim for water that’s warm to the touch, around 110°F (43°C).
- No Kneading Needed: This is a no-knead recipe, which means you don’t have to spend time working the dough. Just mix and let the yeast do its job!
- Flavor Variations: Once you’re comfortable with the basic recipe, you can get creative. Add herbs (like rosemary or thyme), garlic, or even shredded cheese to the dough for extra flavor. You can also swap out some of the all-purpose flour for whole wheat flour for a heartier loaf.
- Storage: If you’re not going to eat the entire loaf in one sitting, store your bread in an airtight container or wrap it in a clean kitchen towel to keep it fresh. Homemade bread doesn’t have preservatives like store-bought bread, so it’s best enjoyed within 2-3 days. For longer storage, you can slice the bread and freeze it.
- Shape It Your Way: Feel free to experiment with the shape of the bread. You can form a round boule, a baguette, or a rustic country loaf. If you prefer rolls, simply divide the dough into small portions and bake them as individual buns.
Why You’ll Never Buy Bread Again:
Once you taste the difference of freshly baked, homemade bread, you’ll wonder why you ever bought pre-packaged loaves in the first place. Not only is it fresher, but making your own bread also gives you the satisfaction of knowing exactly what’s in it. No preservatives, no additives—just simple, wholesome ingredients.
This homemade bread recipe is foolproof, quick, and easy to make, no matter your age or baking experience. And once you realize how much better homemade bread tastes, you’ll never look back. So, even if you’re 100 years old (or just a beginner in the kitchen), this trick is one you won’t want to miss. It’s time to roll up your sleeves, get mixing, and enjoy the amazing aroma of fresh, homemade bread baking in your own oven!
Happy baking!
ADVERTISEMENT
