ADVERTISEMENT
Instructions:
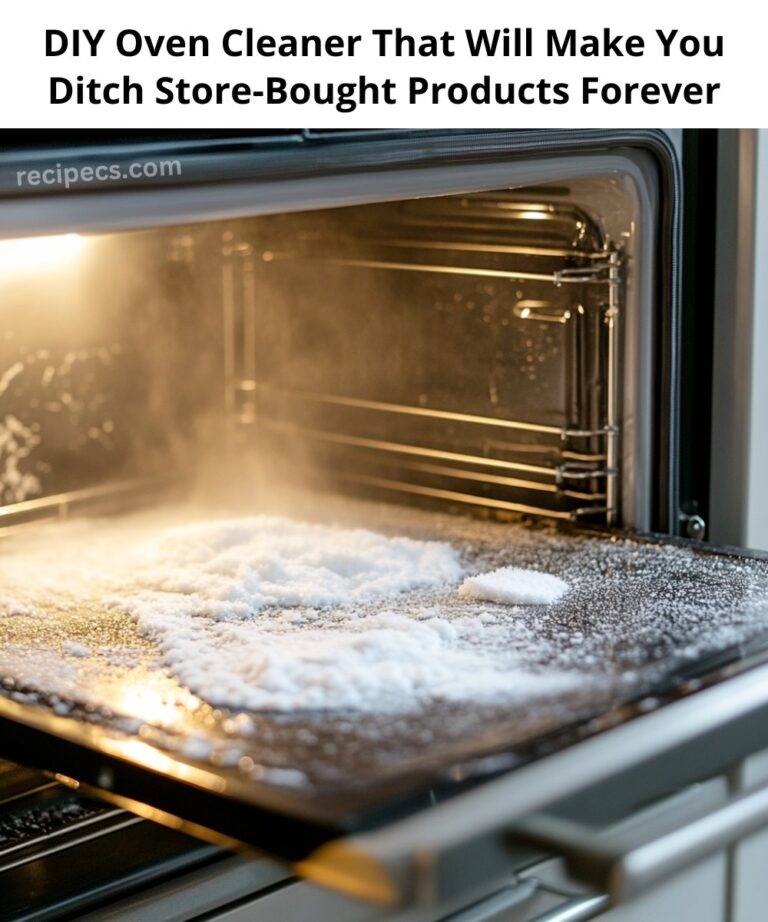
- Make the Baking Soda Paste: In a small bowl, combine the ½ cup of baking soda with the 3 tablespoons of water. Stir until a thick paste forms. Add a little more water if needed, but aim for a consistency that can easily be spread across your oven’s surfaces without running.
- Add Dish Soap: Stir in the tablespoon of dish soap to the baking soda paste. The dish soap will help break down grease and food residue, making the cleaning process even easier.
- Apply the Paste: Using a spatula or cloth, spread the baking soda paste all over the interior surfaces of your oven. Focus on areas with built-up grease or burnt-on food. Be sure to coat the bottom, sides, and door of the oven, as these areas tend to collect the most grime.
- Let It Sit: Allow the paste to sit for at least 30 minutes to an hour. For tougher grime, leave it overnight. The paste will work to loosen any stuck food and grease, making it easier to wipe away.
- Spray with Vinegar: After the paste has had time to sit, fill a spray bottle with vinegar. Spray the vinegar directly onto the baking soda paste. You’ll notice it start to fizz, which means it’s working to break down the dirt and grease.
- Wipe It Clean: After the fizzing has stopped, use a damp cloth or sponge to wipe away the paste. You may need to rinse the cloth a few times to get rid of all the residue. For stubborn spots, use a scrub brush or sponge to gently scrub away any remaining grease.
- Final Wipe: Once the oven is clean, wipe the surfaces with a clean, dry cloth to remove any excess moisture. Your oven should now be sparkling clean, free of grease and food buildup.
Tips for Best Results:
- For Tough Grime: If your oven has really stubborn stains, apply a thicker layer of the baking soda paste and let it sit overnight. The longer it sits, the more effective it will be at breaking down tough spots.
- Use a Soft Sponge: When wiping down the oven, use a soft sponge or microfiber cloth to avoid scratching the oven’s surface.
- Ventilate the Area: While this DIY cleaner is non-toxic, it’s always a good idea to ensure your kitchen is well-ventilated. Open a window or turn on the exhaust fan to allow fresh air to circulate.
- Cleaning the Oven Racks: For oven racks, soak them in warm water mixed with a little dish soap and baking soda for a few hours, then scrub with a brush to remove any grease or food.
Benefits of This DIY Oven Cleaner
- Safe for Your Family: No harsh chemicals mean it’s safe to use in homes with children or pets.
- Budget-Friendly: This cleaner costs only a fraction of store-bought oven cleaners, and you likely already have the ingredients at home.
- No Strong Chemical Smell: Unlike commercial cleaners that often have a strong, unpleasant scent, this DIY cleaner has a natural, fresh smell due to the vinegar and baking soda.
- Effective: It cuts through grease and grime just as well, if not better, than many commercial cleaners.
Final Thoughts
Cleaning your oven doesn’t have to involve toxic chemicals or expensive products. With this simple, DIY oven cleaner, you can achieve a sparkling clean oven without any harmful side effects. Plus, you’ll save money and reduce your environmental footprint at the same time.
Next time you face the challenge of a greasy oven, reach for this homemade cleaner and watch your oven shine like new. It’s a natural, effective solution that will make you ditch store-bought cleaners for good!
ADVERTISEMENT
ADVERTISEMENT
