ADVERTISEMENT
Instructions:
Step 1: Prepare the Base
Start by lining a 9×9-inch baking dish or a similar-sized pan with parchment paper or wax paper. This will help you easily lift the bars out once they are frozen, and will make cleanup a breeze.
Step 2: Combine Peanut Butter and Sugar
In a mixing bowl, combine the creamy peanut butter, powdered sugar, melted butter, and vanilla extract. Stir until the mixture is smooth and fully combined. The powdered sugar will give the peanut butter mixture a slightly thick, fudgy texture.
Step 3: Add Peanuts
Fold the salted peanuts into the peanut butter mixture. The peanuts will provide the crunchy texture that perfectly complements the smooth chocolate coating. If you prefer your bars with a heavier peanut crunch, feel free to add more peanuts.
Step 4: Prepare the Chocolate Coating
In a microwave-safe bowl, melt the chocolate chips and stir every 20-30 seconds until smooth and fully melted. You can also melt the chocolate on the stovetop by using a double boiler. Be careful not to overheat the chocolate, as it can become grainy if cooked for too long.
Step 5: Assemble the Bars
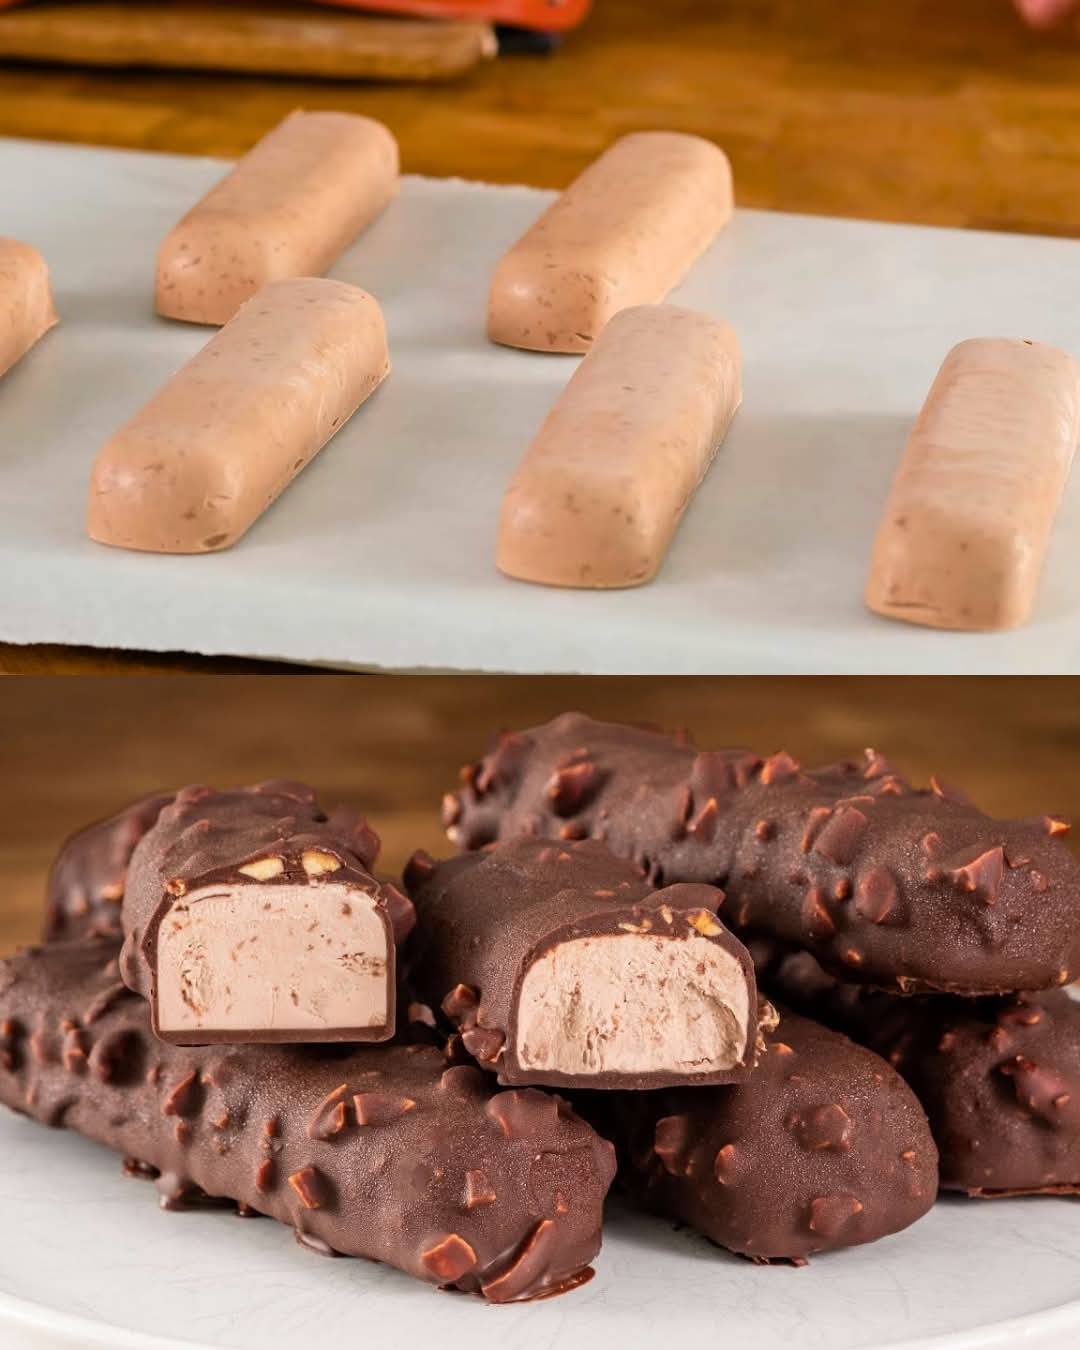
Spread the peanut mixture evenly into the prepared baking dish, pressing it down lightly to form a uniform layer. Once the peanut layer is set, pour the melted chocolate over the top, spreading it evenly with a spatula to cover the entire surface. For an added touch, you can sprinkle a pinch of sea salt over the chocolate for a savory contrast to the sweet peanut butter.
Step 6: Freeze and Set
Place the pan in the freezer and allow the bars to set for at least 2 hours, or until the chocolate is firm. If you’re in a hurry, you can speed up the process by placing the bars in the fridge, but freezing gives them the perfect texture and ensures they hold their shape when cut.
Step 7: Slice and Serve
Once the bars have fully set, lift the parchment paper from the pan and place the block of chocolate on a cutting board. Use a sharp knife to slice the chocolate into squares or bars, depending on your preference. Serve immediately or store in an airtight container in the freezer.
Why This Recipe Works:
- Freezing for Perfect Texture: Freezing the bars ensures the chocolate hardens to a satisfying crispness, while the peanut butter filling remains creamy and soft. This contrast in textures makes every bite a delightful experience.
- Customizable to Your Taste: Feel free to experiment with different types of chocolate, from dark chocolate to milk or even white chocolate. You can also adjust the sweetness by adding more or less powdered sugar depending on your preference.
- Quick and Easy: These bars are made with minimal effort. No baking, no complicated steps, just mix, freeze, and enjoy. They’re perfect for anyone looking for a quick dessert or a fun weekend project with the kids.
Tips for Success:
- Use High-Quality Chocolate: The quality of your chocolate will directly affect the flavor of your bars. Opt for a good-quality chocolate to make the bars even more decadent.
- Don’t Skip the Freezing Time: For the best results, allow the bars to freeze for at least 2 hours. This ensures the chocolate fully hardens and the bars hold their shape when you cut them.
- Add More Mix-ins: If you’re a fan of mix-ins, you can also add other ingredients like crushed pretzels, mini marshmallows, or dried fruit for a fun twist on the classic flavor.
- Store Properly: Keep the bars in an airtight container in the freezer. They can last for up to 2 weeks, making them perfect for snacking whenever you get a sweet craving.
Conclusion:
These Decadent Frozen Chocolate Bars with Peanut are the ultimate indulgence for anyone who loves the combination of rich chocolate and crunchy peanuts. They’re easy to make, customizable, and perfect for any occasion. Whether you’re hosting a party, prepping a quick dessert, or simply craving something sweet, these frozen treats are sure to be a crowd-pleaser. Give them a try and enjoy the perfect blend of creamy, crunchy, and chocolatey goodness!
ADVERTISEMENT
ADVERTISEMENT
