ADVERTISEMENT
Step-by-Step Instructions
Making homemade bread might sound complicated, but with this simple guide, you’ll be enjoying your own fresh loaf in no time. Here’s how to make it:
1. Activate the Yeast
- In a small bowl, combine the warm water and sugar. Stir to dissolve the sugar, then sprinkle the yeast on top. Allow the mixture to sit for 5-10 minutes until it becomes frothy. If the yeast doesn’t bubble up, it might be expired, so try with fresh yeast.
2. Prepare the Dough
- In a large mixing bowl, combine 3 1/2 cups of flour and salt. Make a well in the center of the flour mixture.
- Once the yeast has activated and become frothy, pour it into the well along with the softened butter. Stir everything together with a wooden spoon until a dough begins to form.
3. Knead the Dough
- Once the dough starts coming together, transfer it to a clean surface and begin kneading. Knead the dough for about 8-10 minutes, adding flour as needed to prevent sticking. The dough should be smooth, elastic, and slightly tacky to the touch.
- If the dough feels too dry, add a small splash of water; if it’s too sticky, sprinkle a little more flour.
4. First Rise
- Lightly grease a large bowl with butter or oil. Place the dough in the bowl and cover it with a clean kitchen towel or plastic wrap.
- Let the dough rise in a warm, draft-free area for about 1 hour, or until it has doubled in size. This is the first rise, and it’s crucial for the bread’s fluffy texture.
5. Shape the Dough
- After the dough has risen, punch it down gently to release any air bubbles. Transfer it to a lightly floured surface and shape it into a loaf by folding the edges inward and rolling it up tightly.
6. Second Rise
- Grease a 9×5-inch loaf pan and place the shaped dough into the pan. Cover it loosely with a towel and let it rise for another 30-45 minutes, or until the dough has risen just above the edges of the pan.
7. Bake the Bread
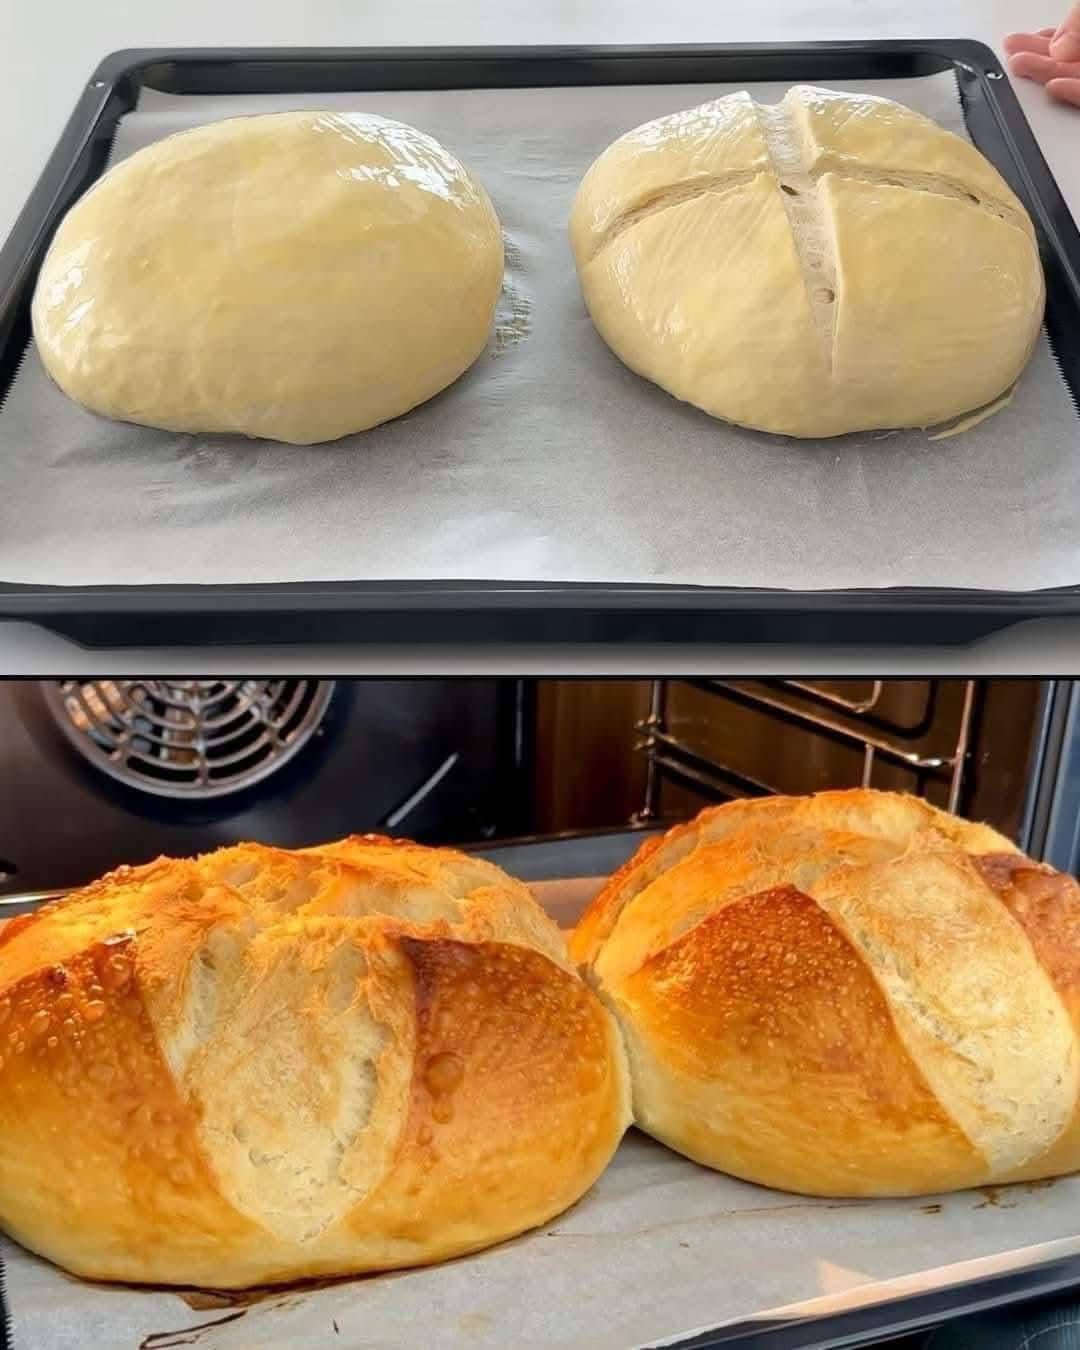
- Preheat your oven to 350°F (175°C). Once the dough has risen, place the loaf pan in the oven and bake for 30-35 minutes or until the top is golden brown and the loaf sounds hollow when tapped on the bottom.
8. Cool and Serve
- Remove the bread from the oven and allow it to cool for about 10 minutes in the pan. Then, transfer the loaf to a wire rack to cool completely.
- Slice and enjoy! You can serve the bread warm with butter or use it for your favorite sandwiches.
How to Serve Classic Homemade Bread
- Sandwiches: Whether it’s a simple peanut butter and jelly sandwich, a turkey club, or a veggie-packed sandwich, this soft and fluffy bread is the perfect base.
- With Soups or Stews: Serve slices of warm homemade bread alongside a bowl of your favorite soup, chili, or stew. It’s the perfect way to soak up all those delicious flavors.
- Garlic Bread: Slice the bread, spread with butter and minced garlic, and toast in the oven for a quick and easy garlic bread that’s perfect for any meal.
- Toast: Toast slices of this bread for a quick breakfast or snack, topped with butter, jam, or your favorite spread.
- French Toast: The soft, slightly chewy texture of homemade bread makes it ideal for French toast. Dip slices in an egg mixture and cook them to golden perfection for a decadent breakfast.
Tips for Success
- Water Temperature: Make sure the water is warm (about 110°F or 43°C). Too hot water can kill the yeast, and water that’s too cool may not activate it properly.
- Kneading: Kneading is important for developing the gluten, which helps create a soft and chewy texture. If you’re short on time, you can also use a stand mixer with a dough hook to knead the dough.
- Flavor Variations: Feel free to add herbs, garlic, or even cheese to the dough for extra flavor. You can also sprinkle the top of the loaf with seeds like sesame or poppy seeds before baking.
- Store Properly: Store your homemade bread in an airtight container or breadbox at room temperature for up to 3-4 days. For longer storage, slice the bread and freeze it. You can toast slices directly from the freezer for a quick snack.
Conclusion: A Timeless Homemade Delight
There’s nothing quite like the taste and satisfaction of Classic Homemade Bread—simple, soft, and delicious. This recipe is perfect for beginners and seasoned bakers alike, and the result is a loaf of bread that’s perfect for all occasions. Whether you’re making sandwiches, serving it with soup, or enjoying it fresh out of the oven with butter, this homemade bread will quickly become a family favorite.
So, grab your ingredients, roll up your sleeves, and start baking your way to a beautiful loaf of homemade bread that’s sure to delight.
ADVERTISEMENT
ADVERTISEMENT
