ADVERTISEMENT
Instructions:
1. Prepare the Topping:
Start by preheating your oven to 350°F (175°C).
In a 9-inch round cake pan, melt the butter in the oven for about 3-4 minutes. Once melted, remove the pan from the oven and sprinkle the brown sugar evenly over the butter, creating a smooth caramel layer at the bottom of the pan.
Next, arrange the pineapple rings on top of the sugar-butter mixture. Place one cherry in the center of each pineapple ring, and feel free to add a few extra cherries in between the rings for extra color and flavor.
2. Prepare the Cake Batter:
In a medium bowl, whisk together the flour, sugar, baking powder, and salt. Set this aside.
In a separate mixing bowl, beat the softened butter with a hand mixer or stand mixer until it becomes light and fluffy. Add the eggs one at a time, beating well after each addition. Stir in the vanilla extract.
Gradually add the dry ingredients to the wet mixture, alternating with the milk (or reserved pineapple juice), beginning and ending with the dry ingredients. Mix just until combined – be careful not to over-mix.
3. Assemble the Cake:
Pour the prepared cake batter over the caramelized pineapple layer in the pan. Use a spatula to smooth the batter evenly, making sure it covers the fruit completely.
4. Bake:
Place the cake pan in the preheated oven and bake for 35-40 minutes, or until a toothpick inserted into the center of the cake comes out clean. The top of the cake should be golden brown, and the edges will start to pull away from the sides of the pan.
5. Cool and Flip:
Allow the cake to cool in the pan for about 5 minutes before flipping it. To do this, place a serving plate or cake stand over the top of the cake pan. Carefully flip the pan upside down, and gently lift the pan off. Be sure to do this step while the cake is still warm to ensure the pineapple topping stays intact.
6. Serve:
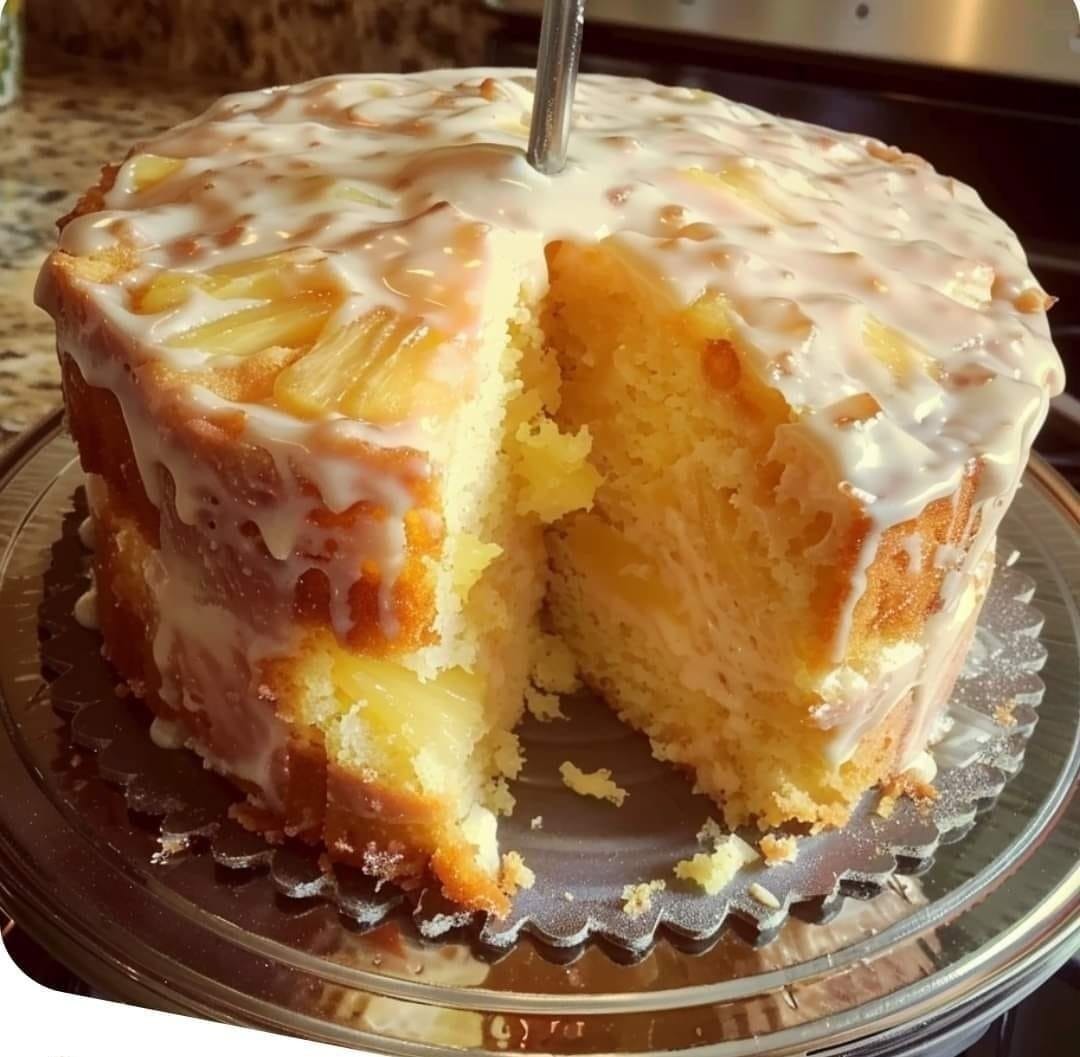
Let the cake cool slightly before serving. The caramelized pineapple topping will create a stunning, glossy appearance, and the combination of sweet pineapple and moist cake will melt in your mouth. Serve the cake as is, or add a dollop of whipped cream or a scoop of vanilla ice cream for an extra indulgent treat.
Tips and Variations:
- Add Coconut: For a tropical twist, sprinkle shredded coconut over the pineapple before adding the cake batter for added texture and flavor.
- Use Fresh Pineapple: If you prefer fresh pineapple over canned, use about 1 medium-sized pineapple, peeled, cored, and sliced into rings. Be sure to caramelize the pineapple slices in the pan before proceeding with the rest of the recipe.
- Flavored Cake: For an added depth of flavor, consider adding a pinch of cinnamon or nutmeg to the cake batter, or experiment with flavored extracts like almond or coconut.
- Make it Gluten-Free: Substitute the all-purpose flour with a gluten-free flour blend to make this cake gluten-free. The texture may vary slightly, but it will still be delicious!
Healthier Option:
If you’re looking for a lighter version, you can try using unsweetened applesauce instead of some of the butter in the cake batter and reduce the amount of sugar by half. While the texture may be slightly different, it will still deliver the comforting flavors of this classic dessert.
Why You’ll Love Pineapple Upside-Down Cake:
- A Perfect Balance of Sweet and Savory: The buttery, caramelized pineapple topping contrasts beautifully with the light and fluffy cake, making each bite a perfect blend of sweetness and richness.
- Easy to Make: This recipe comes together quickly with simple ingredients, and there’s no complicated frosting or assembly required. It’s a one-pan dessert that’s as easy as it is delicious.
- A Showstopper: When you flip the cake over to reveal the stunning caramelized pineapple topping, it’s guaranteed to impress your guests. It’s as much a treat for the eyes as it is for the taste buds.
Final Thoughts:
Pineapple Upside-Down Cake is a timeless dessert that brings joy to any occasion. Its sweet and tangy pineapple topping paired with a moist, buttery cake makes it a crowd favorite. This easy-to-follow recipe allows you to create a homemade version of this classic treat with minimal effort and maximum flavor.
Whether you’re preparing it for a holiday gathering, a family dinner, or a special celebration, this cake will never fail to impress. Try it out today and enjoy a slice of this delightful dessert that combines both nostalgia and indulgence.
ADVERTISEMENT
ADVERTISEMENT
