ADVERTISEMENT
Instructions:
Step 1: Prepare the Cake Base
- Mix the cake batter: In a bowl, prepare the cake batter according to the instructions on the cake mix box. Usually, you’ll need to combine the cake mix, melted butter, milk, and vanilla extract to form a smooth batter.
- Bake the cake: Pour the batter into a greased baking dish and bake as instructed on the box, typically at 350°F (175°C) for 20-25 minutes, or until a toothpick inserted into the center comes out clean.
- Cool the cake: Once baked, let the cake cool completely. After cooling, use your hands or a fork to crumble the cake into small crumbs.
Step 2: Shape the Christmas Bombs
- Prepare the filling: In a bowl, combine your mini marshmallows and chocolate chips (or any other fun fillings like caramel chunks, chopped candies, or holiday sprinkles).
- Form the bombs: Take a spoonful of cake crumbs and roll it into a small ball. Make a small indentation in the center with your finger and add a few pieces of your chosen filling. Seal the cake around the filling and roll it back into a smooth ball shape.
- Repeat: Continue until all the cake mixture is used, making sure each bomb has a little surprise center.
Step 3: Coat and Decorate
- Melt the white chocolate: Place the white chocolate in a microwave-safe bowl and melt it in 30-second intervals, stirring in between, until it’s smooth and fully melted.
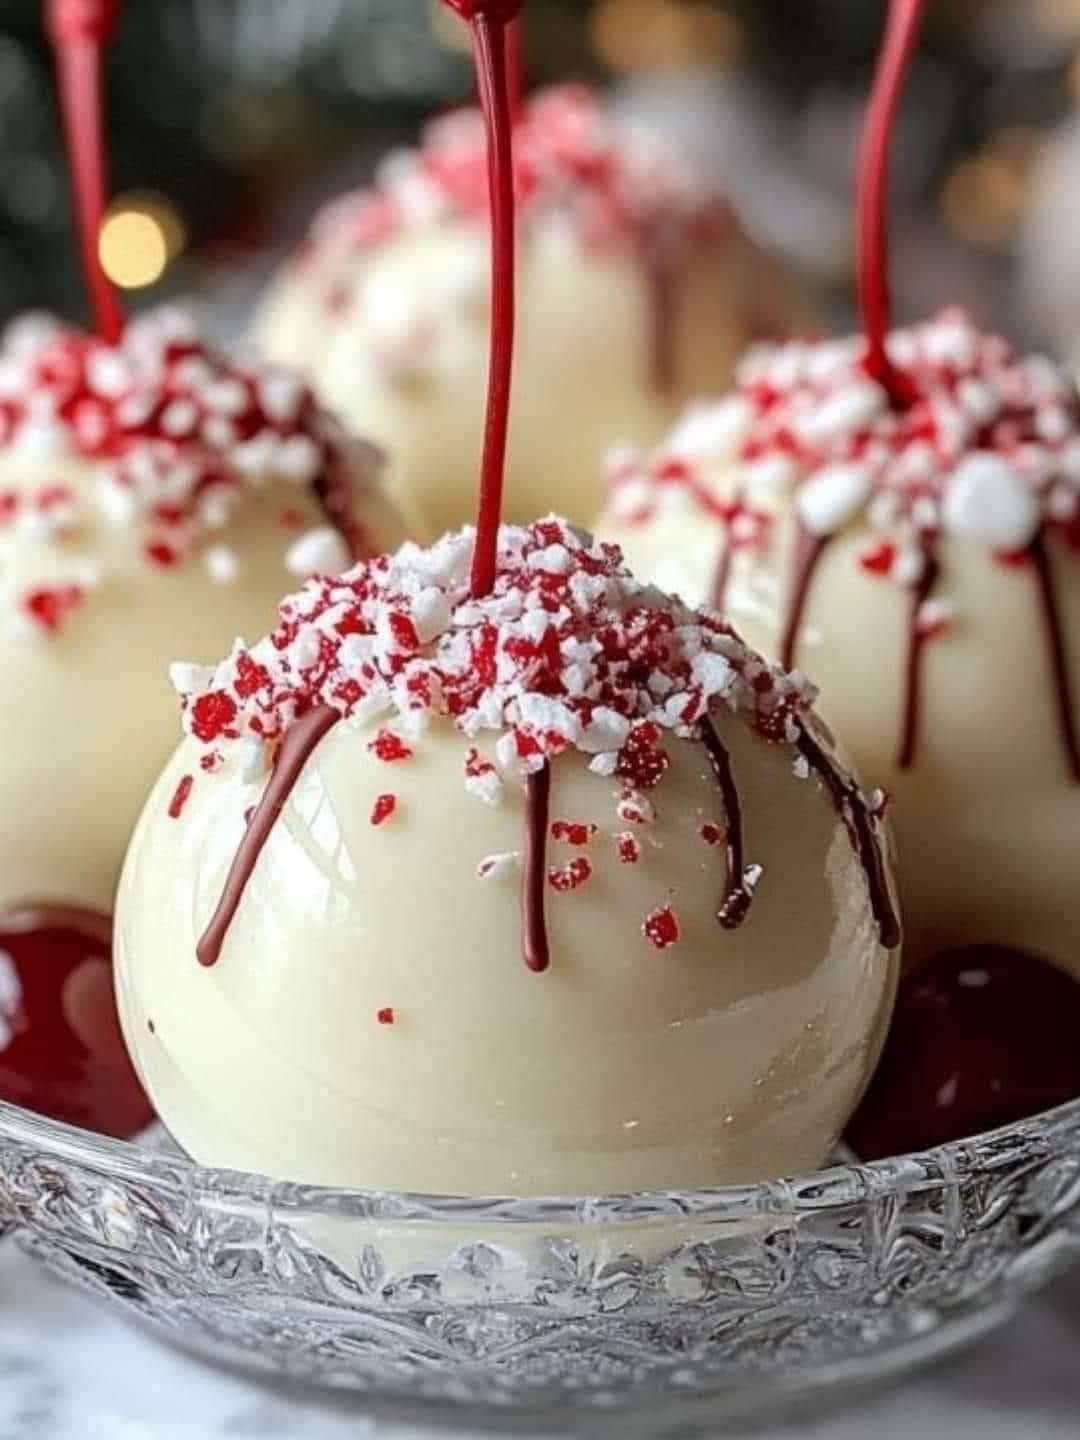
- Dip the bombs: Using a fork or skewer, dip each cake bomb into the melted white chocolate, ensuring it’s fully coated. Let the excess chocolate drip off before placing the bomb on a parchment-lined tray.
- Add festive sprinkles: While the chocolate is still wet, sprinkle your holiday sprinkles, crushed candy canes, or colorful M&Ms on top for a festive touch.
- Let the chocolate set: Allow the chocolate coating to harden completely at room temperature or place the bombs in the fridge for quicker setting.
Step 4: Serve and Enjoy!
Once your Christmas Bombs are set and decorated, they’re ready to be enjoyed! Arrange them on a holiday platter or package them in festive gift boxes to give away as treats. These adorable little bombs are the perfect way to bring a burst of holiday spirit to your dessert table.
Tips for the Perfect Christmas Bombs:
- Flavor variety: Don’t be afraid to switch up the flavor of your cake mix. Spice cake, red velvet, or even a gingerbread cake mix will make for an exciting and delicious twist!
- Filling variations: Get creative with the filling! You can use candy canes, peppermint bark, caramel, chocolate truffles, or even a little bit of frosting for an added creamy surprise.
- Storage: Store your Christmas Bombs in an airtight container at room temperature for up to 4-5 days. For longer storage, keep them in the fridge, and they’ll stay fresh for up to a week.
- Gift idea: These Christmas Bombs make for a great homemade gift! Package them in cute tins or gift boxes with a festive ribbon for a personalized present anyone would appreciate.
Conclusion: A Burst of Holiday Magic!
Christmas Bombs are a fun, festive, and mouthwatering treat that will make your holiday season even more special. They’re easy to make, customizable, and the perfect dessert for any holiday gathering. Whether you’re serving them at a Christmas party, giving them as gifts, or simply enjoying them with your family, these sweet surprises will add a delightful pop of flavor to your festivities.
Try making these Christmas Bombs today and add a little extra joy to your holiday celebrations!
ADVERTISEMENT
