ADVERTISEMENT
Instructions
Step 1: Make the Chocolate Cake
- Preheat your oven to 350°F (175°C). Grease and flour three 9-inch round cake pans, or line them with parchment paper.
- In a large bowl, whisk together flour, sugar, cocoa powder, baking powder, baking soda, and salt.
- Add the eggs, milk, vegetable oil, and vanilla extract. Mix until the batter is smooth and well combined.
- Gradually add the boiling water to the batter. It will be thin, but that’s exactly what you want to create a moist, rich cake.
- Divide the batter evenly among the prepared cake pans. Bake for 30-35 minutes, or until a toothpick inserted into the center comes out clean.
- Let the cakes cool in the pans for 10 minutes, then transfer them to a wire rack to cool completely.
Step 2: Prepare the Creamy Vanilla Filling
- In a chilled mixing bowl, beat the heavy cream with an electric mixer until soft peaks form.
- Gradually add the powdered sugar and vanilla extract, then continue beating until stiff peaks form. This will give you a fluffy, creamy filling for your cake layers.
- Set the whipped vanilla cream aside in the refrigerator until ready to assemble the cake.
Step 3: Make the Nut Buttercream
- In a large bowl, beat the unsalted butter with an electric mixer until smooth and creamy.
- Gradually add the powdered sugar, one cup at a time, beating well after each addition.
- Add the heavy cream and vanilla extract, and continue beating until the buttercream is fluffy and smooth.
- Finally, fold in the finely chopped nuts (such as walnuts, hazelnuts, or pecans) to give the buttercream a rich, nutty flavor and texture.
Step 4: Assemble the Cake
- Once the cake layers have cooled completely, level the tops of the cakes with a serrated knife to ensure they are even.
- Place the first layer of chocolate cake on your cake stand or serving plate. Spread a generous layer of creamy vanilla filling on top, smoothing it out to the edges.
- Place the second layer of cake on top of the filling, and repeat the process with another layer of vanilla filling.
- Top with the final cake layer and use a spatula to cover the entire cake with a thin crumb coat of nut buttercream. This will help seal in any crumbs.
- Refrigerate the cake for about 20 minutes to set the crumb coat, then apply a thicker layer of nut buttercream to the top and sides of the cake, smoothing it out to create a beautiful, polished finish.
Step 5: Garnish and Serve
- Decorate the top of the cake with additional chopped nuts for a beautiful and delicious garnish.
- You can also add extra touches, like chocolate shavings, edible gold dust, or a dusting of cocoa powder, depending on your preferences.
- Slice the cake into wedges and serve immediately! This cake pairs wonderfully with a cup of coffee or a cold glass of milk.
Why You’ll Love Chocolate and Nut Layer Cake
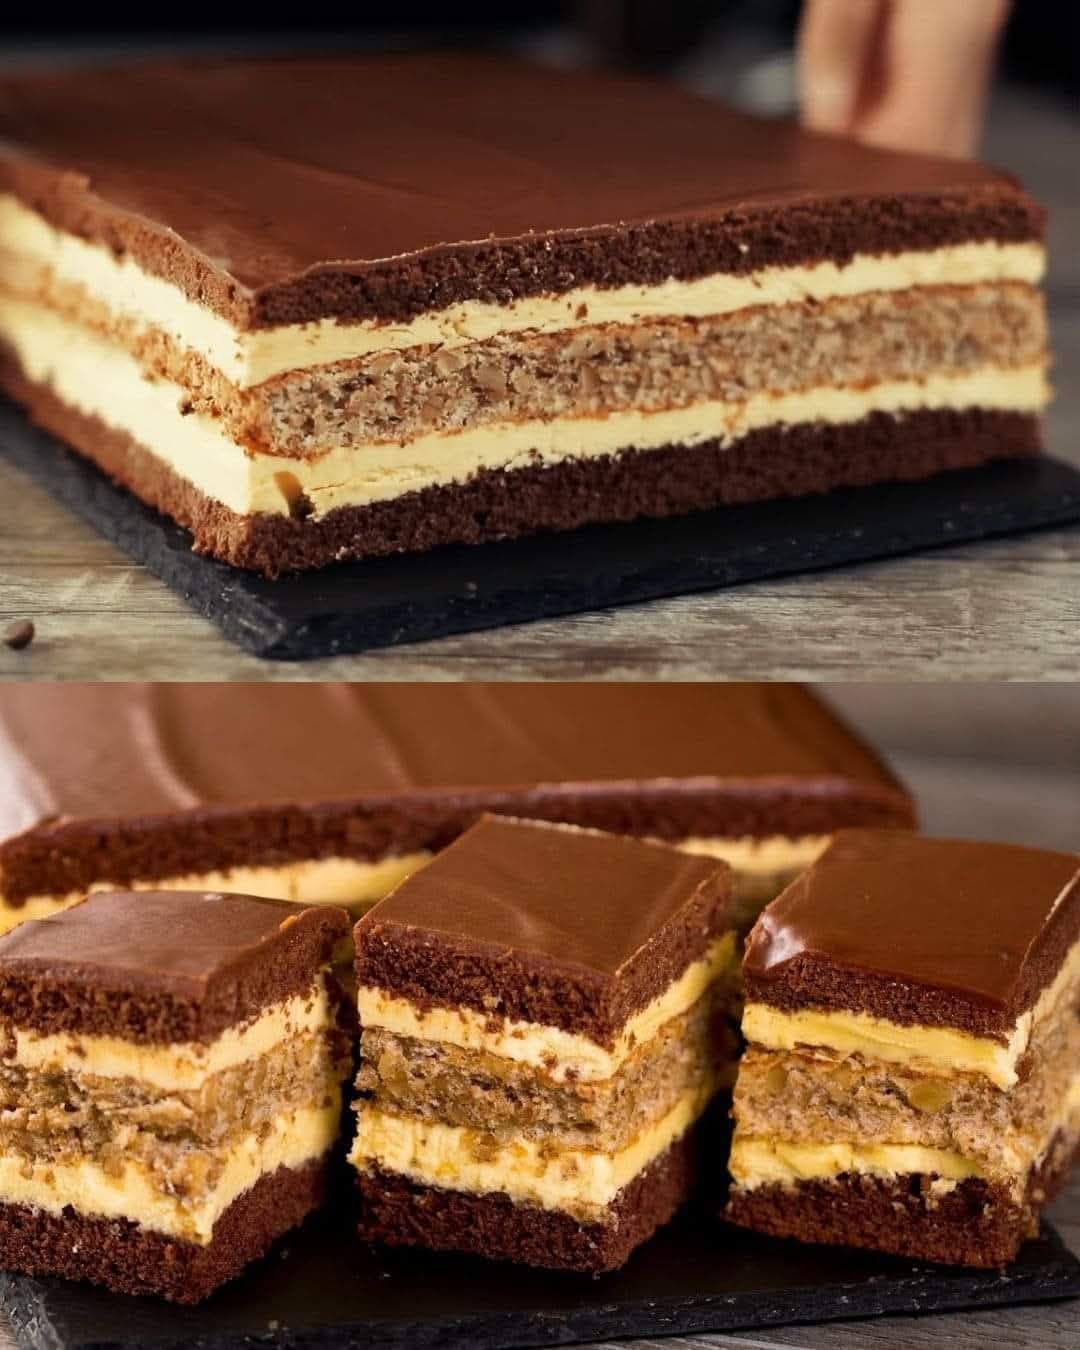
- Decadent Layers of Flavor: The rich, moist chocolate cake pairs perfectly with the creamy vanilla filling and nutty buttercream, creating a dessert that’s indulgent and full of complex flavors.
- Textural Contrast: The crunchy nuts in the buttercream provide a delightful contrast to the soft, smooth layers of cake and filling. It’s a textural experience that makes each bite more satisfying.
- Impressive Presentation: This cake is not only delicious, but it’s also visually stunning. Its multi-layered structure, creamy filling, and nutty garnish make it a showstopper for any occasion.
- Customizable: Feel free to adjust the type of nuts you use in the cake. Walnuts, pecans, hazelnuts, or even almonds can all bring different nuances of flavor to the cake. You can also experiment with different chocolate options—dark chocolate, milk chocolate, or even chocolate chips in the batter!
- Perfect for Special Occasions: Whether it’s a birthday, an anniversary, or a holiday celebration, this cake is perfect for those special moments. It’s the kind of dessert that elevates any event.
Tips for Success
- Level the Cakes: To ensure that your layers are even, use a serrated knife to trim the tops of the cakes if they have domed up during baking. This will give you a more stable base when stacking the layers.
- Chill the Cake Between Layers: After you’ve applied the crumb coat, refrigerating the cake will help it set and prevent the layers from slipping when you apply the final coat of buttercream.
- Flavor Variations: You can add a touch of espresso powder to the chocolate cake for a richer, more intense chocolate flavor, or a splash of orange extract to the vanilla filling for a citrus twist.
- Make-Ahead: You can prepare the individual components of the cake a day or two ahead of time. Keep the cake layers, vanilla filling, and buttercream stored separately in the fridge, then assemble and frost the cake when you’re ready.
Conclusion
The Chocolate and Nut Layer Cake with Creamy Vanilla and Buttercream is a dessert that combines all the elements of a perfect cake: moist, decadent chocolate, smooth vanilla cream, rich buttercream, and the satisfying crunch of nuts. It’s a delicious and impressive choice for any celebration or simply when you want to indulge in something special.
From the first bite to the last, this cake is sure to leave a lasting impression on everyone who tastes it. So gather your ingredients, get baking, and enjoy creating this magnificent dessert!
ADVERTISEMENT
ADVERTISEMENT
