ADVERTISEMENT
Instructions
1. Mix the Dough:
In a large mixing bowl, combine the flour, salt, and yeast. Stir in the lukewarm water until the dough comes together. The dough should be shaggy and sticky — this is exactly what you want! Don’t worry about making it smooth or perfect, just ensure all the flour is incorporated.
2. Let It Rise:
Cover the bowl with plastic wrap or a clean kitchen towel and let the dough rise at room temperature for 12 to 18 hours. Yes, that’s right — the dough needs a long rise to develop flavor and texture, but don’t worry, you don’t have to do anything during this time. It’s just waiting to work its magic!
If you’re planning ahead, you can start the dough in the evening and let it rise overnight, so it’s ready to go the next day.
3. Shape the Dough:
After the dough has risen and is bubbly and slightly deflated, it’s time to shape it. On a well-floured surface, gently fold the edges of the dough toward the center. You don’t need to knead it — just fold the dough over itself a few times to create a nice, smooth ball. Let the dough rest for 15 to 30 minutes while you preheat your oven.
4. Preheat the Oven:
Place a Dutch oven or heavy pot with a lid into the oven and preheat it to 450°F (230°C). The pot needs to be hot when the dough is added to ensure a perfect crust forms. Let the pot heat up for about 30 minutes.
5. Bake the Bread:
After the dough has rested, carefully remove the hot pot from the oven. Place the dough into the pot (you can use parchment paper to make this easier if you like). Cover the pot with the lid and bake the bread for 30 minutes. After 30 minutes, remove the lid and continue baking for another 15-20 minutes, or until the loaf is deep golden brown and sounds hollow when tapped on the bottom.
6. Cool and Enjoy:
Remove the bread from the pot and let it cool on a wire rack for at least 30 minutes before slicing. This allows the bread to set and makes it easier to cut. Slice it up and enjoy the crispy, golden crust and soft, airy interior.
Tips for Success
- Don’t Rush the Rise:
The long rise time is key to getting the best flavor and texture. If you can, try to leave the dough to rise for at least 12 hours for maximum flavor. - Use a Dutch Oven or Heavy Pot:
A heavy pot with a tight-fitting lid is crucial for getting the perfect crust. The lid traps steam, which helps the bread rise and form a beautifully crispy outer layer. If you don’t have a Dutch oven, you can try baking the bread in a heavy, oven-safe pot with a lid, or even a covered roasting pan. - Adjust the Temperature:
Oven temperatures can vary, so if you find that your bread is getting too dark too quickly, reduce the temperature by 25°F and bake a little longer. If it’s not browning enough, try increasing the heat slightly during the final 15 minutes. - Add Flavor Variations:
Once you master the basic recipe, you can start to experiment with add-ins like herbs, garlic, cheese, or seeds. A sprinkle of rosemary or a handful of olives can elevate your no-knead bread to a whole new level. - Use Room Temperature Water:
Lukewarm water (around 110°F or 45°C) is best for activating the yeast without killing it. Too hot, and the yeast could be damaged; too cold, and the dough might not rise properly.
Why This Recipe Works
The beauty of Brilliant No-Knead Bread lies in its simplicity. The long rise allows the dough to develop flavor naturally, and by using a Dutch oven or heavy pot, you’re able to achieve a crispy, bakery-style crust without the need for complicated techniques. The no-knead method works because the dough is so wet that it can stretch and form gluten on its own, which results in a soft, chewy texture. The steam created by the hot pot helps create a perfectly crisp crust, while the inside remains tender and airy.
Conclusion
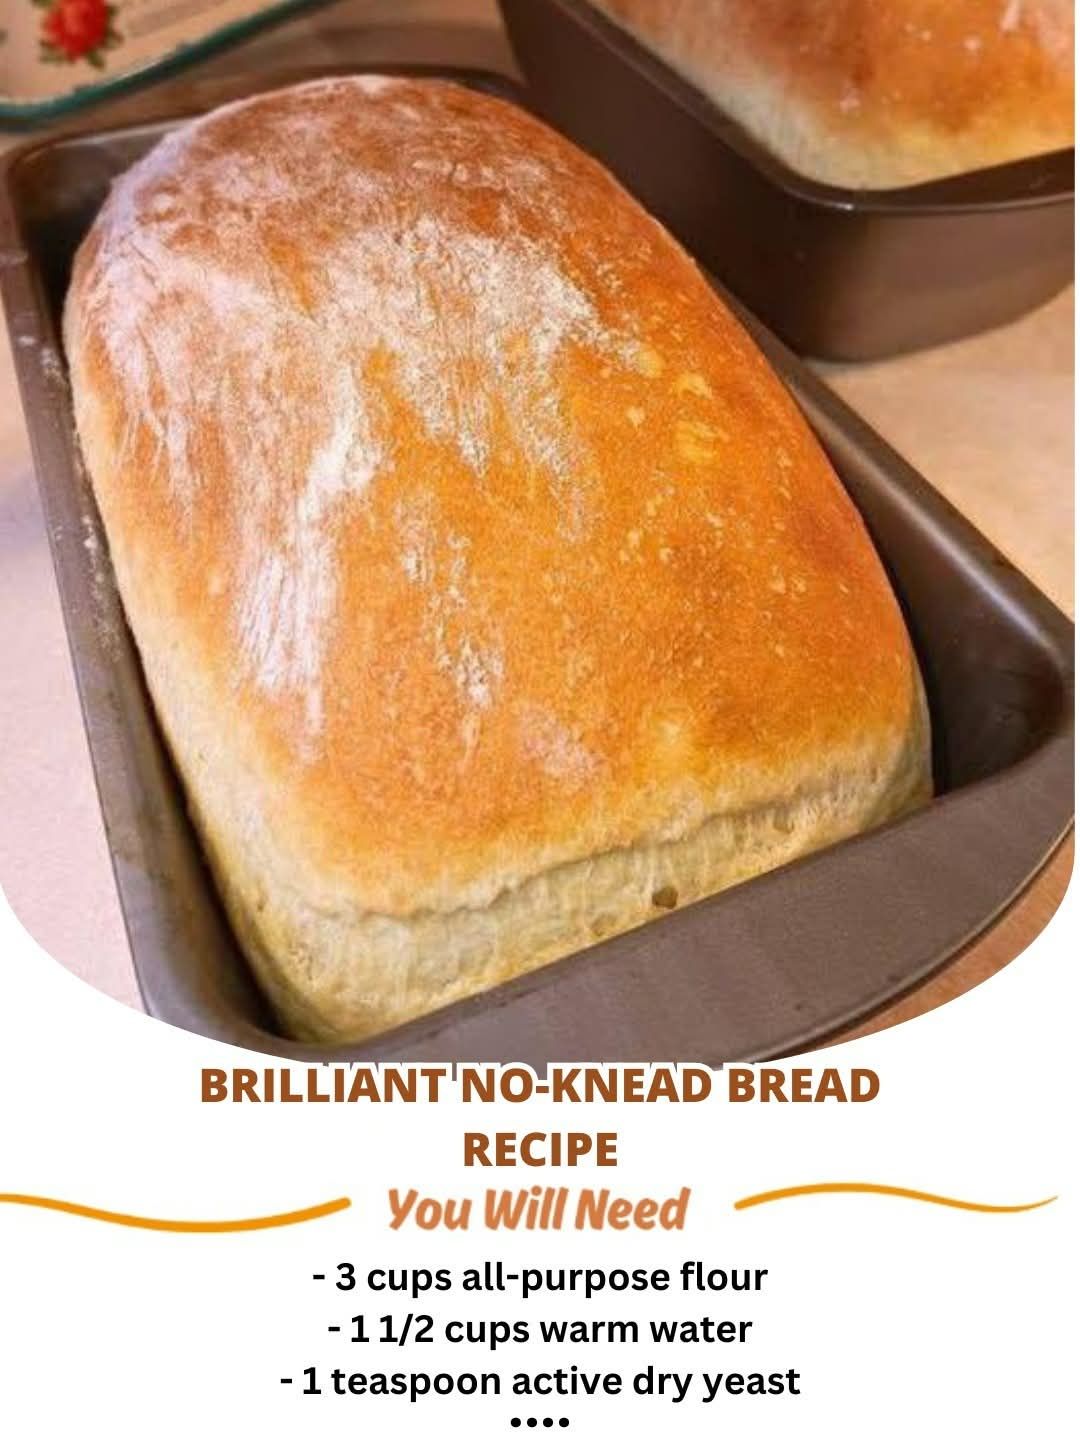
Brilliant No-Knead Bread is the ultimate solution for anyone who loves fresh, homemade bread but doesn’t have the time, energy, or patience for complicated bread-baking processes. It’s easy, affordable, and yields a gorgeous loaf every time. Whether you’re a beginner baker or an experienced home cook, this recipe will quickly become a staple in your kitchen.
So why not give it a try? All it takes is a few basic ingredients, a little time, and the right tools to make delicious, homemade bread. You’ll be amazed at how something so simple can bring so much joy to your kitchen — and your taste buds!
ADVERTISEMENT
ADVERTISEMENT
