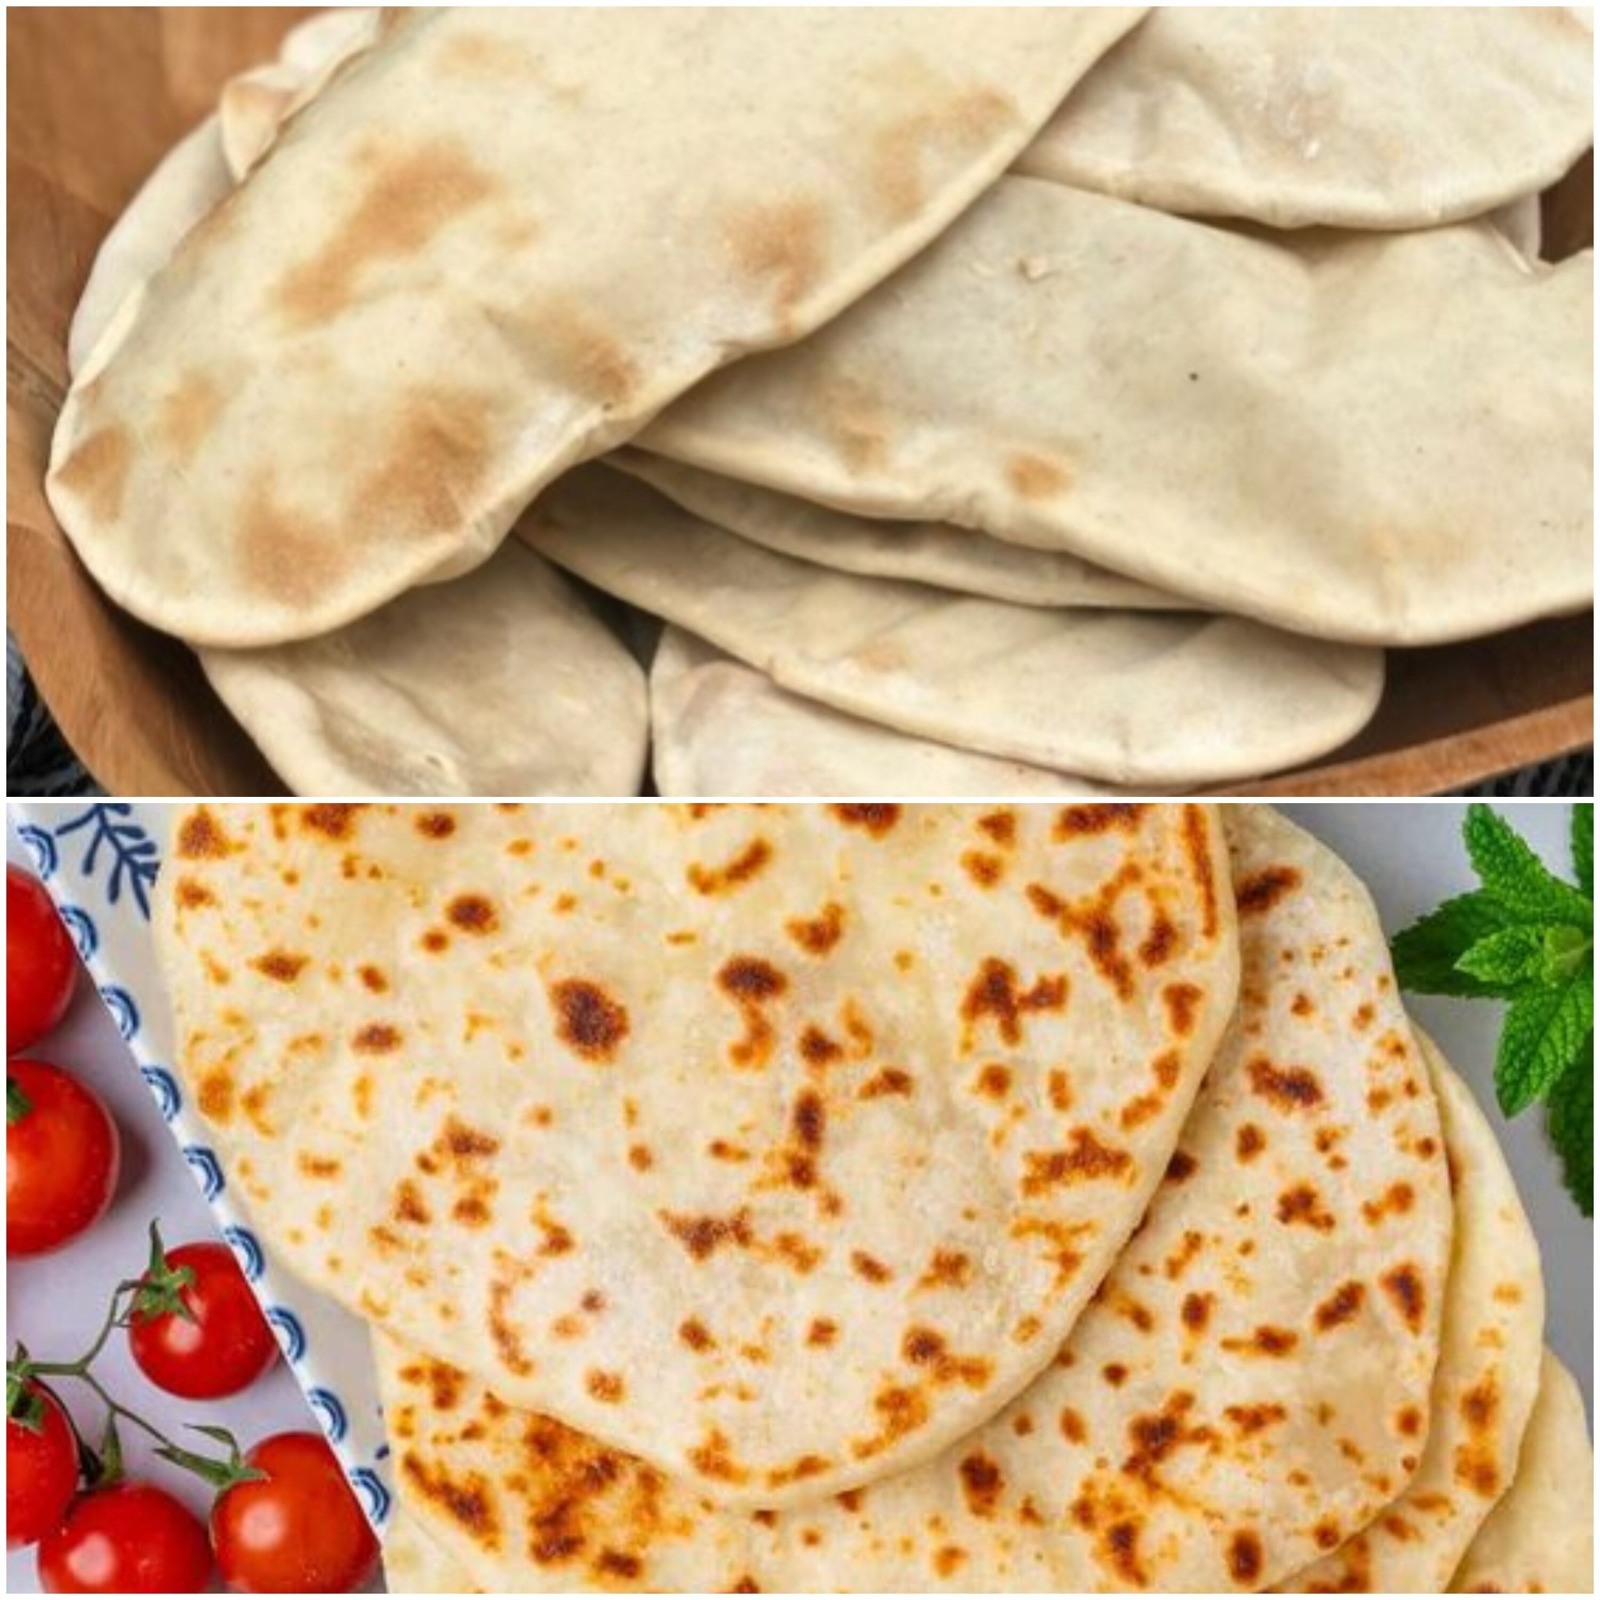
ADVERTISEMENT
Instructions:
1. Mix the Dry Ingredients:
In a large bowl, whisk together the flour, baking powder, salt, and sugar (if using). These dry ingredients will form the base of your bread dough.
2. Add the Wet Ingredients:
In a separate bowl or measuring cup, mix together the milk, melted butter, and water. Gradually pour the wet ingredients into the dry ingredients, stirring as you go. The dough should start to come together quickly. If the dough feels too dry, you can add a little more water, a tablespoon at a time, until it reaches a thick but slightly sticky consistency.
3. Knead the Dough:
Once the dough has come together, transfer it to a lightly floured surface. Knead the dough gently for about 1-2 minutes. Since there’s no yeast in this recipe, you don’t need to worry about overworking the dough, but a bit of kneading will help make the bread texture light and airy.
4. Shape the Dough:
Shape the dough into a round or oval shape, depending on your preference or the size of your pan. You can make it a little thicker or thinner, but try to keep it about 1-1.5 inches thick. This will help it cook evenly.
5. Heat the Pan:
Place a large, heavy-bottomed skillet or frying pan on the stove over medium heat. Add the olive oil and spread it around to coat the bottom of the pan. Allow the pan to heat up for a couple of minutes.
6. Cook the Bread:
Place the dough into the preheated skillet. Cover the pan with a tight-fitting lid and cook for about 4-5 minutes on the first side. After 4-5 minutes, check to see if the bottom is golden brown. If it is, flip the bread over carefully and cover it again. Continue cooking for another 4-5 minutes on the other side. You may need to adjust the heat to medium-low to avoid burning the bread while ensuring it cooks through.
7. Check for Doneness:
After about 8-10 minutes, the bread should be golden on both sides and cooked through. You can check the doneness by gently pressing down on the top of the bread; it should spring back. If you have a kitchen thermometer, the internal temperature should be around 190°F (88°C).
8. Serve and Enjoy:
Once the bread is done, remove it from the skillet and let it cool for a minute or two. Slice and serve warm! You can enjoy it as-is, or spread it with a little butter, jam, or honey for extra flavor.
Why You’ll Love This Quick and Easy Bread:
- No Oven Required: This recipe takes the traditional baking process out of the equation. You don’t need to preheat the oven or wait for hours—just 10 minutes on the stovetop, and you’ll have fresh bread ready to eat!
- Simple Ingredients: You don’t need any special tools or ingredients for this bread. With just a few pantry staples—flour, baking powder, butter, and milk—you can have fresh bread in no time.
- Perfect for Busy Days: Whether you’re short on time or just don’t want to deal with a long baking process, this quick bread is your answer. It’s perfect for busy mornings, a last-minute dinner side, or when you need a fast snack.
- Versatile: You can customize this bread to suit your taste. Add herbs like rosemary or thyme for a savory version, or a handful of chocolate chips or dried fruit for a sweet twist. You can even experiment with different types of flour, such as whole wheat or gluten-free, depending on your dietary needs.
Tips for Success:
- Don’t Rush the Pan-Cooking Step: While it’s tempting to increase the heat to cook the bread faster, doing so may burn the outside before the inside is fully cooked. Medium heat is best to achieve a golden crust and a fully cooked interior.
- Add Flavor Variations: For savory bread, try adding garlic powder, cheddar cheese, or chopped herbs to the dough. For a sweet version, consider stirring in some cinnamon, nutmeg, or vanilla extract.
- Storage: This quick bread is best enjoyed fresh. However, if you have leftovers, you can store them in an airtight container for 2-3 days at room temperature. Reheat in a dry pan or microwave before serving.
What to Serve With This Quick and Easy Bread:
This stovetop bread pairs wonderfully with many dishes:
- Soups and Stews: Serve it alongside a steaming bowl of vegetable soup, chili, or beef stew to soak up the delicious broth.
- Salads: Complement a light green salad with a slice of fresh bread for added texture and flavor.
- Breakfast: Enjoy it with a dollop of jam, a drizzle of honey, or a spread of cream cheese for a quick breakfast or brunch treat.
- Grilled Meats: This bread can also be a great side dish for grilled meats like chicken, steak, or pork chops, helping to round out your meal.
Final Thoughts:
Making homemade bread doesn’t have to be a time-consuming or complicated process. With this 10-Minute Stovetop Bread, you can enjoy fresh, delicious bread in no time—no oven required! This quick and easy recipe is perfect for anyone looking for a fast, simple way to make bread without all the fuss.
Whether you’re new to baking or just looking for a convenient bread option, this stovetop method will give you a soft, warm loaf in just minutes. Give it a try next time you’re in the mood for fresh bread without the wait—your taste buds will thank you!
ADVERTISEMENT
ADVERTISEMENT
