ADVERTISEMENT
Instructions:
1. Prepare the Marinade
Start by making the huli huli marinade. In a medium saucepan, combine the pineapple juice, soy sauce, brown sugar, rice vinegar, ginger, garlic, sesame oil, and red pepper flakes (if using). Stir the mixture well and bring it to a simmer over medium heat. Allow it to cook for about 5-7 minutes until the sauce thickens slightly and becomes a glaze.
Once the marinade has thickened, remove it from the heat and let it cool for a few minutes before using it to marinate the chicken.
2. Marinate the Chicken
Pat the chicken thighs dry with paper towels and season them with a pinch of salt and pepper on both sides. Place the chicken in a resealable plastic bag or shallow dish, then pour about half of the cooled marinade over the chicken. Make sure the chicken is well coated in the marinade. Seal the bag or cover the dish and refrigerate for at least 30 minutes, or ideally, 1-2 hours to let the flavors soak in.
3. Preheat the Oven
While the chicken marinates, preheat your oven to 375°F (190°C). Line a baking sheet with parchment paper or aluminum foil to make cleanup easier.
4. Bake the Chicken
Once the chicken is marinated, heat the olive oil in a large skillet over medium-high heat. Add the chicken thighs, skin side down, and cook for 2-3 minutes, just to crisp up the skin. This step adds an extra layer of flavor, but it’s optional if you prefer to skip this step.
Next, transfer the chicken to the prepared baking sheet, skin side up. Brush a generous amount of the reserved marinade over the chicken. Bake the chicken in the preheated oven for 35-45 minutes, or until the internal temperature reaches 165°F (74°C) and the skin is golden brown and crispy.
5. Glaze and Serve
During the last 5-10 minutes of baking, you can brush the chicken with a little more marinade to enhance the flavor and give it a glossy finish. For an extra touch, you can broil the chicken for 1-2 minutes at the end of the baking time to get the skin extra crispy and caramelized.
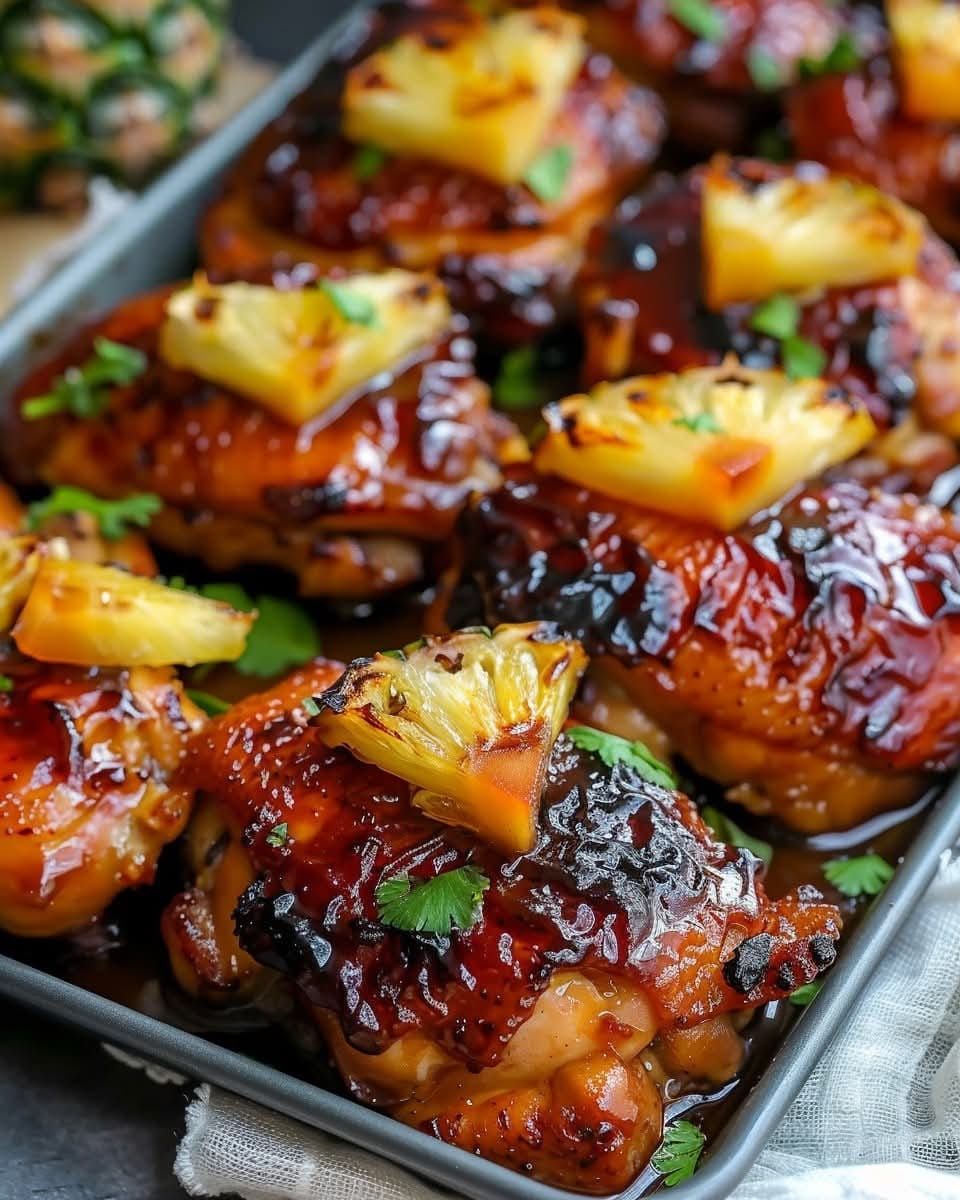
Remove the chicken from the oven and let it rest for a few minutes. Serve the Baked Huli Huli Chicken with your favorite side dishes, such as steamed rice, grilled vegetables, or a refreshing cucumber salad. You can garnish the chicken with fresh cilantro, sliced green onions, or a sprinkle of sesame seeds for a finishing touch.
Why You’ll Love Baked Huli Huli Chicken:
- Sweet and Savory Flavor: The marinade’s combination of pineapple, soy sauce, and brown sugar creates a perfectly balanced sweet and savory glaze that infuses the chicken with incredible flavor.
- No Grill Needed: While Huli Huli Chicken is traditionally cooked on a grill, baking it in the oven makes this recipe accessible year-round and a great option for those without a grill.
- Family-Friendly: This dish is not only delicious but also easy to make, making it a great choice for a family meal. The flavors are simple enough to appeal to everyone, from kids to adults.
- Perfect for Meal Prep: The chicken keeps well in the refrigerator for a few days, making it an excellent option for meal prepping. You can serve it over rice, in wraps, or as a topping for salads for quick lunches during the week.
Tips for Perfecting Your Baked Huli Huli Chicken:
- Use Bone-in, Skin-on Chicken: Bone-in, skin-on pieces retain moisture and flavor while cooking. The skin also helps create a crispy, delicious finish when baked.
- Marinate Longer: If you have the time, marinate the chicken for longer (up to 24 hours) to enhance the flavor.
- Double the Marinade: If you love extra sauce, make a double batch of the marinade to serve on the side or to drizzle over rice and vegetables.
- Add Some Heat: If you prefer a spicier version, add more red pepper flakes or a few dashes of hot sauce to the marinade.
Conclusion
Baked Huli Huli Chicken brings the tropical flavors of Hawaii right into your home with minimal effort. The sweet and savory marinade creates a perfectly tender and flavorful chicken that is crispy on the outside and juicy on the inside. Whether you’re serving it for a weeknight dinner, a special occasion, or meal prepping for the week ahead, this recipe will quickly become a favorite in your household. So grab your ingredients and get ready to enjoy a delicious taste of the islands—right from your oven!
ADVERTISEMENT
ADVERTISEMENT
