ADVERTISEMENT
Instructions
1. Prepare the Apple Filling
- In a medium bowl, toss the sliced apples with sugar, cinnamon, nutmeg, and lemon juice. Set aside to let the flavors meld.
2. Prepare the Puff Pastry
- Preheat the oven to 400°F (200°C) and line a baking sheet with parchment paper.
- Roll out each sheet of puff pastry slightly to smooth out the folds. Cut each sheet into 4 equal squares, creating 8 pieces total.
3. Assemble the Danishes
- Place a spoonful of the apple mixture in the center of each pastry square.
- Fold the corners of each square slightly toward the center, forming a diamond shape. Press lightly to seal.
- Brush the edges of the pastry with the beaten egg to help them brown beautifully.
4. Bake
- Arrange the pastries on the prepared baking sheet, leaving space between each.
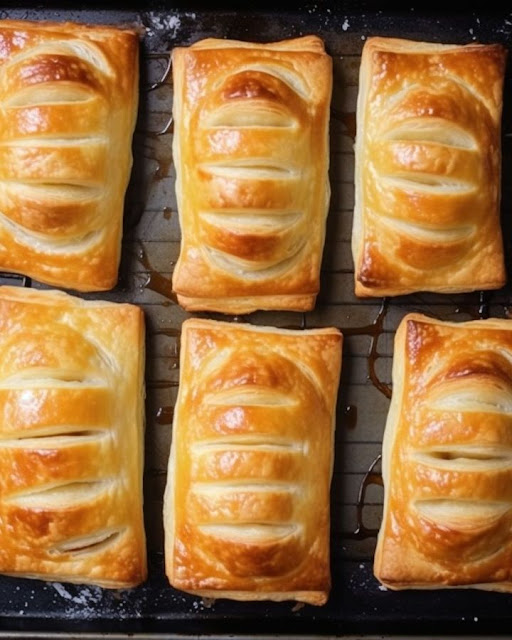
- Bake for 18-22 minutes, or until the pastries are puffed and golden brown.
5. Make the Glaze
- In a small bowl, whisk together the powdered sugar, milk, and vanilla extract until smooth. Adjust the consistency by adding more milk if needed.
6. Finish and Serve
- Drizzle the glaze over the warm Danishes.
- Let the glaze set slightly, then serve warm or at room temperature.
Tips for Perfect Apple Danishes
- Apple Choice: Use tart apples like Granny Smith for a balanced flavor or sweeter varieties like Fuji for a milder taste.
- Customize the Filling: Add raisins, chopped nuts, or caramel sauce for extra richness.
- Make Ahead: Prepare and assemble the Danishes the night before, refrigerate, and bake fresh in the morning.
Why This Recipe Works
This Apple Danish recipe combines the ease of pre-made puff pastry with the homemade touch of spiced apples and a luscious glaze. The result is a dessert (or breakfast!) that’s buttery, flaky, and full of seasonal charm.
Serve these Danishes with a cup of coffee or tea for a moment of pure indulgence. Whether for a holiday brunch or a casual weekend treat, these pastries will quickly become a household favorite.
ADVERTISEMENT
ADVERTISEMENT
