ADVERTISEMENT
How to Preserve Eggs for 2 Years in Jars: 2 Perfect Recipes!
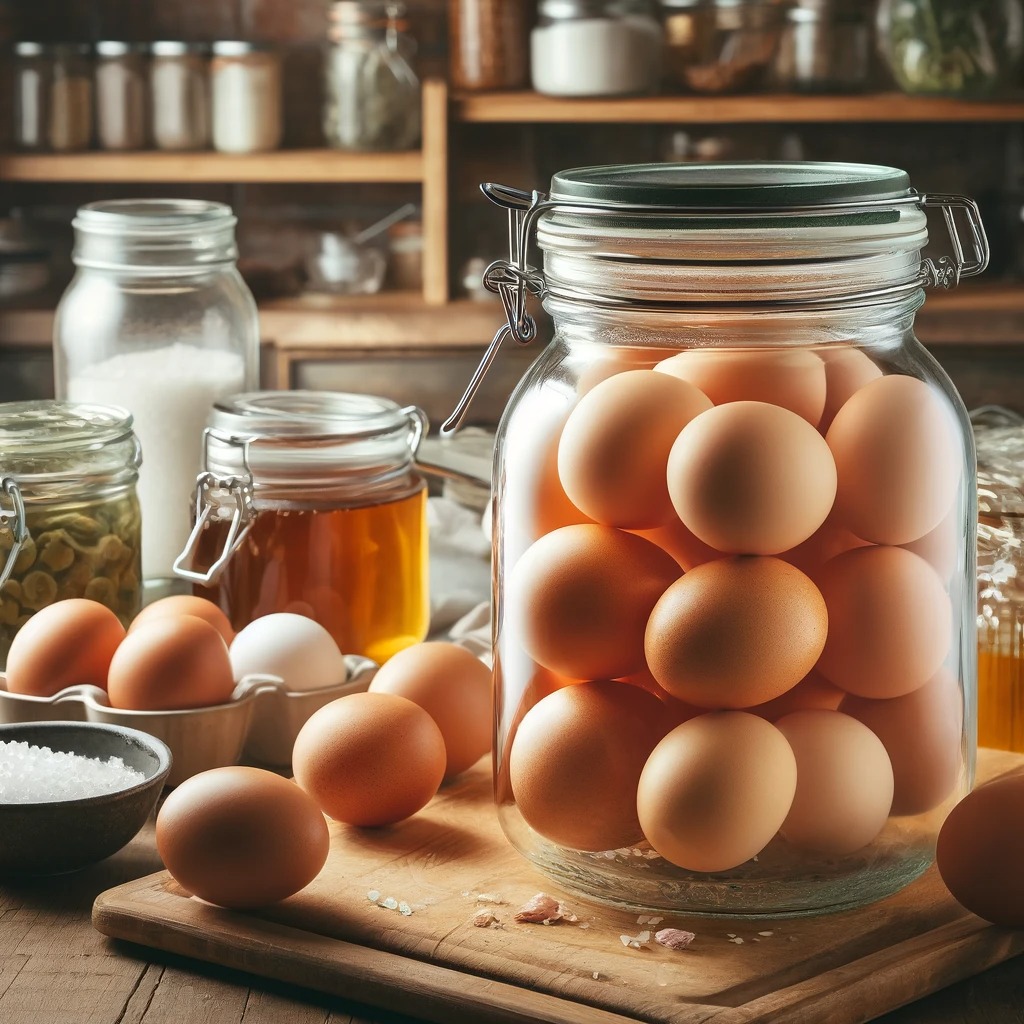
If you’ve ever wondered how to preserve eggs for long periods, then you’re in the right place! Preserving eggs is a fantastic way to ensure you have a steady supply of this nutritious staple even during times when fresh eggs may be scarce or hard to find. Whether you’re preparing for emergencies, planning for long-term storage, or simply looking to preserve a seasonal bounty of eggs, there are methods to store eggs safely for up to 2 years using just a few simple ingredients and materials.
In this article, we’ll explore two effective techniques to preserve eggs in jars, ensuring they stay fresh and usable for months or even years. Both methods require minimal effort but yield excellent results, giving you peace of mind and ensuring your eggs remain edible long after they’ve been harvested.
Why Preserve Eggs?
Eggs are a versatile, protein-packed food that’s essential in countless recipes. However, they don’t last long when stored at room temperature, and refrigeration doesn’t guarantee a long shelf life either. By preserving eggs, you’re extending their usability, helping to avoid food waste, and keeping a nutrient-dense food on hand for extended periods.
There are a few different methods for egg preservation, but today, we’ll focus on two that involve water glassing (also known as “water glass preservation”) and lime water preservation. These methods are well-known for their success in preserving eggs for up to two years in a safe and edible state.
1. Water Glassing Eggs (Sodium Silicate Preservation)
Water glassing is an ancient method of preserving fresh eggs using a solution of sodium silicate, also known as water glass. This technique is particularly effective because it seals the eggs and prevents air from entering, thus slowing the aging process. Eggs stored using this method can last up to two years.
Ingredients & Supplies:
- Fresh unwashed eggs (not cracked)
- Water glass (sodium silicate solution)
- Non-chlorinated water (boiled and cooled)
- A sterilized jar (large enough to hold the eggs)
Step-by-Step Instructions:
- Prepare the Jar: Sterilize a clean, dry glass jar with a tight-fitting lid. You can use jars like mason jars or any airtight container that can hold the eggs comfortably.
- Mix Water Glass Solution: In a separate container, mix 1 part sodium silicate with 9 parts water. This means for every cup of water, you’ll need about 1 tablespoon of sodium silicate. Stir well to combine.
- Place the Eggs in the Jar: Carefully place your fresh, unwashed eggs into the jar, ensuring that they are packed gently but snugly together. Avoid cracking the eggs during this process.
- Cover with Solution: Pour the water glass mixture into the jar, ensuring that the eggs are fully submerged in the solution. Leave about an inch of space at the top of the jar to prevent spillage when sealed.
- Seal the Jar: Tighten the lid securely and store the jar in a cool, dark place—such as a pantry, basement, or cupboard—away from direct sunlight. The eggs should be kept at a stable, cool temperature (around 50–60°F or 10–15°C) for optimal preservation.
- Check Periodically: Every few months, check to ensure that the eggs remain covered in the solution. If the solution evaporates, simply add more non-chlorinated water.
For Complete Cooking STEPS Please Head On Over To Next Page Or Open button (>) and don’t forget to SHARE with your Facebook friends
ADVERTISEMENT
