ADVERTISEMENT
Instructions:
Step 1: Melt the Butter and Oils
- In a small saucepan, gently heat the coconut oil and shea butter over low heat until they melt. Stir the mixture occasionally to make sure the oils don’t overheat or burn.
- Once melted, remove the saucepan from the heat and let the oils cool for a minute.
Step 2: Mix the Ingredients
- Add the almond oil and rosehip oil to the melted oil mixture, stirring well to combine. These oils will provide essential nutrients and moisture to your skin.
- Add the aloe vera gel to the mixture. Aloe vera will provide hydration and promote skin healing, making it a perfect addition to this cream.
Step 3: Add the Vitamin E and Lavender Oil
- Stir in the vitamin E oil, which will help rejuvenate and repair the skin, as well as promote collagen production.
- Finally, add the lavender essential oil for its calming and restorative benefits.
Step 4: Whisk and Cool
- Use a whisk or electric mixer to blend the ingredients together for about 1-2 minutes. You want to make sure the mixture is smooth and creamy.
- Allow the cream to cool completely before transferring it into a clean, airtight jar or container. The cream will harden slightly as it cools, so don’t worry if it looks more solid than liquid.
Step 5: Store and Use
- Store your homemade facial cream in a cool, dark place. It should last for 4-6 weeks, but always check for any changes in smell or texture to ensure it’s still good to use.
- To use, simply apply a small amount of the cream to your face and neck after cleansing, massaging it into your skin with gentle circular motions. For best results, use it at night before bed so it has time to work while you sleep.
Tips for Best Results:
- Use Regularly: For optimal results, apply the cream daily, preferably at night, to give your skin enough time to absorb the nourishing ingredients.
- Patch Test: Always do a patch test on your wrist or behind your ear to check for any allergic reactions to the oils or ingredients before applying to your face.
- Customize the Recipe: If you have specific skin concerns, feel free to adjust the essential oils. For instance, you can use frankincense oil for anti-aging, tea tree oil for acne, or geranium oil for balancing skin tone.
- Stay Hydrated: Along with using this cream, make sure to drink plenty of water and maintain a healthy diet for the best results in supporting youthful, glowing skin.
Why This Homemade Facial Cream Is Better Than Expensive Cosmetics:
- Natural Ingredients: Unlike many commercial products that contain preservatives, chemicals, and artificial fragrances, this homemade facial cream is made from all-natural ingredients that your skin can absorb easily and effectively.
- No Toxic Chemicals: The absence of harsh chemicals, parabens, or sulfates means your skin is getting nothing but pure nourishment and hydration.
- Cost-Effective: Creating this magic cream at home is a fraction of the cost of expensive skincare products, and you get the added benefit of knowing exactly what’s going on your skin.
- Customizable: You can tweak the recipe based on your unique skin needs, whether you need extra moisture, acne-fighting properties, or anti-aging benefits.
Final Thoughts:
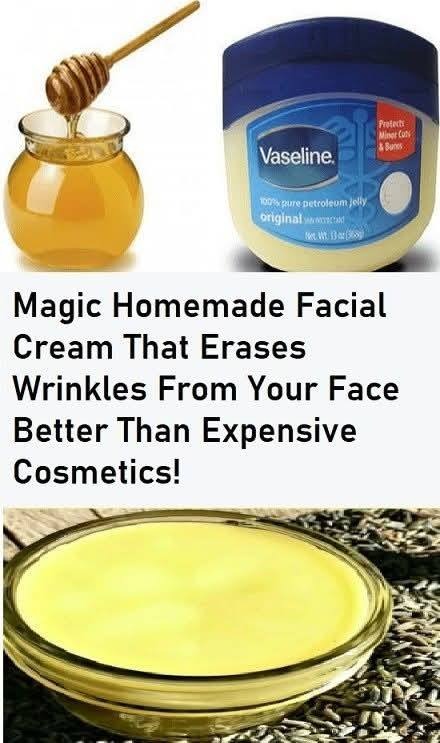
This magic homemade facial cream is a game-changer for anyone looking to reduce wrinkles, boost skin hydration, and promote a youthful glow. With its all-natural ingredients and powerful anti-aging properties, it’s no surprise that this DIY cream works better than many pricey cosmetic options on the market. Say goodbye to harsh chemicals and hello to smooth, radiant skin with this simple, effective, and budget-friendly homemade solution. Treat yourself to the magic of nature and enjoy the beautiful benefits it brings!
ADVERTISEMENT
