ADVERTISEMENT
Step 2: Prepare the Ham
- Trim the Ham: If your ham still has a thick layer of fat, you may want to trim it down slightly, leaving about 1/4 inch of fat. This will help keep the ham juicy during cooking while still allowing the flavors to penetrate the meat.
- Score the Fat: Use a sharp knife to make shallow cuts in a diamond pattern across the fat layer of the ham. This helps the glaze penetrate the meat and also gives the ham a beautiful presentation. Be sure not to cut into the meat itself—only score the fat.
- Optional Cloves: If you’d like to add extra flavor, insert whole cloves into the intersections of the diamond-shaped cuts.
Step 3: Prepare the Glaze
In a small bowl, mix the following ingredients to create your glaze:
- 1/4 cup brown sugar – This will give the ham a sweet, caramelized coating.
- 1/4 cup honey – Adds additional sweetness and moisture.
- 1/4 cup Dijon mustard or yellow mustard – For tanginess and flavor depth.
- 1/4 cup apple cider vinegar or orange juice – Provides a balancing acidity to cut through the sweetness.
- 1 tablespoon olive oil or melted butter – To help bind the glaze and make it glossy.
Mix everything together until smooth. You’ll use this glaze to coat the ham throughout the cooking process, ensuring it develops a beautiful, flavorful crust.
Step 4: Roast the Ham
- Place the Ham in a Roasting Pan: Set your ham in a large roasting pan with the fat side facing up. This allows the fat to render as it cooks and keeps the meat moist.
- Apply the Glaze: Brush about half of your glaze over the entire surface of the ham, making sure it’s evenly coated.
- Cover and Roast: Cover the roasting pan loosely with aluminum foil to keep the moisture in. Roast the ham for about 15-18 minutes per pound. For example, if your ham weighs 8 pounds, it will need about 2 to 2.5 hours in the oven.
- Baste and Glaze: Every 30 minutes, remove the ham from the oven and baste it with the juices that collect at the bottom of the pan. This helps keep the ham moist and infuses the flavor.
- Uncover for the Last 30 Minutes: In the final 30 minutes of roasting, uncover the ham and apply the remaining glaze. This allows the glaze to caramelize and form a nice, golden brown crust on the outside.
Step 5: Check the Internal Temperature
To ensure the ham is cooked to perfection, use a meat thermometer. The internal temperature should reach 140°F (60°C) when measured at the thickest part of the meat (not touching the bone). If your ham is precooked, it only needs to be reheated to this temperature.
Step 6: Let the Ham Rest
Once your ham is done, remove it from the oven and let it rest for about 10-15 minutes. This allows the juices to redistribute throughout the meat, making it even more tender and flavorful.
Step 7: Slice and Serve
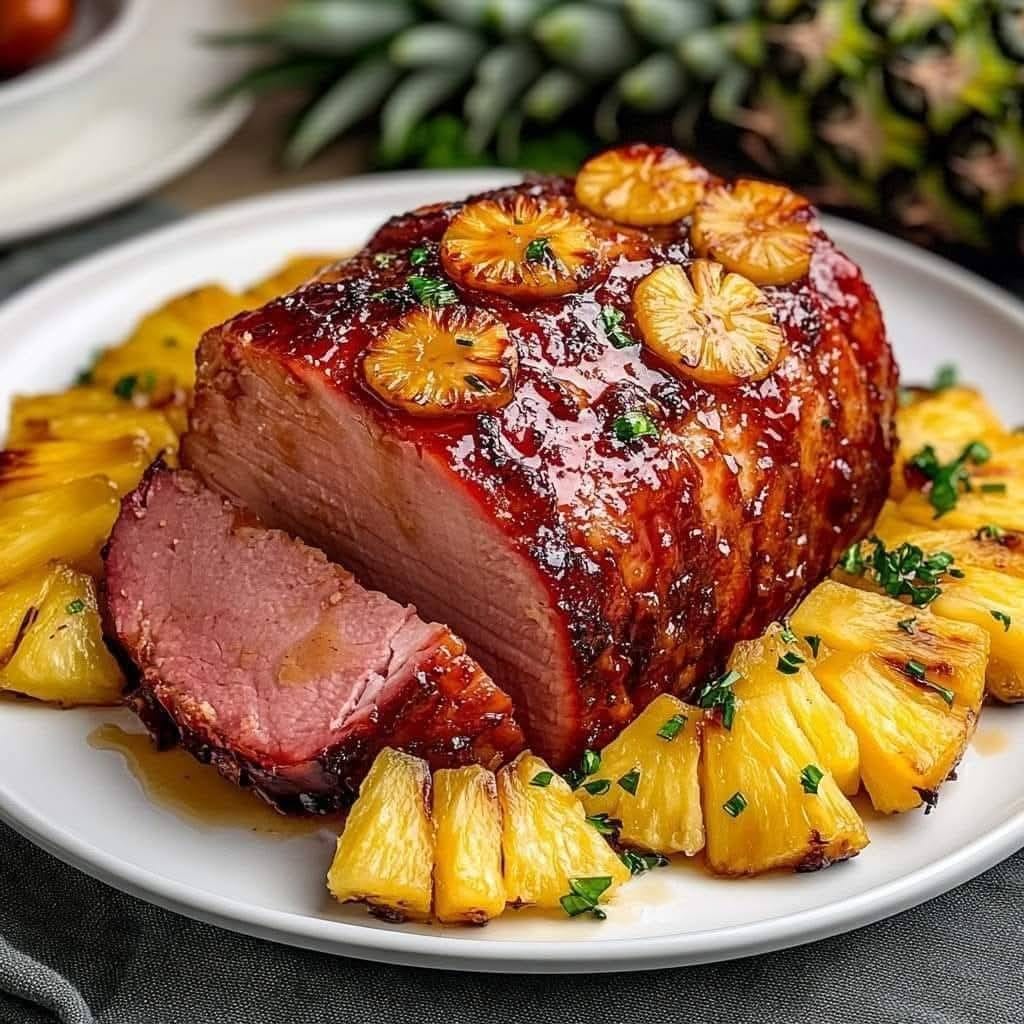
Using a sharp knife, slice the ham against the grain into thin or thick slices, depending on your preference. Arrange the slices on a platter, drizzle with some of the pan juices or extra glaze, and garnish with fresh rosemary or thyme for a beautiful presentation.
Serving Suggestions
Bone-in ham is incredibly versatile and pairs well with a wide variety of sides. Here are some great options to serve alongside your ham:
- Roasted vegetables like carrots, Brussels sprouts, or sweet potatoes
- Mashed potatoes or scalloped potatoes for creamy, comforting sides
- Crispy rolls or buttermilk biscuits to soak up the delicious pan juices
- Coleslaw or green salad for a refreshing contrast to the rich ham
- Macaroni and cheese or cornbread for a classic southern touch
Tips for the Best Bone-In Ham
- Choose the Right Size: Bone-in hams come in different sizes, typically ranging from 5 to 10 pounds. A 7 to 8-pound ham is perfect for serving a group of 6-8 people.
- Glaze Variations: Experiment with different glaze flavors such as pineapple, maple syrup, brown sugar and bourbon, or apple cider for a unique twist on the classic recipe.
- Leftovers: Leftover ham can be used in soups, sandwiches, or added to casseroles. Don’t forget to save the bone—it’s perfect for making a savory ham broth for soups or beans.
Conclusion
Cooking a bone-in ham may seem like a big undertaking, but with the right technique, it’s easier than you think. This simple recipe provides a foolproof way to prepare a tender, flavorful ham that’s perfect for holidays, special occasions, or any time you want to enjoy a comforting meal. With its rich, juicy flavor and impressive presentation, a bone-in ham will always be a crowd-pleaser, and leftovers are just as delicious the next day!
ADVERTISEMENT
ADVERTISEMENT
